At a Glance
Assignments are the backbone of a well-organized Canvas site. As a member of the teaching team, you’ll work with three main types: individual assignments for collecting each student’s own work, non-graded reading assignments for keeping readings visible on students’ calendars and to-do lists, and group assignments for team submissions. This guide walks you through when to use each type and how to set it up correctly.
Tip: Create all deliverables as Canvas assignments with due dates, and include the course number in each title (e.g., 15.927 – Class 4 Assignment) to align with MIT Sloan’s Gold Standards.
Before You Begin
Decide which assignment type fits your needs:
- Individual Assignment: Each student submits their own work.
- Non-Graded Reading Assignment: Students complete a reading—nothing is submitted or graded.
- Group Assignment: Students work in teams and submit one deliverable per group.
Gather assignment details from your teaching team: title, instructions, point value, due date, and (for group assignments) team rosters.
Create an Individual Assignment
Use case: Students submit their own work individually. Submissions are collected in one place, making grading and feedback easier.
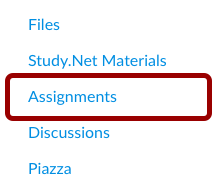
- In your Canvas course, click Assignments in the Course Navigation Menu.
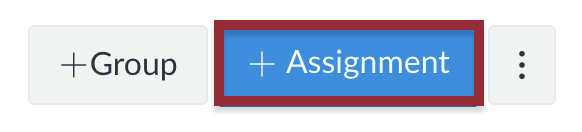
- Click + Assignment.
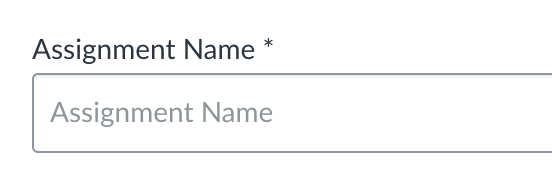
- In the Assignment Name field, enter a title that begins with the course number (e.g., 15.927 – Class 4 Assignment).
- Add instructions in the Rich Content Editor (RCE).
- Enter the total points possible for the assignment in the Points field.

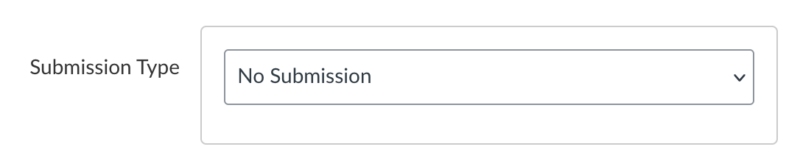
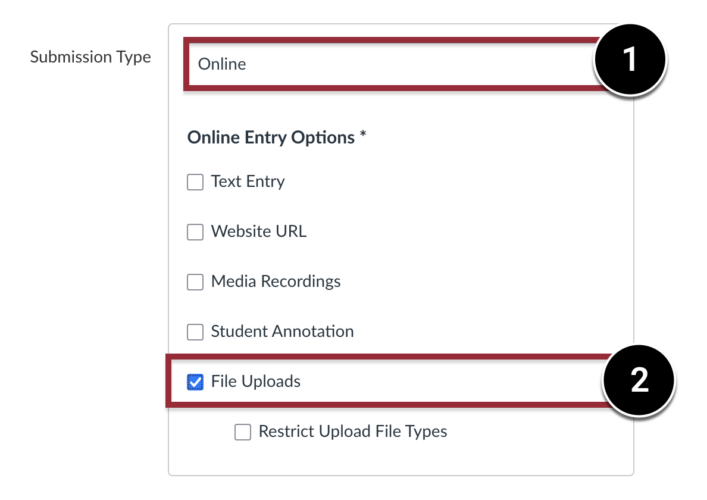
- To collect student work (e.g., Word docs, PDFs, spreadsheets), set the submission type to Online [1] → File Upload [2].
- Set the due date.
- Click Save, or Save & Publish if the assignment is ready for students.
To learn more, see How do I create an assignment? and How do I add or edit details in an assignment?
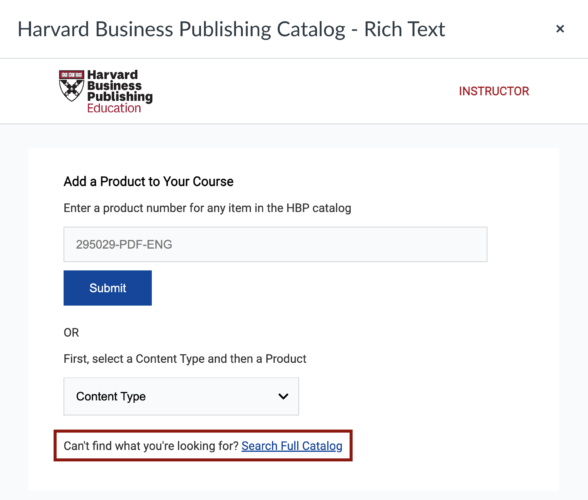
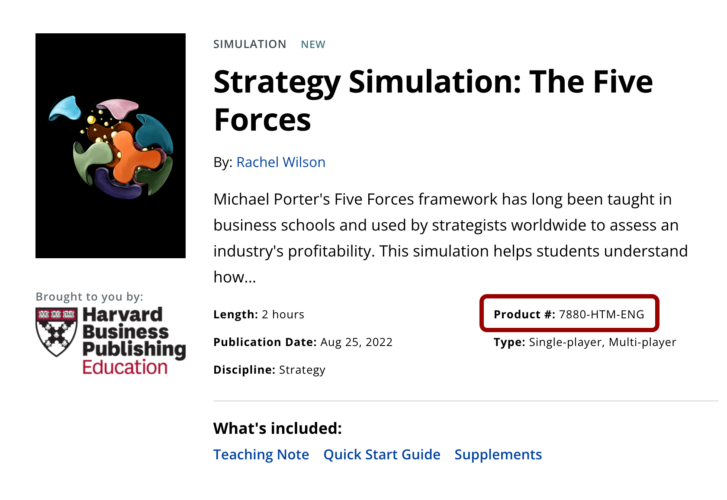
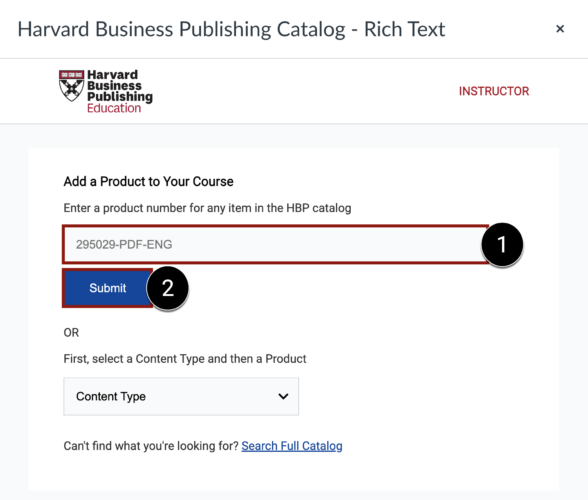
IMPORTANT: Copying your course from a previous term? Existing Study.Net and HBP links will NOT work in the new site. Links from last term’s Study.Net course pack must be updated, and all HBP links (cases, articles, books, and simulations) must be recreated using the steps below.
To add a Study.Net reading:
Your Study.Net course pack must be requested and published before its readings will appear in Canvas. To confirm, click Study.Net Materials in the Course Navigation Menu—if the course pack loads and you see the readings, you’re all set.
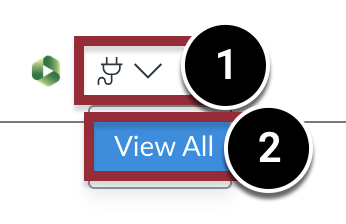
- In the RCE, click the Plug icon [1] and select View All [2] from the drop-down menu.
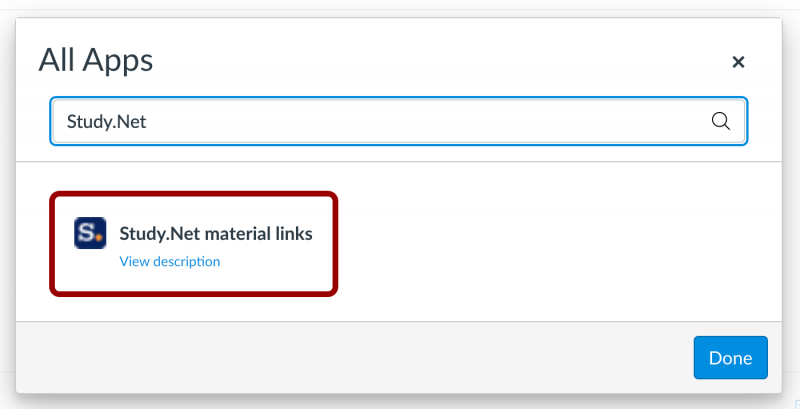
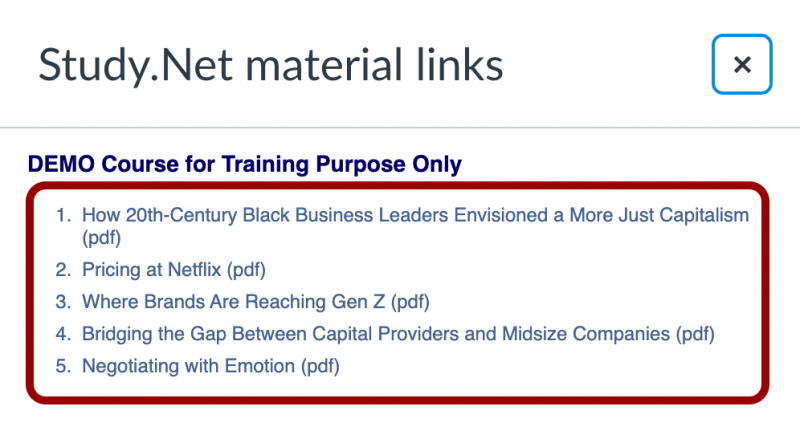
- Type Study.Net into the Search field or scroll to find the tool, then click Study.Net material links to load your course pack.
- Click the reading you want to assign.
- Repeat these steps to add additional Study.Net readings due that day to the same assignment.
To learn more, see How to Add Study.Net Materials in Canvas.
Course pack not loading? If the Study.Net Materials page is blank, confirm with your teaching team that the request has been submitted and published—students cannot access readings until the course pack is published in Study.Net. For any other questions about your course pack or if it is NOT loading in your Canvas course, contact Study.Net’s Customer Service team.
To add a reading from your course’s Files area:
The reading must first be uploaded to your course’s Files area. Make sure the file and its parent folder are published or set to Only available with link—otherwise students won’t be able to open it from the assignment.
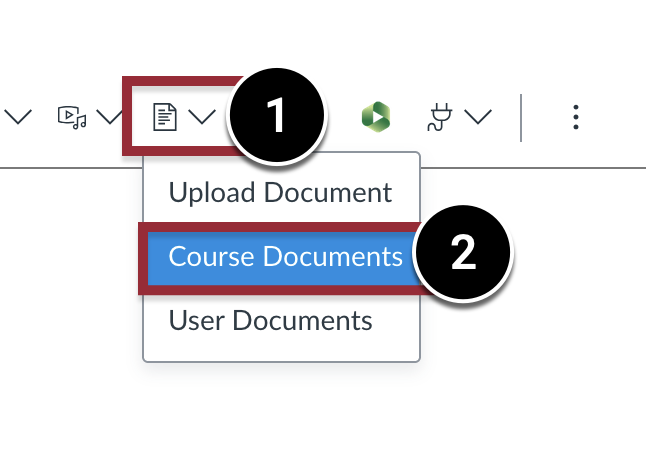
- In the RCE, click the Document icon [1] in the toolbar and select Course Documents [2] from the drop-down menu.
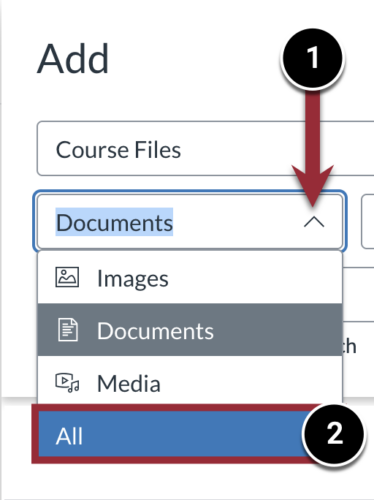
- In the Type drop-down menu [1], select All [2].
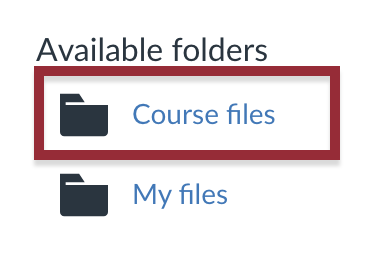
- Select Course Files.
- Navigate to and click on the reading you want to assign.
- Repeat these steps to add additional course files due that day to the same assignment.
To learn more, see How do I link to a document from Canvas in the Rich Content Editor?
Tip: Group all readings due on the same day into a single non-graded reading assignment.
IMPORTANT: Student View works well with native tools in Canvas (e.g., Assignments, Modules, Pages, Quizzes, and Grades), but it does NOT work with Study.Net or Harvard Business Publishing (HBP). If you try to use Student View with Study.Net or HBP content, you’ll see an error message. If the content loads when you click it outside of Student View, your students should be able to access it as well.
Create a Group Assignment
Use case: Students work together and submit as a team. Only one student per group needs to submit on behalf of the team. All group members receive the same grade and feedback (unless you choose to assign grades to students individually).
Step 1: Set Up Your Groups
- Create a Group Set (e.g., Final Project Teams) under People → + Group Set.
- Create the groups within the set.
- Add students to their groups.
Step 2: Create the Assignment
- In your Canvas course, click Assignments in the Course Navigation Menu.
- Click + Assignment.
- In the Assignment Name field, enter a title that begins with the course number (e.g., 15.927 – Team Project).
- Add instructions in the Rich Content Editor (RCE).
- Enter the total points possible for the assignment in the Points field.
- To collect student work (e.g., Word docs, PDFs, spreadsheets), set the submission type to Online [1] → File Upload [2].
- IMPORTANT – DO NOT SKIP: Under Group Assignment, select This is a Group Assignment [1] and choose the correct group set from the Group Set drop-down [2].
- Optional: Select Assign Grades to Each Student Individually if you want to grade group members separately. Leave it unchecked to give all group members the same grade and feedback.

- Set the due date.
- Click Save, or Save & Publish if the assignment is ready for students.
To learn more, see How do I assign an assignment to a course group?
Common Pitfall to Avoid: If you don’t select This is a Group Assignment and the correct group set before students submit, they will have to resubmit their work. Always confirm your group assignment settings before publishing.