At a Glance

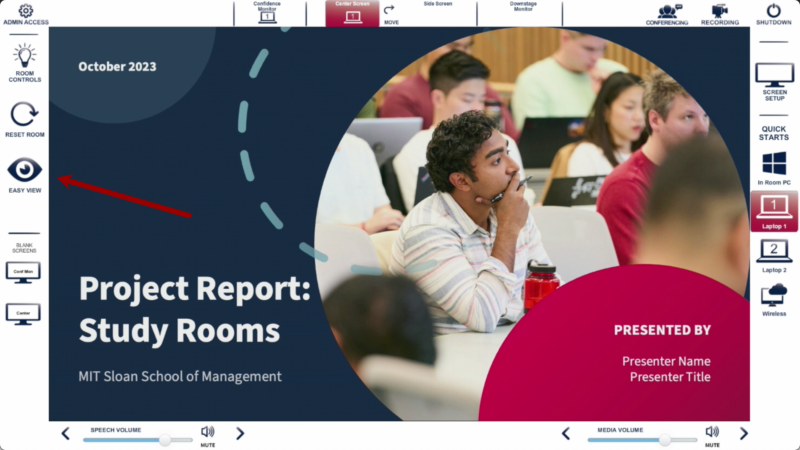
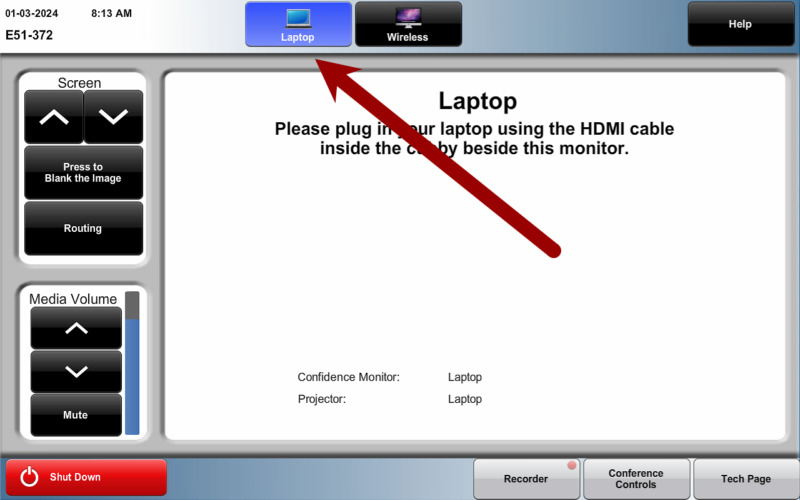
MIT Sloan classrooms allow you to easily connect and display your laptop screen on any classroom projector or monitor using the built-in touch panel.

Bringing your own laptop can reduce your setup time and leave you with a computing environment that you’re used to with your files all in one place. Connecting to the room is simple, and there are powerful features at your fingertips while presenting.

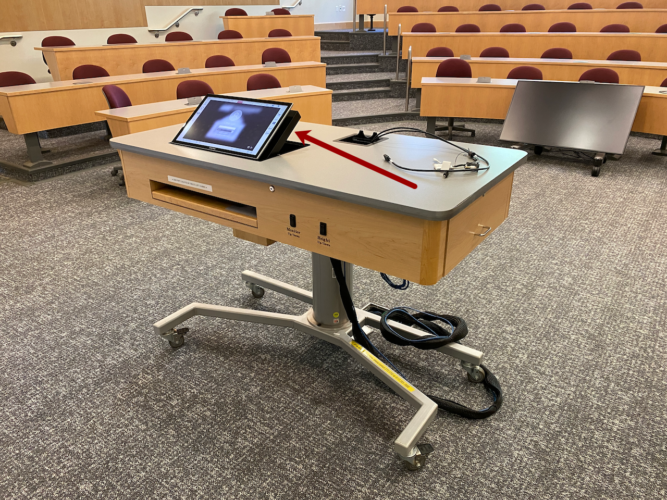
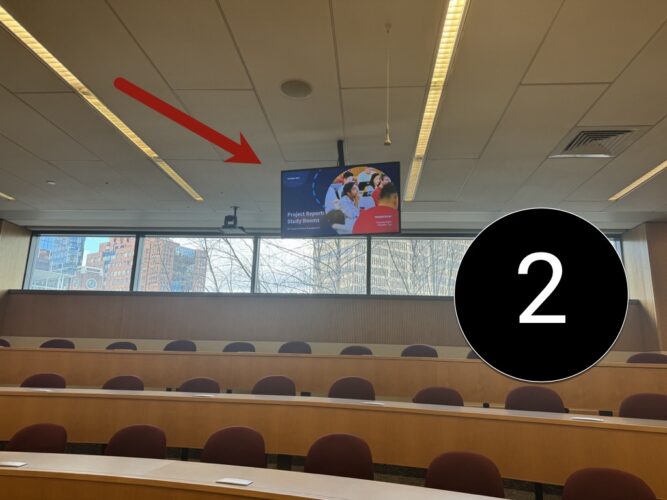
Locate the Teaching Table and/or Touch Panel

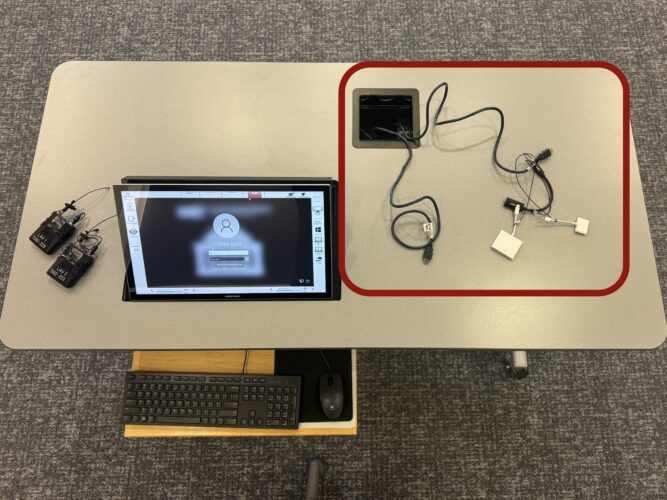
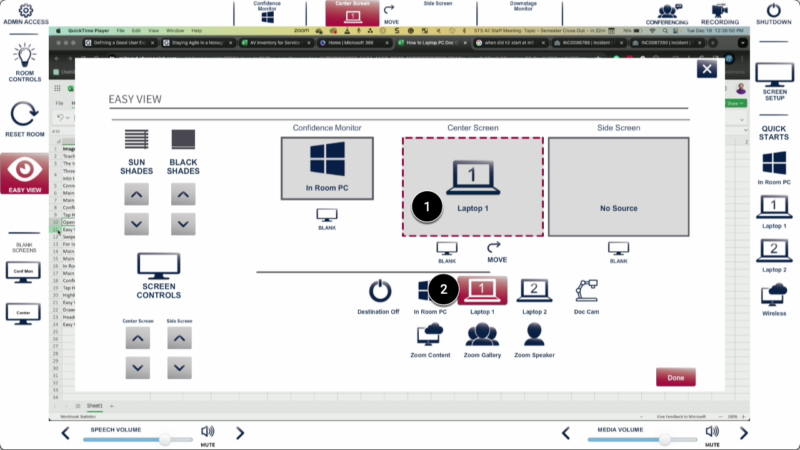
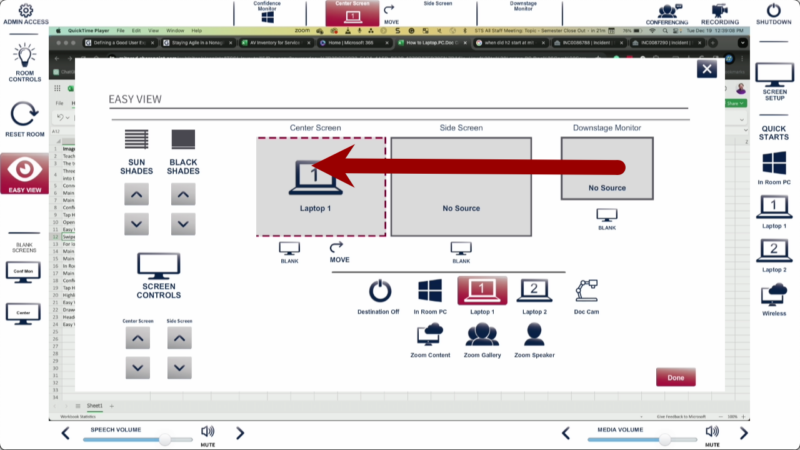
Large classrooms have a 22″ touch panel built into the teaching table. Follow this link for instructions.

Picture of an arrow pointing to the teaching table

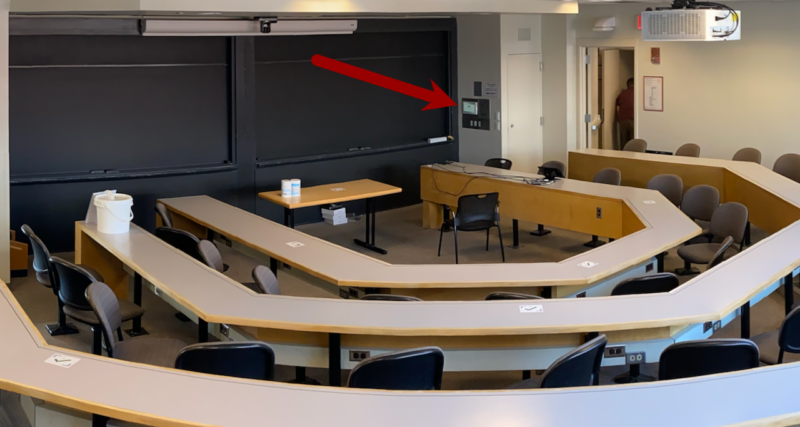
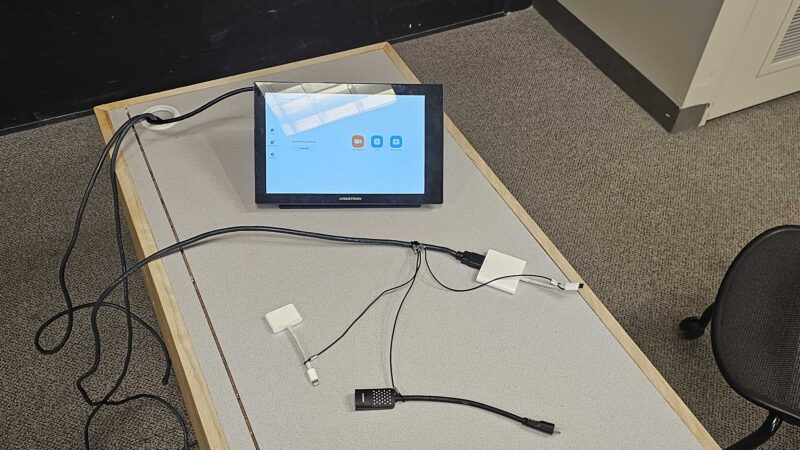
E51-372, E51-376, and E51-395 have a 10″ touch panel mounted to the wall. Follow this link for instructions.

Photo of a small classroom with an arrow pointing to the control touch panel

Using Your Laptop in a Room with a Teaching Table Touch Panel

Connect Your Laptop

  1. Locate the HDMI laptop cables: In rooms with a 22″ touch panel, locate the two cables from the cubby on the teaching table.
    Photo of the classroom teaching table with the keyboard and mouse highlighted
  2. Optional: Connect a USB-C, Mini Displayport, or Lightning adapter to the HDMI cable.
    Photo of HDMI adapters at the classroom teaching table
  3. Connect the cable or adapter to your laptop.
    Photo of an HDMI cable connecting to a laptop

Tip: If there are two HDMI cables, you can also plug your phone in to play music or other audio. You will hear it even if it’s not shown on a screen or projector.

Note: You must select Crestron as your laptop audio output to make sound come from the room speakers. Learn how to connect Crestron to your PC. How to connect Crestron to a Mac computer.

Choose Where Your Laptop Shows in the Room

We call things like your laptop a “Source” or an “Input.” All of the projectors, displays, and screens are called “Destinations.” Though many terms exist, one way to describe making changes to any of them is “Video Routing.” Please follow the steps to use one of our three video routing options: Quick Starts, the Menu Bar, or Easy View. This is done using the touch panel at the Teaching Table.

Photo of Teaching Table in Classroom

Routing Option 1: Quick Starts

You can use Quick Starts to set up your presentation in one tap. Quick Starts ties many actions into one button press, so you won’t have to tap multiple buttons on the classroom interface.

  1. On the right side of the touch panel, there are four Quick Starts.
    Screenshot of the classroom user interface with the quick starts highlighted
  2. Select Laptop 1 or Laptop 2 based on which cable you plugged into your laptop.
    Screenshot of the classroom user interface with the laptop 1 selected
  3. You will see your laptop on the Main Projector [1] and the Confidence Monitor [2] (the monitor hanging from the ceiling).
    Photo of the main projector with a laptop being sent to it
    Photo of the confidence monitor in the classroom with a laptop routed to it

Routing Option 2: Menu Bar

You can change what goes on the screens or monitors using the four buttons in the top center. They represent a screen or display and can be tapped to show the different sources available to you. Use it if you want to route your laptop to individual displays like the Side Screen.

  1. On the top of the touch panel, you will see the available destinations for your laptop.
    Screenshot of the top of the teaching table interface in classrooms with an arrow pointing to the header where you can change inputs
  2. Tap on the screen or monitor you want to see your laptop on [1] and tap on Laptop 1 or Laptop 2 [2] based on which HDMI laptop cable you plugged in.
    Screenshot of the classroom UI with laptop 1 sected on the center screen
  3. Repeat Steps 1-2 until your laptop screen appears on all desired classroom projectors and monitors.

Tip: If you want to use the chalkboard in the classroom and only one screen is active, tap the Move button in the top center. This will turn the Center Screen off and display your laptop screen on the Side Screen. Simply tap it again to bring your content back to the main screen. If you have two screens active, it changes to a Swap button to exchange what is on the screens.
Screenshot of the classroom interface with an arrow pointing to the move button

Routing Option 3: Easy View

This is one panel that contains screen routing and some room controls. It is meant to put things in one place.

  1. On the left side of the touch panel, tap on the button for Easy View.
    Screenshot of the teaching table UI pointing to Easy view
  2. Tap on the screen or monitor you want to see your laptop on [1] and tap on Laptop 1 or Laptop 2 [2], depending on which HDMI laptop cable you plugged in.
    Screenshot of easy view with the center screen as step one and laptop 1 as step 2
  3. Repeat Steps 1-2 until your laptop screen appears on all desired classroom projectors and monitors.
  4. To choose the Downstage Monitor (the display on the ground), swipe left on the Destinations and repeat the above steps.
    Screenshot of the easy view panel indicating one needs to swipe left to get to the downstage monitor.

And you’re done! No need to keep reading this page.

Using Your Laptop in Rooms with Wall-Mounted Touch Panels

After connecting your laptop to the room, you can route your laptop screen to the available projectors and monitors using the touch panel’s Quick Starts or Routing Page.

Connect Your Laptop

  1. Locate the HDMI laptop cables: In E51-372, E51-376, and E51-395, the laptop cables are located at a seat in the front row next to a Zoom Room touch panel.
    Photo of the hdmi cable near the zoom room panel
  2. Optional: Connect a USB-C, Mini Displayport, or Lightning adapter to the HDMI cable.
    Photo of HDMI adapters at the classroom teaching table
  3. Connect the cable or adapter to your laptop.
    Photo of an HDMI cable connecting to a laptop

Note: you must select Crestron as your laptop audio output to make sound come from the room speakers. Learn how to connect Crestron to your PC. How to connect Crestron to a Mac computer.

Option 1: Quick Starts

  1. On the top, you will see the available Quick Starts. Select Laptop.
    Screenshot of the interface with an arrow pointing to the Laptop quick start
  2. Your laptop screen will appear on the Main Projector [1] and the Confidence Monitor [2] (the display on the back wall).

Option 2: Routing Page

  1. On the left side of the touch panel, tap on Routing.
    Screenshot of the interface with an arrow pointing to the routing button
  2. Tap on the screen that you want to change [1] and then tap on Laptop [2].
    The classroom control interface routing page with the projector and laptop selected
  3. Repeat Steps 1-2 until your laptop screen appears on all desired classroom projectors and monitors.