SKIP AHEAD TO
At a Glance
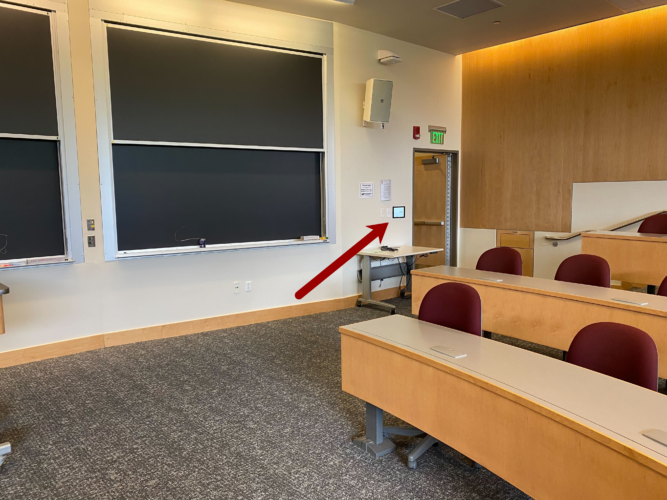
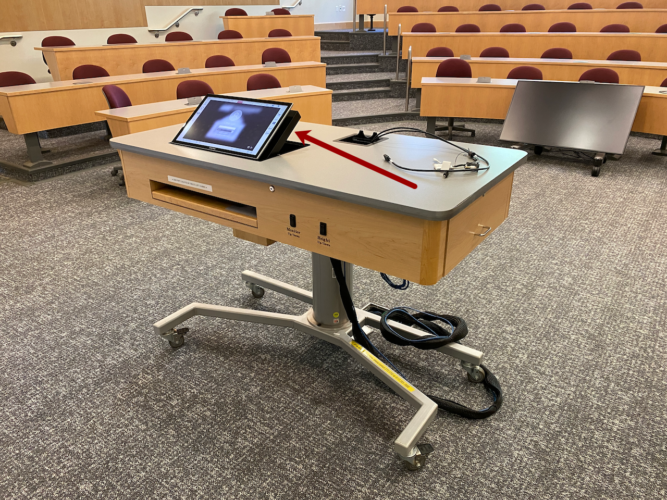
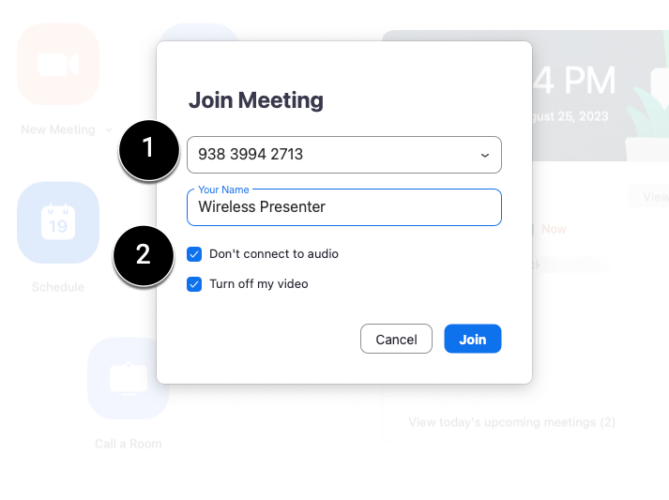
In MIT Sloan Classrooms, projecting wirelessly allows you to move freely around the classroom as you teach, as well as directly engage with students while presenting and annotating. It also allows students to queue up with a familiar Zoom interface on their computer so transitions at the teaching table can happen more smoothly. They can even present from their seats!
In this guide, you’ll learn how to use classroom technology to:
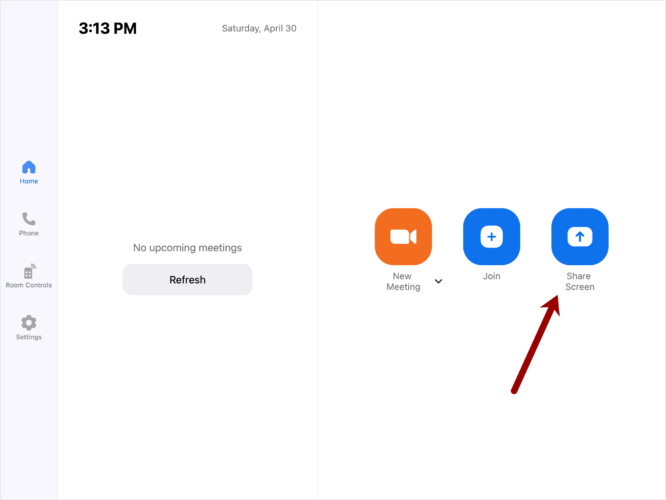
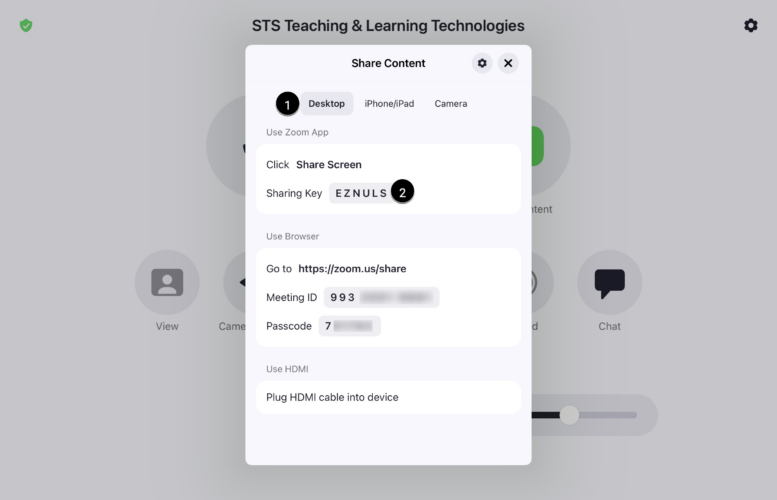
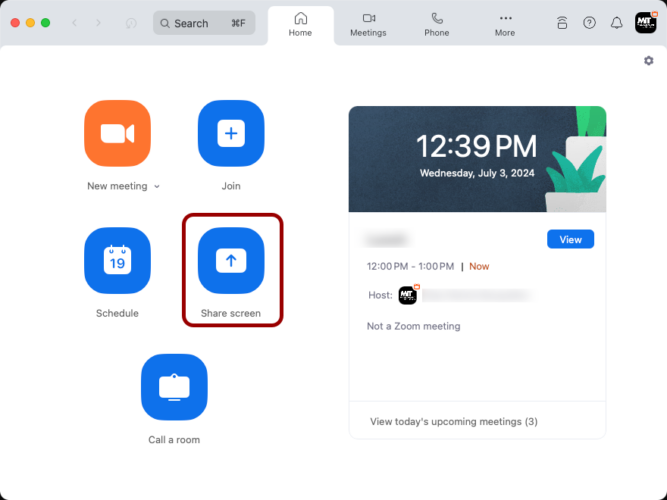
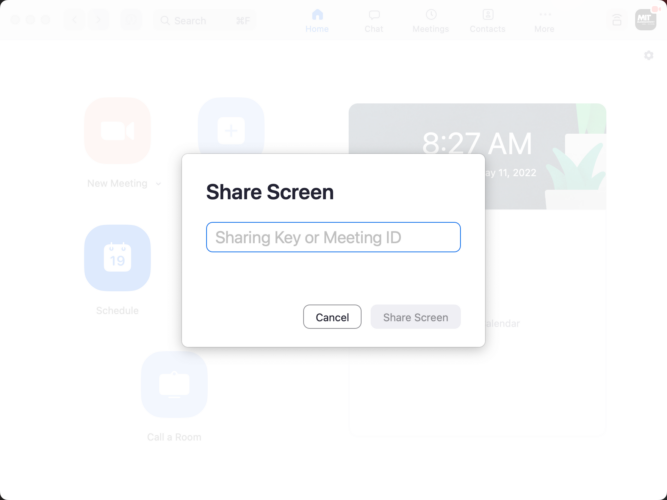
- wirelessly share your device’s screen via Zoom,
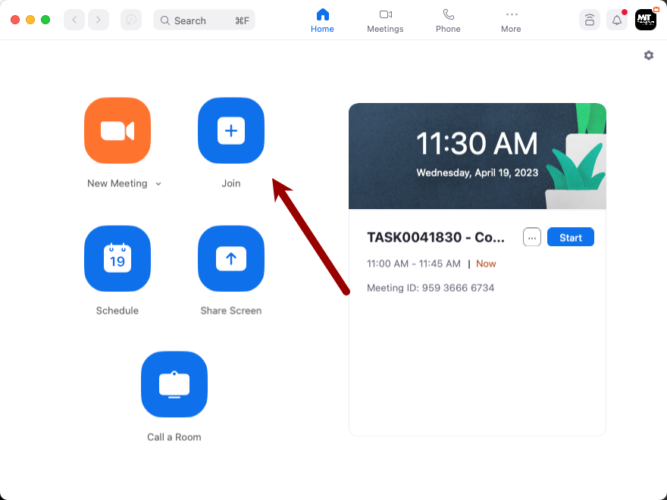
- connect multiple computers to the same sharing session, and
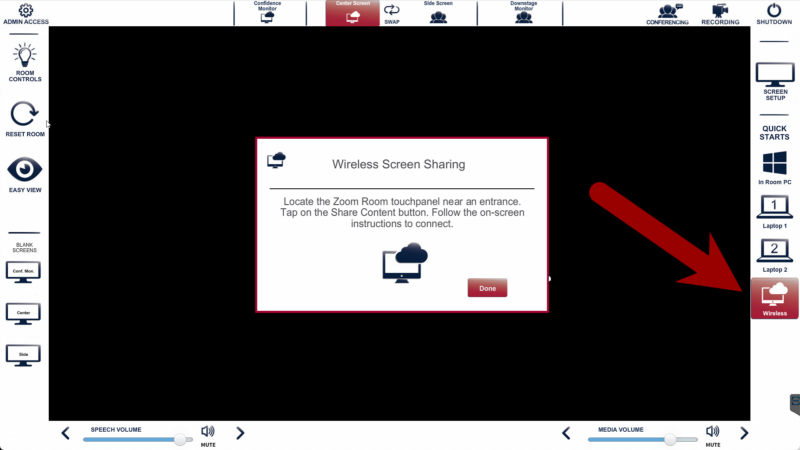
- wirelessly share your device’s screen with the classroom projector.
Supported devices include Mac, PC, Android, and iOS.