Explore the Studio
We designed the MIT Sloan Teaching Studio with you and your teaching in mind. The technology is streamlined so you can focus on your students and the teaching experience. The studio is equipped with
- cameras to capture your studio session;
- a podium for your laptop;
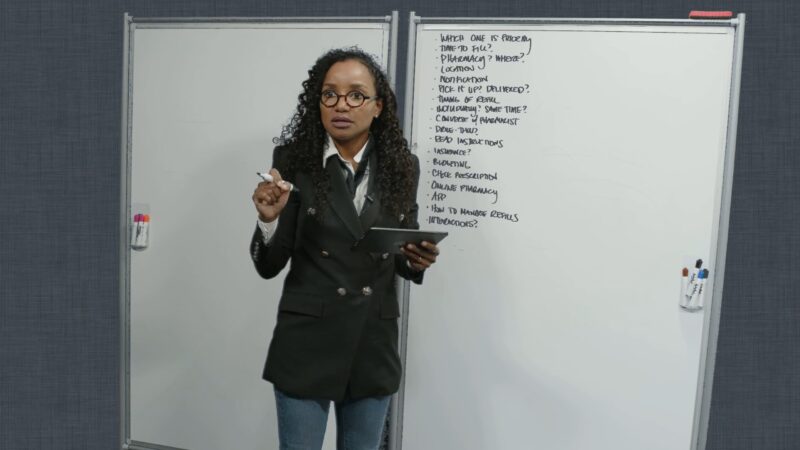
- a whiteboard that you can use just like the whiteboard in a classroom;
- foot pedals, floor pads, and buttons that you can use to control the studio;
- a confidence monitor where you can see exactly what’s being captured on camera;
- a teleprompter where you can see your script while you’re recording a video;
- and a “Gallery View” monitor for viewing your students on Zoom during live broadcasting.
Watch: Teaching Studio Demonstration
The Teaching Studio just keeps getting better! Watch this video to see our studio in action.
Studio Scenes
As a presenter in the MIT Sloan Teaching Studio, you can use any of the “scenes” (or camera views) below. Part of planning your presentation is determining when you’ll use each scene. The Teaching & Learning Technologies team will be happy to help you decide which scenes will work best for your unique needs.
Speaker Only

- What it looks like: In Speaker Only scenes, you look like a standard participant in a meeting. Your presentation is not visible.
- When to use it: Use Speaker Only scenes to create a sense of immediacy and connection with your audience. Since this scene puts the focus on you (rather than your slides), it’s great for starting and ending live sessions and videos.
Projector

- What it looks like: In Projector scenes, your presentation appears in a window next to you. Since they only occupy part of the screen, you might want to use an extra-large font size in your slides.
- When to use it: Projector scenes are great for simulating a formal presentation.
Full Screen

- What it looks like: In Full Screen scenes, your slides fill the entire space behind you. You’re visible from the legs up and you can easily move around the space.
- When to use it: Full Scene scenes are great for creating content that has an immersive feel. You can feature an image that covers your entire slide and move around to gesture towards different parts of it. Or you can limit content to one side of the slide so it looks like images or text are appearing next to you.
Screencast

- What it looks like: In Screencast scenes, your slides fill the entire space behind you. You are visible in the bottom right-hand corner of the screen.
- When to use it: Use Screencast scenes to put a personalized spin on important content. These scenes allow you to remain visible while the audience focuses on your slides. You may want to leave the lower right corner of your Screencast slides empty so you don’t block essential content.
Content Only

- What it looks like: In Content Only scenes, your presentation occupies the entire screen. You (the presenter) are not visible.
- When to use it: Content Only scenes are great for highlighting important visuals. During a live broadcast session, you might use Content Only to show YouTube videos to students. In a video, you might use it to share an important image or graphic.
Whiteboard

- What it looks like: Whiteboard scenes show you and the in-studio whiteboard.
- When to use it: Board writing is great for introducing new content and clarifying complex ideas.
Example Video
Check out a video created in the studio by the MIT Leadership Center!