At a Glance
Projecting wirelessly allows you to move freely around the conference room as you present.
In this guide, you’ll learn how to use conference room technology to wirelessly share your device’s screen via Zoom.
Supported devices include Mac, PC, and iOS devices.
Tip: Connect your device to the MIT SECURE wireless network for the best performance.
Update the Zoom App on Your Device
If you haven’t already done so, download and login to the Zoom app on your device. This will allow for easy access to the wireless screen-sharing features of Zoom.
Wireless Sharing for One Presenter
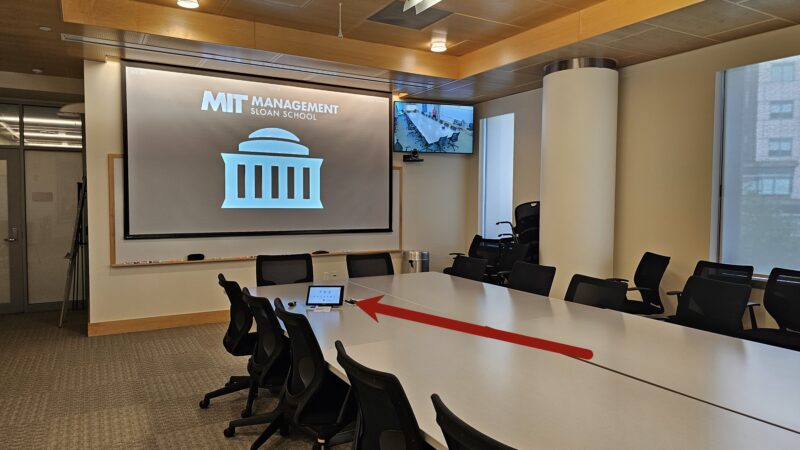
- Find the Zoom Room Controller Touch Panel:
- In large conference rooms, this will be found on the table near the front of the room next to the HDMI cable(s).
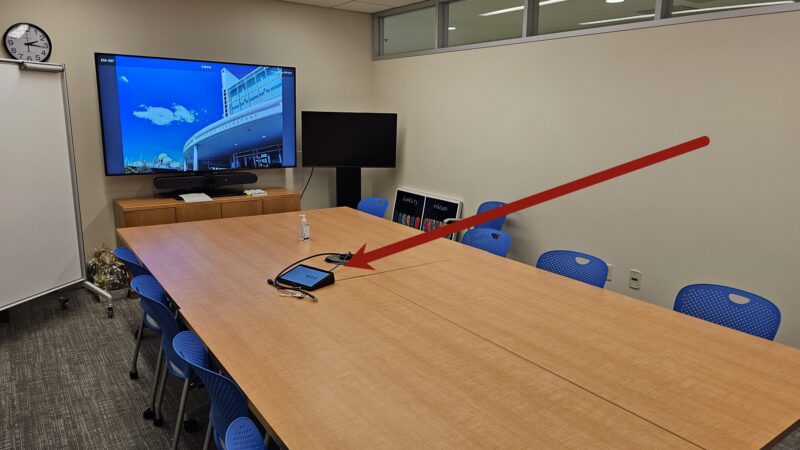
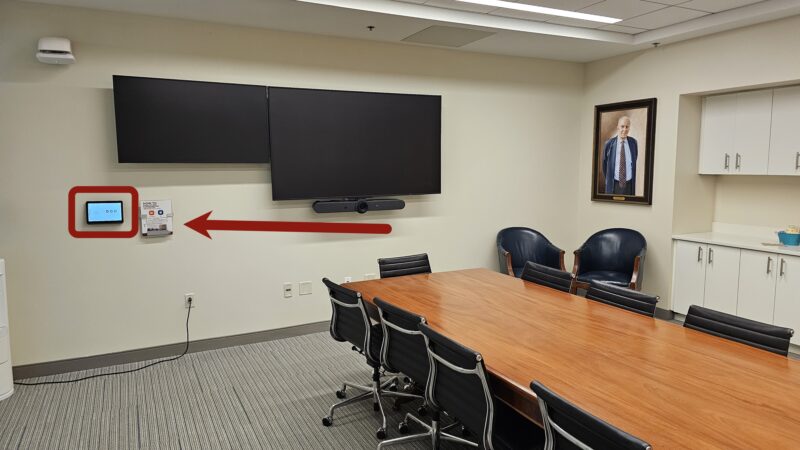
- In small to medium-sized conference rooms, this will be found on the table or mounted on the wall near the documentation and/or light switches.

- Hold your device a few inches away from the Zoom Room Controller Touch Panel.
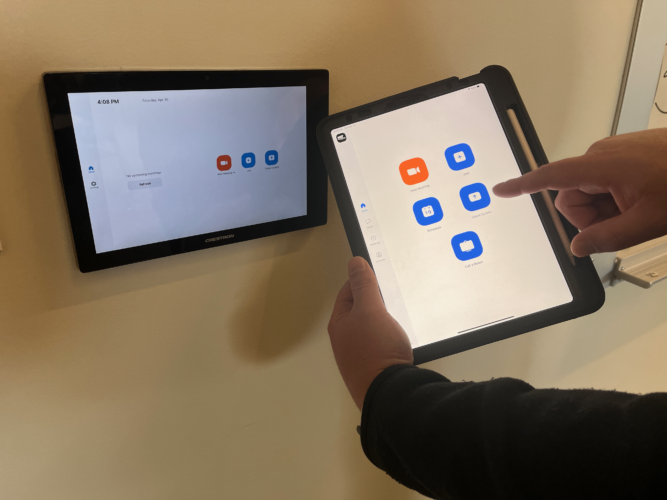
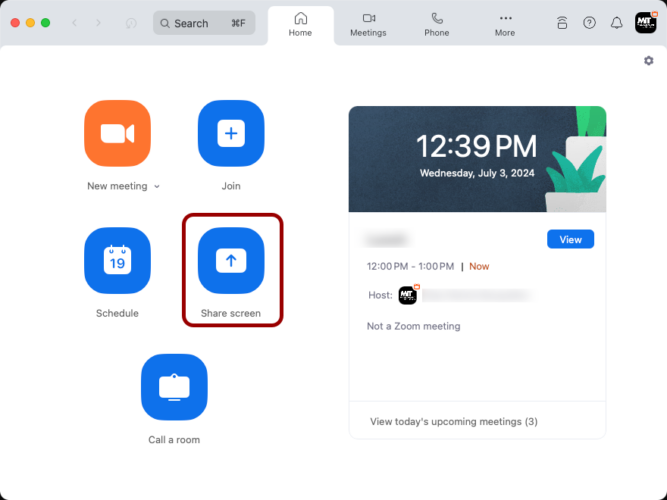
- In the Zoom app on your device, click on the Share Screen button.
- Optional: If your device does not automatically connect to the Zoom Room Controller Touch Panel, do the following:
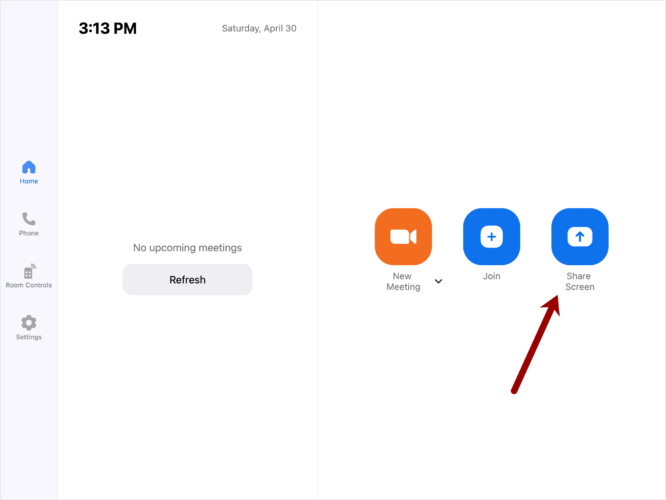
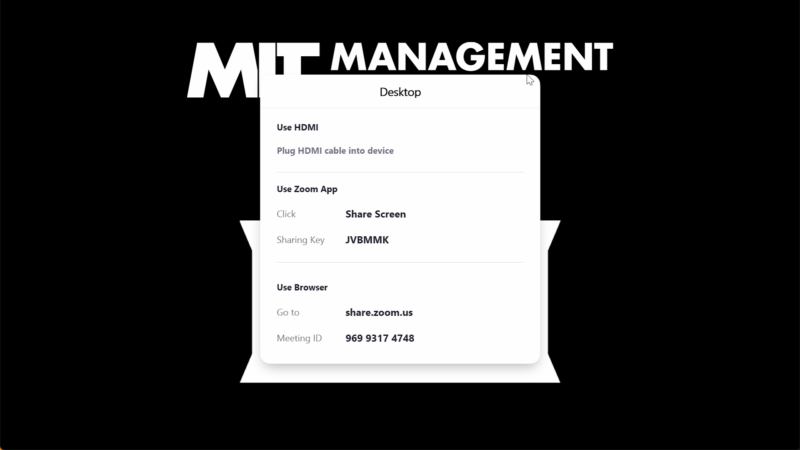
- On the Zoom Room Controller Touch Panel, tap Share Screen.
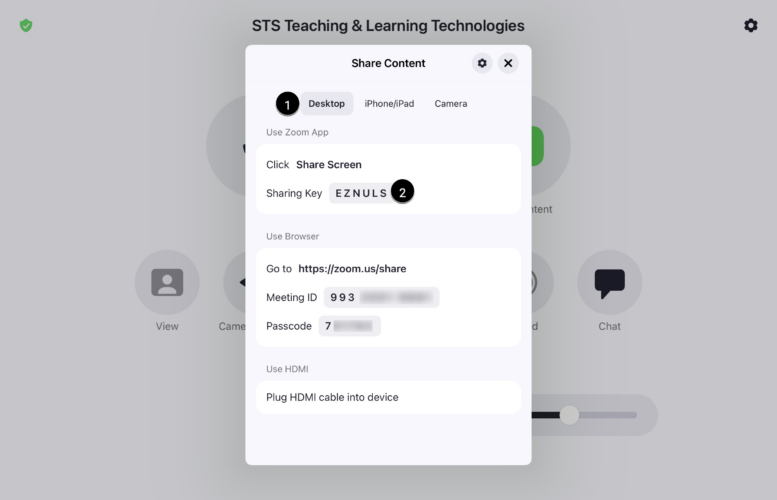
- On the Zoom Room Controller Touch Panel, tap Desktop [1] (regardless of what device you’re using) and locate the Sharing Key [2] for screen sharing (e.g., EZNULS).
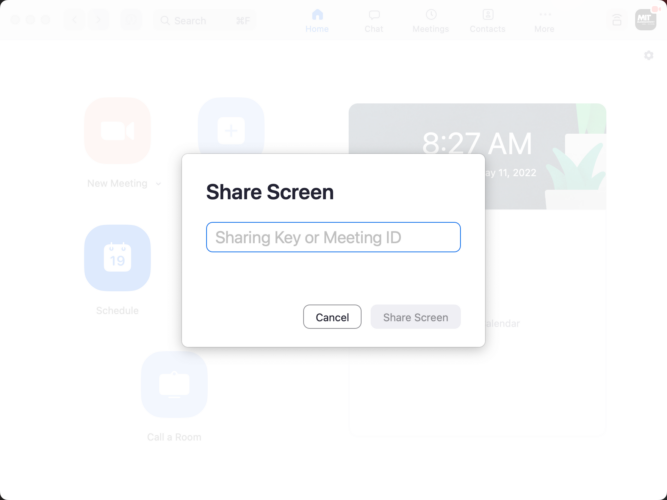
- On your device, enter the provided Sharing Key into the Share Screen prompt.
- If your connection drops, repeat the steps above.
- If you need a higher-level quality video (high frame rate and full HD), there is an HDMI option in the room.
Wireless Sharing for Multiple Presenters
This feature allows multiple presenters to connect to the wireless screen-sharing system simultaneously. Presenters can easily trade off or switch between their screens without manual reconnections or interruptions.
- Find the Zoom Room Controller Touch Panel:
- In large conference rooms, this will be found on the table near the front of the room next to the HDMI cable(s).
- In small to medium-sized conference rooms, this will be found on the table or mounted on the wall near the documentation and/or light switches.
- Tap Share Screen
- The room automatically routes the wireless content to the main display.
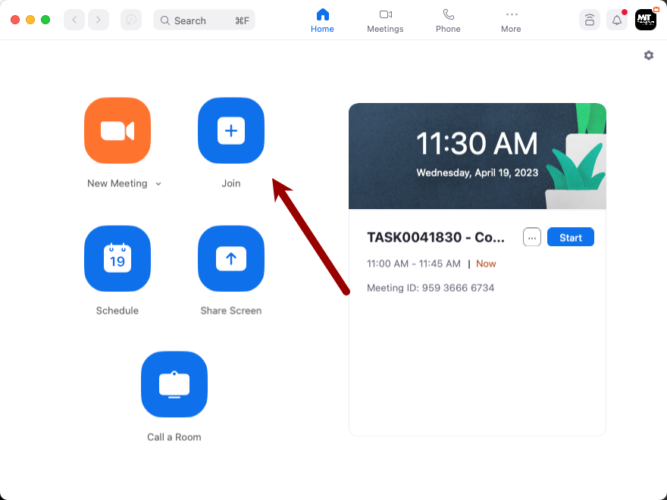
- Gather everyone’s attention and have group leaders and/or presenters click on the Join button in their Zoom app on their laptops.
- Locate the Meeting ID at the bottom of the sharing information on the projector.

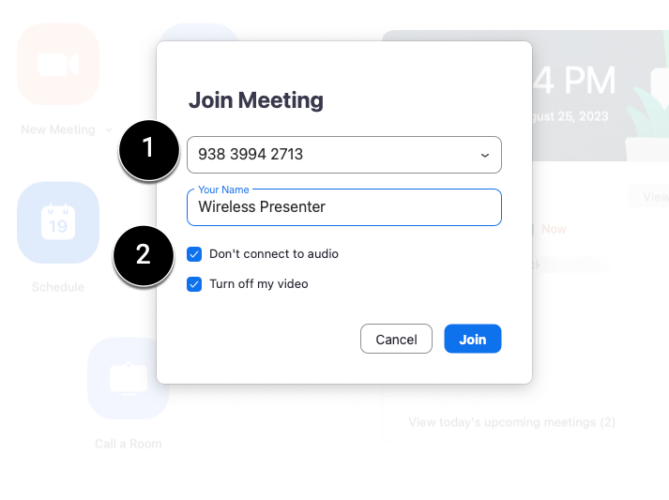
- Back on the laptop, enter the Meeting ID [1] and ensure “Don’t connect to audio” has a checkmark [2].
- Everyone will see a familiar Zoom interface where they can click on “Share Screen” when they are ready to present.

Tip: If you’re using an iPad, migrate all of your PowerPoint presentations to O365, Dropbox, or other popular platforms so you can access them on the iPad app for PowerPoint. Use four fingers to swipe back and forth. This allows you to quickly move between other apps such as Explain Everything.


