At a Glance
Each MIT Sloan classroom with a Teaching Table includes a built-in Windows PC. You can display the in-room PC on any projector or monitor using the Touch Panel.
If you’d rather not carry your laptop from class to class, the in-room PC offers a quick alternative. It includes Microsoft Office and the same suite of applications available in the MIT Sloan Remote Lab.
This guide walks you through how to log in to the in-room PC and customize where your content is displayed using the Touch Panel.
Log In to the In-Room PC
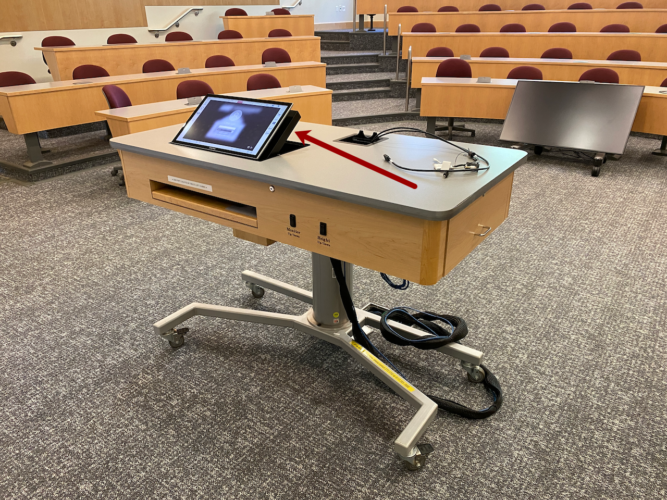
- Locate the Teaching Table and Touch Panel in front of the room.

- Locate the keyboard and mouse.
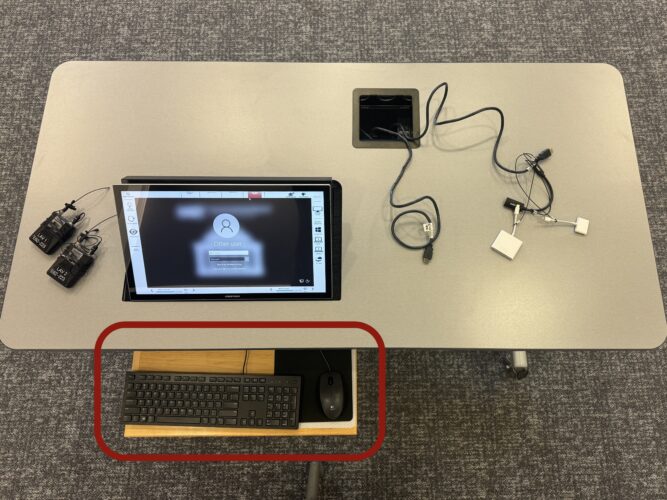
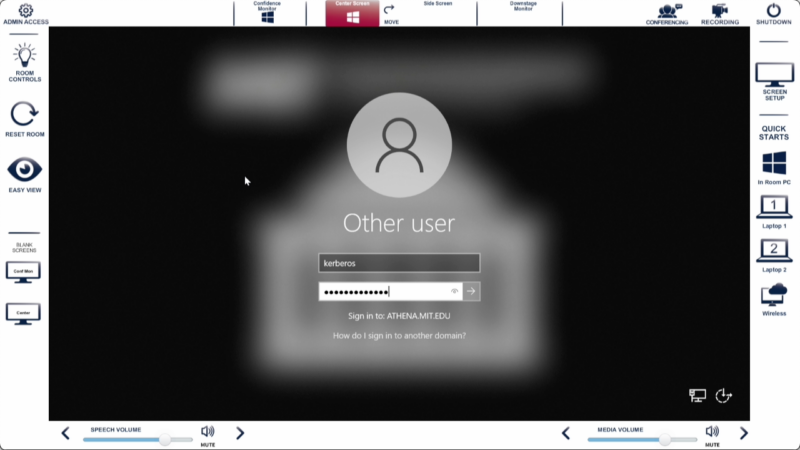
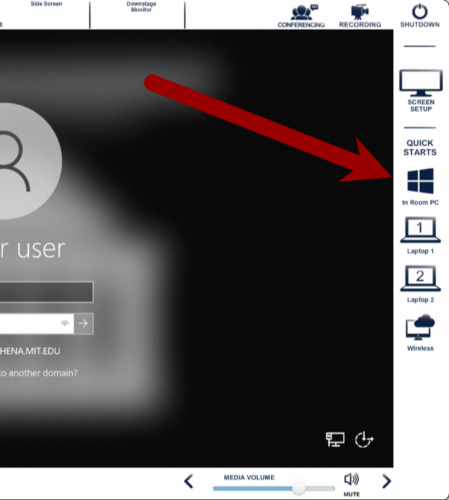
- If you don’t see the PC login screen on the Touch Panel, tap In-Room PC on the right.
- Log in using your MIT Kerberos credentials.
Choose Where the In-Room PC Shows in the Room
We refer to devices like the In-Room PC as Sources or Inputs, and all projectors, displays, and screens as Destinations. Changing what appears on these displays is called Video Routing. Use the Touch Panel on the Teaching Table to adjust video routing through one of three options: Quick Starts, the Menu Bar, or Easy View.
Routing Option 1: Quick Starts
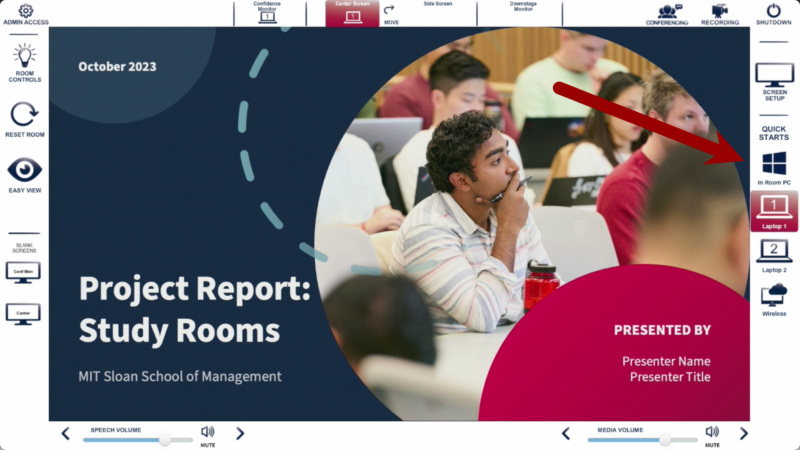
- On the right side of the Touch Panel, there are four Quick Starts.
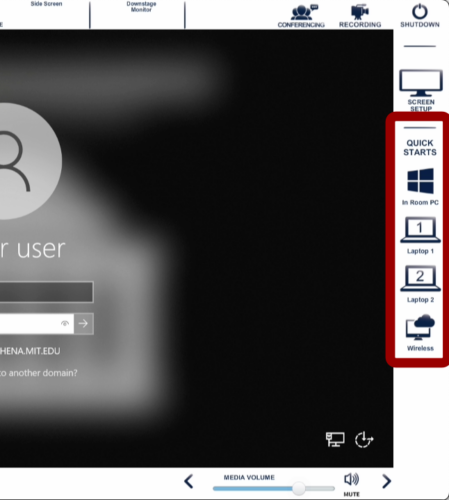
- Tap on In-Room PC.
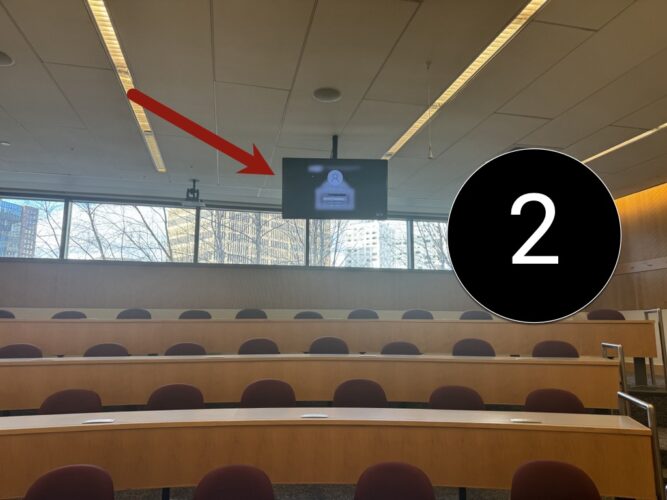
- You will see the PC on the Main Projector [1] and the Confidence Monitor [2] (the display hanging from the ceiling).

Routing Option 2 – Menu Bar
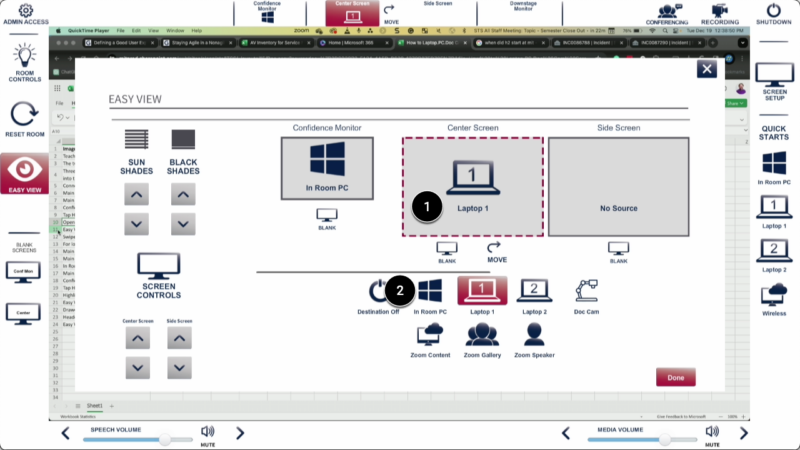
You can control what appears on each screen or monitor using the four display buttons at the top center of the Touch Panel. Each button represents a projector or monitor in the room. Tap a button to view available sources, then select the In-Room PC to route it to that specific display—such as the Side Screen or Confidence Monitor.
- On the top of the Touch Panel, you will see the available destinations for the In-Room PC.

- Tap on the screen or monitor you want to see the In Room PC on [1]. Tap on In Room PC [2].

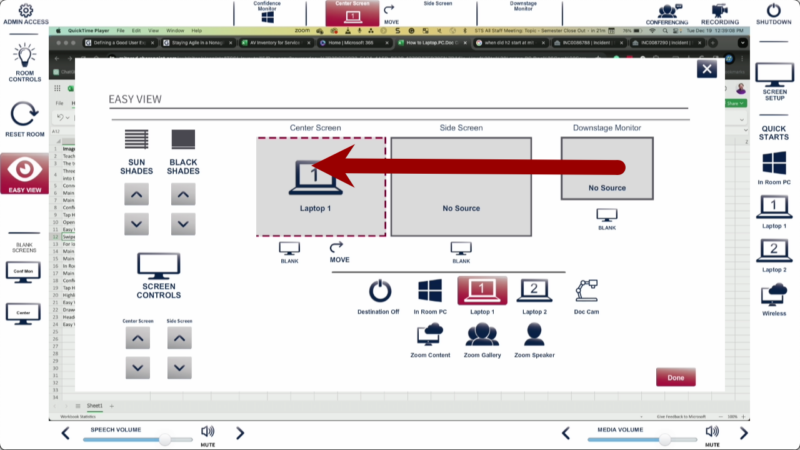
- Repeat Steps 1-2 until the In-Room PC appears on all desired classroom projectors and monitors.
- Optional:
- If you want to use the chalkboard and only one screen is active, tap the Move button at the top center of the Touch Panel. This turns off the Center Screen and displays the In-Room PC on the Side Screen. Tap Move again to return your content to the Center Screen.

- If two screens are active, the Swap button exchanges the content between them.