SKIP AHEAD TO
At a Glance
Many MIT Sloan classrooms are equipped with Zoom Rooms, a system that seamlessly connects the classroom to a Zoom meeting. Zoom Rooms allow you to use the room’s integrated audio and camera systems, ensuring clear communication between the audience and presenter. This setup enhances the quality and productivity of your recitation or meeting.
Connect the Room to Zoom
The meeting will connect automatically in many rooms if you are receiving AV support from MIT Sloan Technology Services. If you are connecting to a meeting that is not on the room’s schedule, follow these steps to join the meeting with the room.
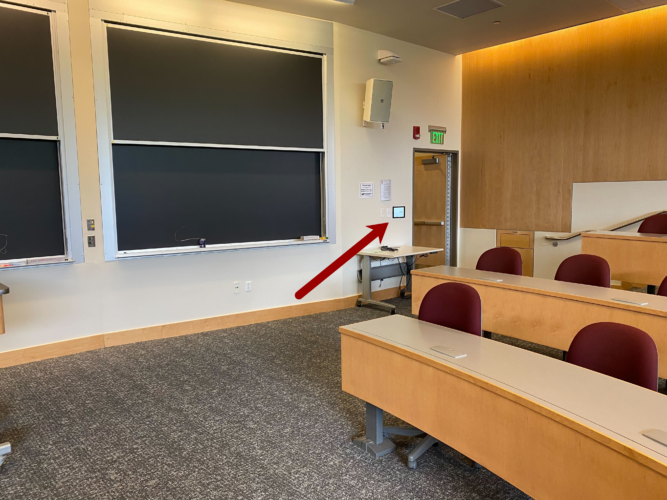
- Locate the Zoom Room Controller on the wall near the lights and shades controls.

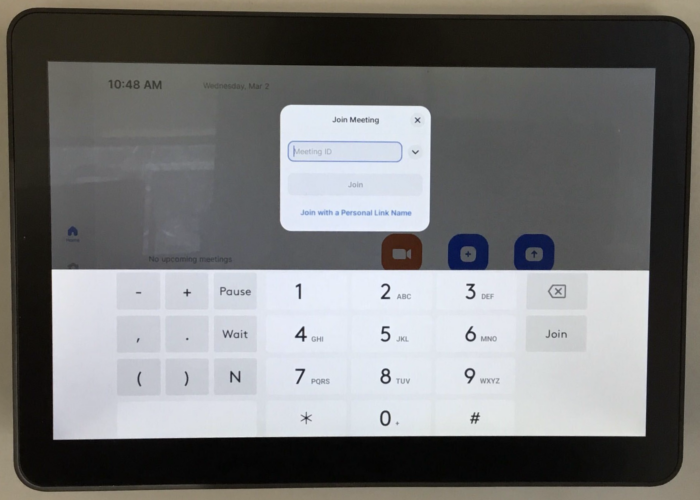
- Tap Join on the left of the Touch Panel.
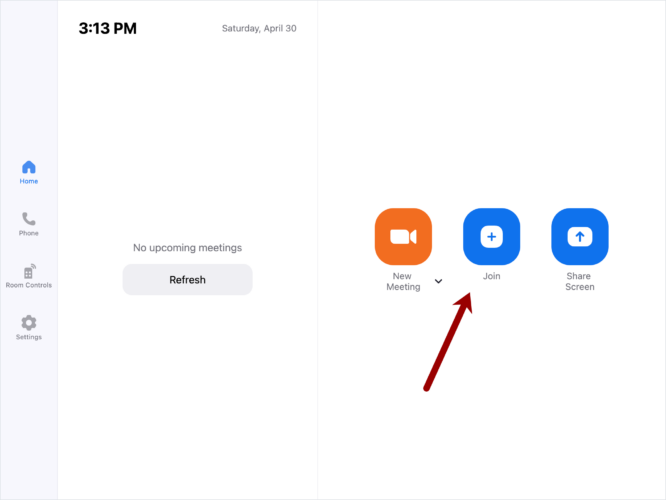
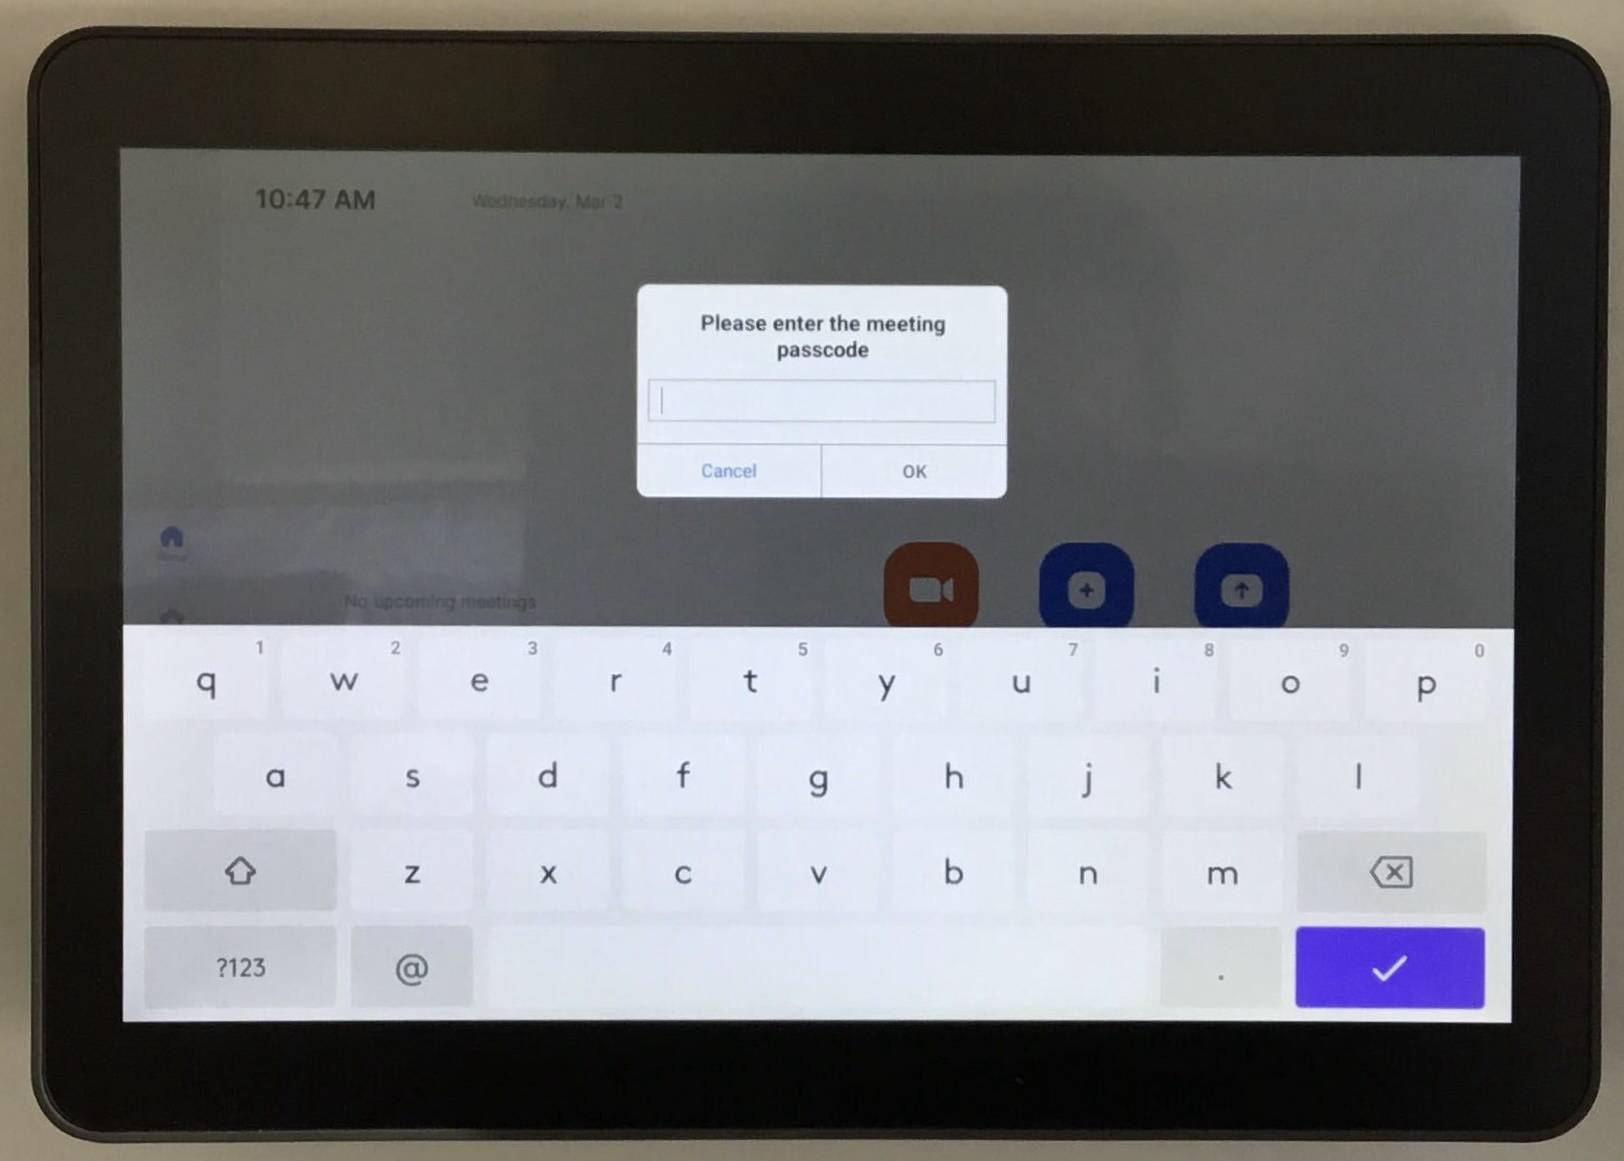
- Enter the Meeting ID and Passcode (if necessary).
Set up the Room
The classroom can be configured in a multitude of ways for teaching and learning scenarios. We have learned the best way to set up a classroom for most events with remote participation. We will be using a Quick Start for Remote or Local Presentations.
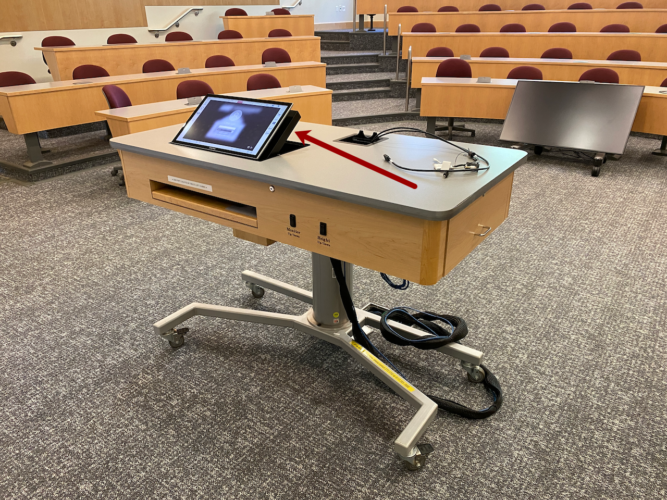
- Navigate to the Touch Panel on the Teaching Table in the front of the classroom.
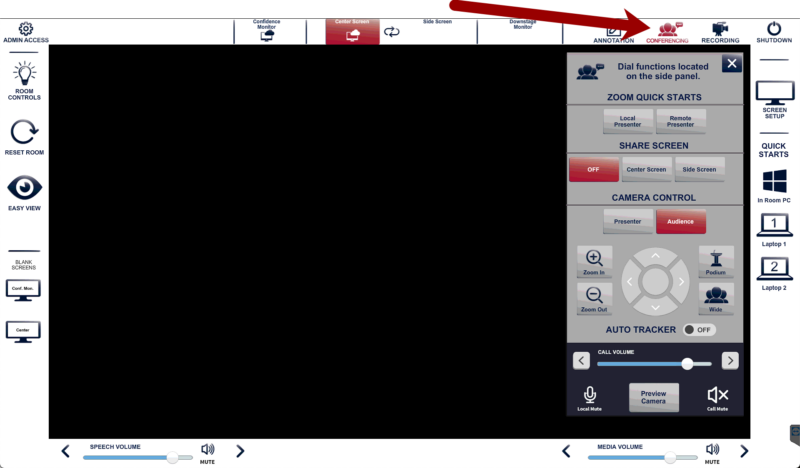
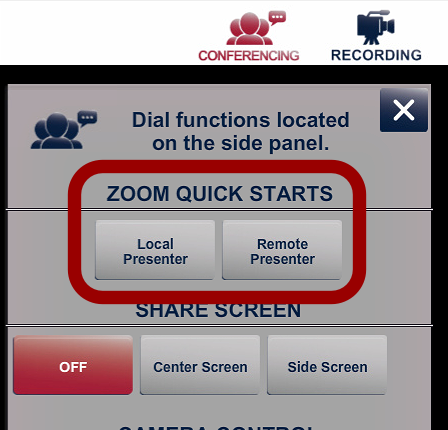
- On the Touch Panel on the Teaching Table, tap Conferencing in the top right.
- Choose Local Presenter if you’re presenting from the room or Remote Presenter if someone is calling in.
Control the Cameras
In order to set the best camera angle, you will need to go to the front of the classroom and use the large touchpanel again. The following steps will show you or someone in the room how to preview and control the cameras:
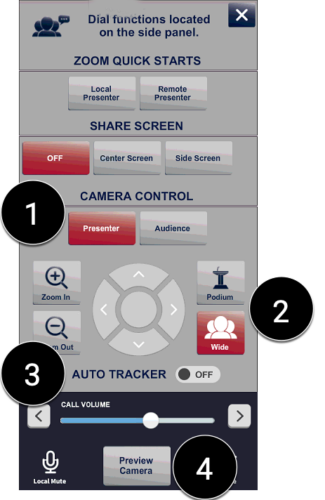
- There are two cameras in the classroom. One is mounted in the back of the room and is called the Presenter camera [1]. The other is mounted near the boards and points toward the Audience.
- The middle section of the conferencing panel adjusts the angle and zoom level of the selected camera. Podium and Wide [2] are our most commonly used settings and can be quickly recalled on the right. The left has pan, tilt, and zoom controls to move the camera around.
- The Auto Tracker [3] will make the camera automatically follow the person in the front of the room. It is not perfect, so it is good to keep an eye on how it’s doing, if possible.
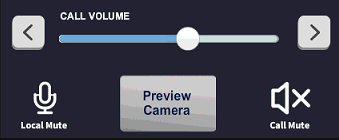
- Preview Camera [4] will send the selected camera to a couple of screens so you can keep an eye on what the people in Zoom see.