IMPORTANT: This is not a Touchstone sign-on enabled application. You will need to create a unique, strong password for this account. Do NOT use your MIT Kerberos password for your Explain Everything account.
Tip: Set up your Explain Everything project (canvas) before class to save time.
Add Content
Add Files
Explain Everything lets you import documents, spreadsheets, presentations, and images directly onto your infinite canvas:
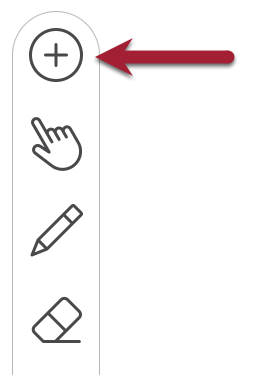
- While in your Explain Everything project, tap Add Media from the toolbar.
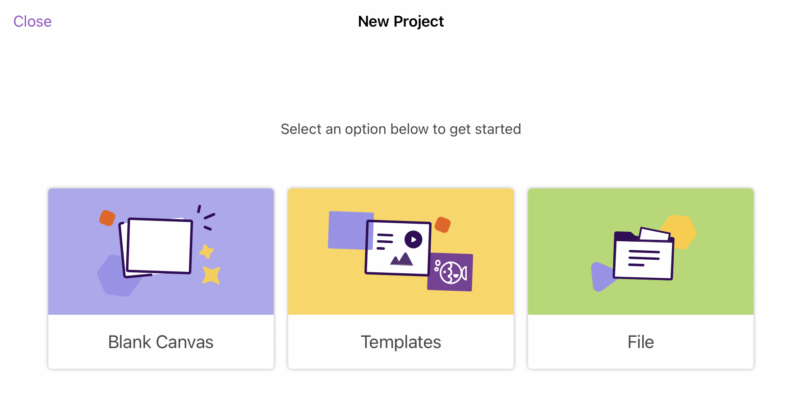
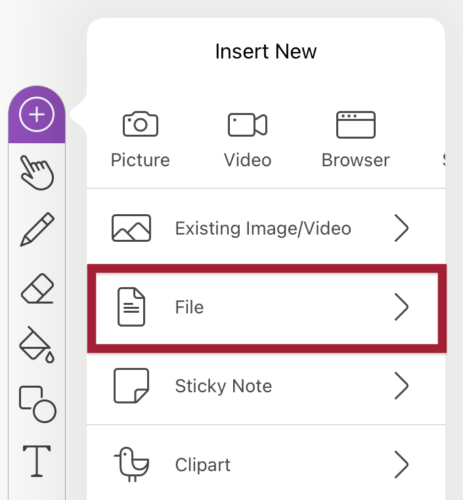
- From the menu, choose File.
- Navigate to the location where your file is stored (e.g., cloud storage, local device).
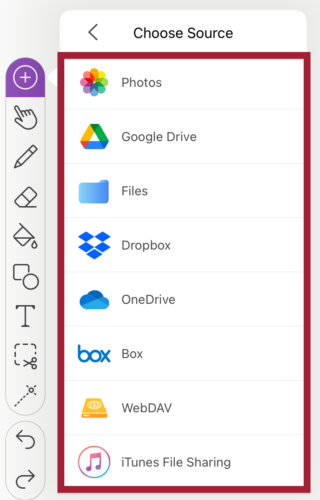
- Tap on the file you’d like to import.
- If the file contains multiple pages, select which pages you’d like to import.
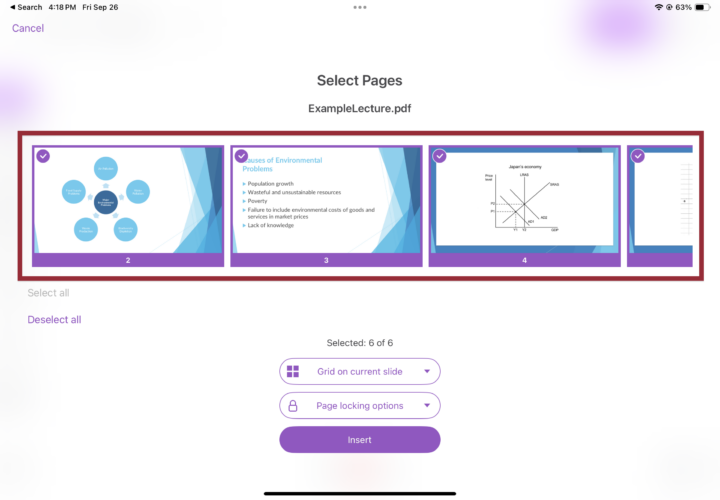
- Choose a layout:
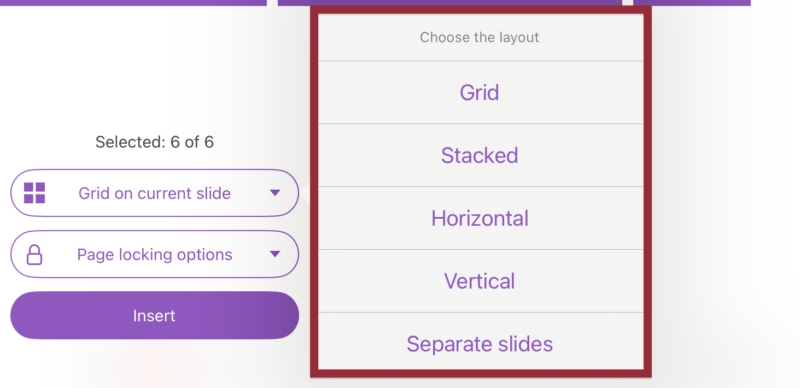
- Tap on the Grid on current slide button.
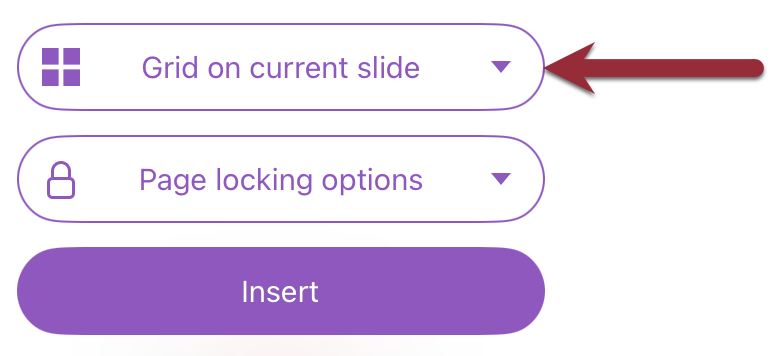
- Select one of the following: Grid, Stacked, Horizontal, Vertical, or Separate Slides.
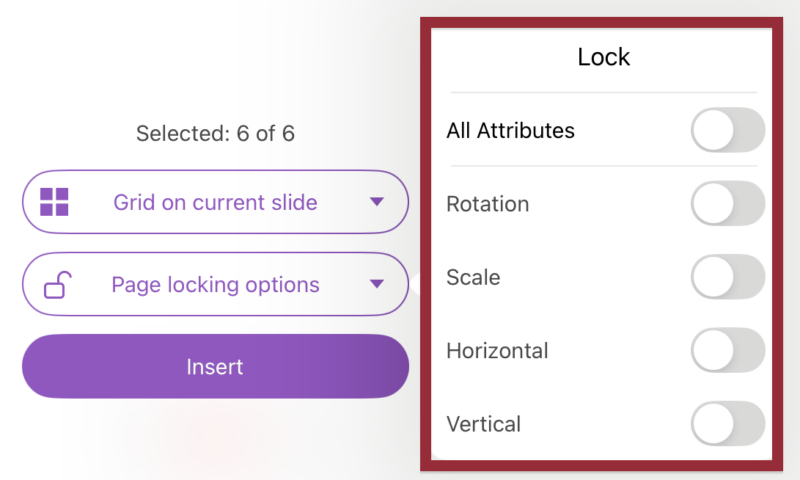
- Choose a page locking option:
- Tap on the Page locking options button.
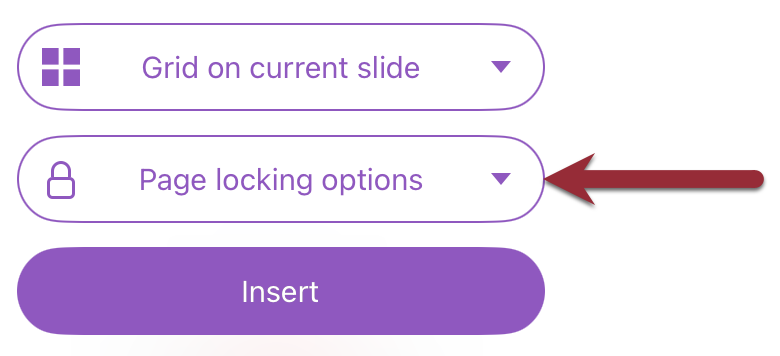
- Select one of the following:
- Rotation: Lock/unlock rotating pages.
- Scale: Lock/unlock scaling pages.
- Horizontal or Vertical: Lock/unlock movement.
- All Attributes: Lock all movement, scaling, and rotation (can be unlocked later via the Context Menu).
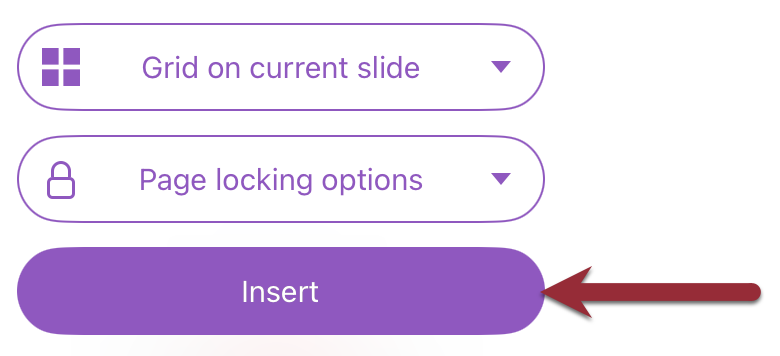
- When ready, tap Insert to place the content on your infinite canvas.
Add Web Browsers
Add a live web browser to your canvas to display websites, real-time data, or online resources without leaving Explain Everything:
- While in your Explain Everything project, tap Add Media from the toolbar.
- From the Insert New menu, tap Browser.
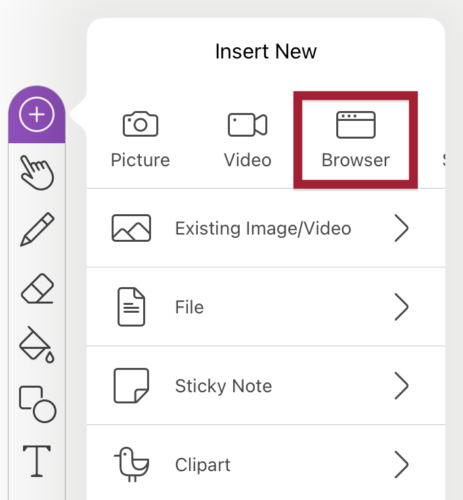
- Enter a web address, search for a term, or open a page from your favorites.
Add Sticky Notes
Use “Post-it” style notes to capture ideas on the fly. Great for brainstorming sessions, group discussions, or labeling important content on your canvas:
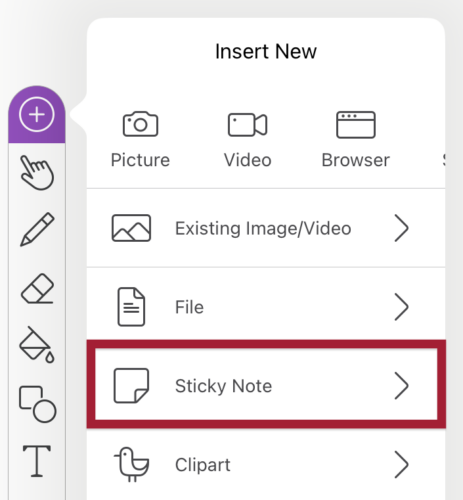
- While in your Explain Everything project, tap Add Media from the toolbar.
- From the menu, tap Sticky Note. The Sticky Note will appear right in the middle of your infinite canvas.
- A list of formatting options will appear above your keyboard. You can apply these immediately or after you’ve finished typing in your text.

- Type in or paste the text you want to display in your Sticky Note.
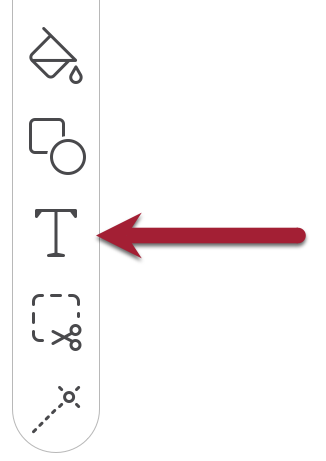
Add Text
Use the Text Tool to insert editable text anywhere on your project. This is great for adding titles, labels, prompts, or detailed notes alongside your visuals.
- While in your Explain Everything project, tap the Text Tool from the toolbar.
- Tap where you’d like your Text Box to be. You can also drag across the canvas to immediately set the size of the Text Box.
- Type in or paste the text you want to display.
Share Your Content Wirelessly
You can present your Explain Everything content wirelessly while moving freely around the classroom.
Use the built-in Laser Pointer or Draw tool to highlight key areas during your class lecture.
Annotate
Use the drawing and annotation tools to highlight key points, illustrate concepts, capture student input, and annotate slides or materials in real time—all on your infinite canvas.
Use the Pen Tool
- Tap the Drawing tool from the toolbar.
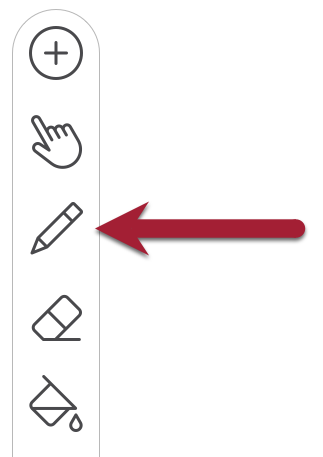
- Tap the Pen tool.
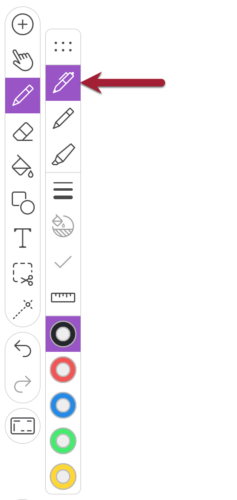
- Adjust color, opacity, and line thickness as needed.
- Draw, sketch diagrams, or emphasize key text.
Use the Highlighter Tool
- Tap the Drawing tool from the toolbar.
- Tap the Highlighter tool.
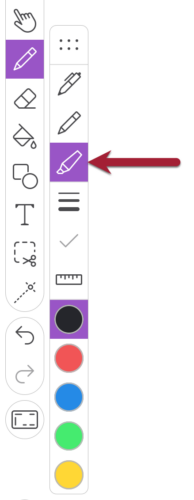
- Adjust color, opacity, and line thickness as needed.
- Draw, sketch diagrams, or emphasize key text.
Use the Eraser Tool
- Tap the Eraser tool from the toolbar.
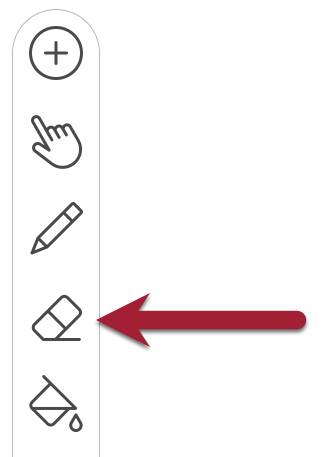
- Tap or drag on the canvas to erase or fine-tune your annotations.
Use the Zoom & Pan Tool
- Tap the Zoom and Pan tool from the toolbar.

- Tap or drag on the canvas to zoom in, zoom out, or move freely across the infinite canvas.
Collaborate
You can invite students, TAs, or colleagues to work on your canvas in real time. Collaboration is great for small-group brainstorming, interactive workshops, or team problem-solving. Everyone can add sticky notes, annotate slides, or draw simultaneously, just like a shared digital whiteboard:
- Open your project in your Explain Everything project.
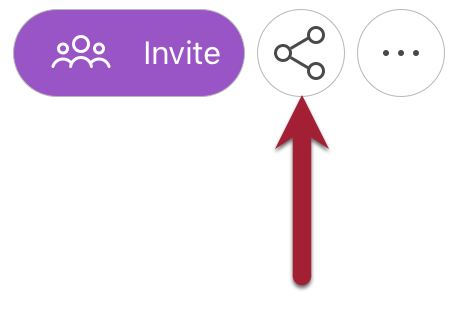
- Tap the Invite icon in the upper right-hand corner of the screen.

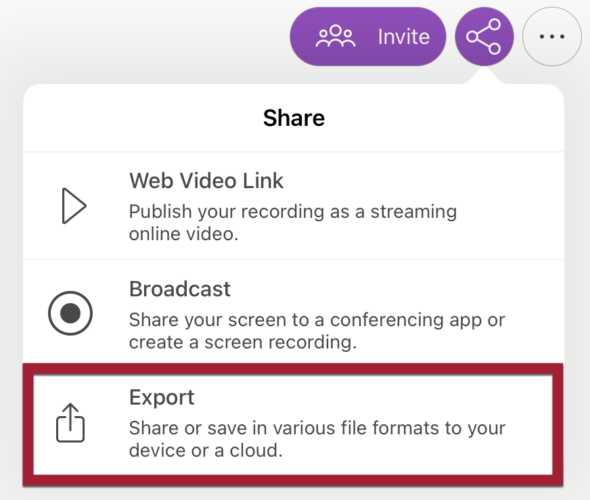
- From the Collaboration menu, tap the Invite Link.
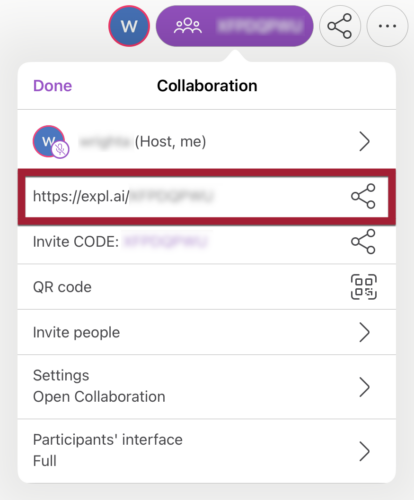
- Copy and paste the Invite Link into an email or chat message to share it with others.
- When someone clicks the Invite Link, it takes them directly to your project.
- If they have Explain Everything installed on their device, the link will open the app and allow them to join immediately.
- If they don’t have the app, they’ll be prompted to open the project in a browser or install the app first.
How to Get Support
Explain Everything
Explain Everything provides end-user support as part of MIT’s Enterprise license. You can search the Explain Everything Help Center or contact Explain Everything via email at support@explaineverything.com
MIT Sloan Teaching & Learning Technologies
for teaching and learning.
Related Resources