At a Glance
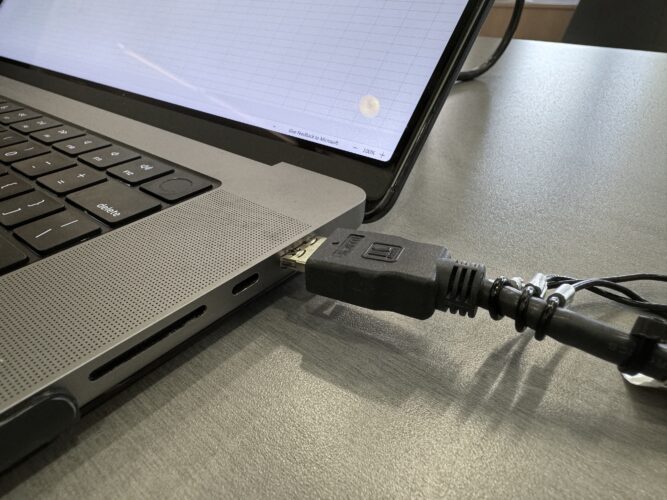
You can connect your laptop and display your screen on any projector or monitor using the Touch Panel in an MIT Sloan classroom.
Bringing your own laptop helps you get set up quickly and work within your familiar environment, with all your files easily accessible.
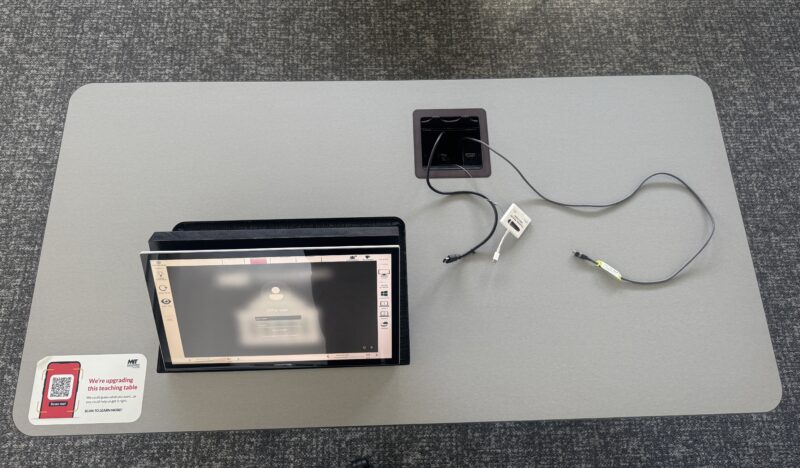
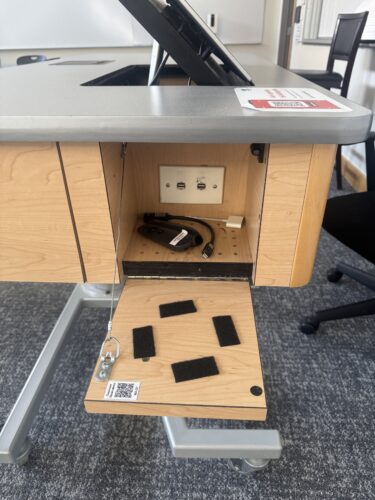
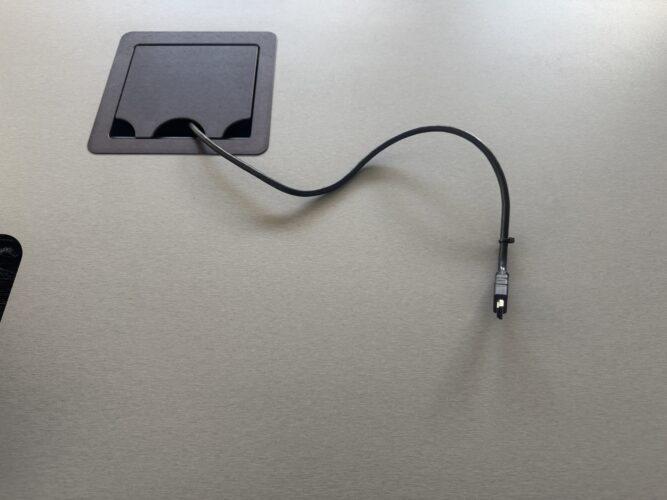
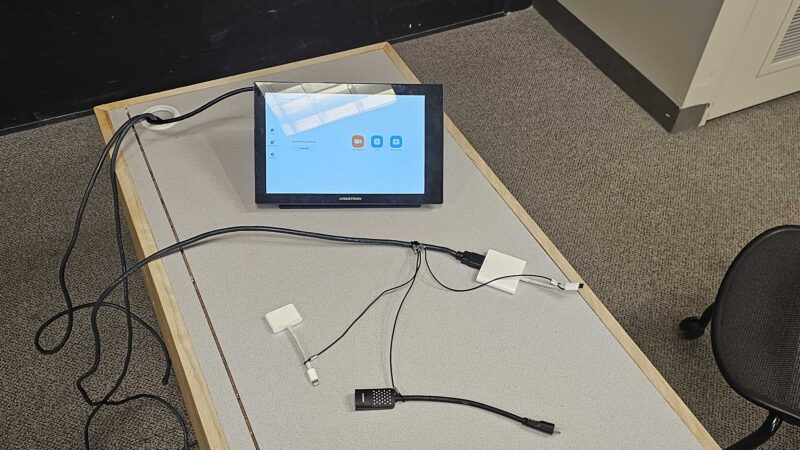
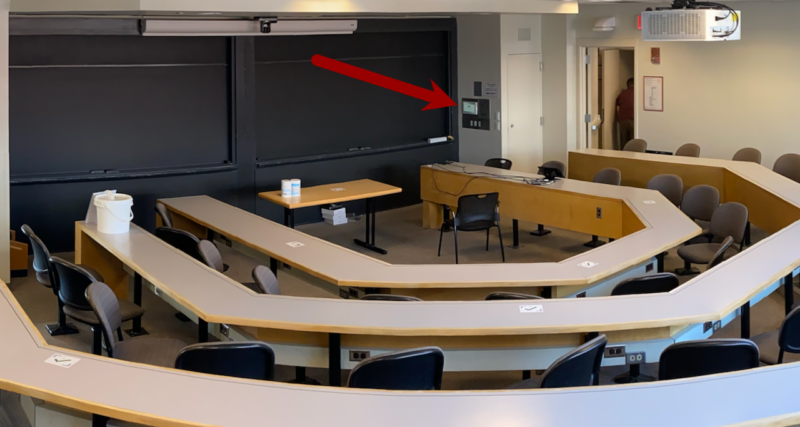
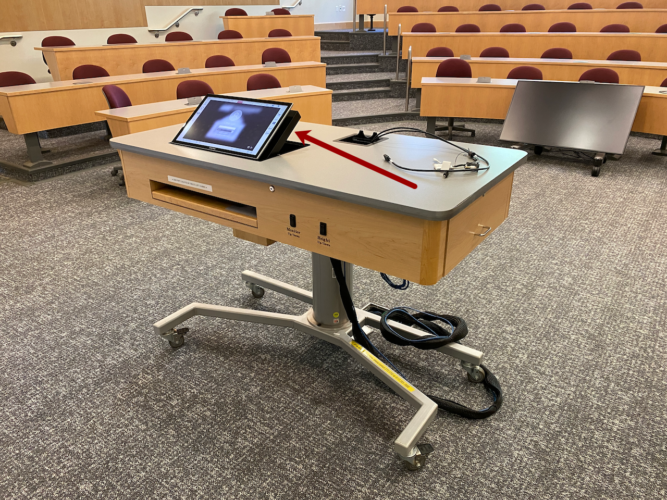
Locate the Teaching Table and/or Touch Panel
Large classrooms feature a 22″ Touch Panel built into the Teaching Table. Follow these instructions to get started.

E51-372, E51-376, and E51-395 have a 10″ Touch Panel mounted to the wall. Follow these instructions to get started.
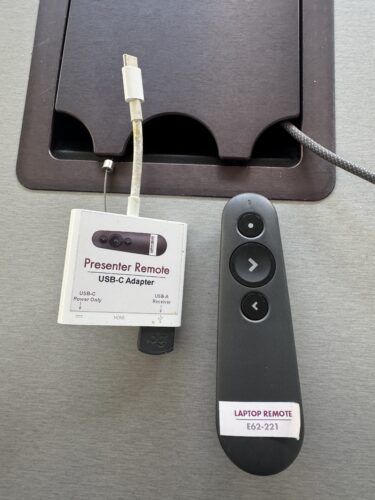
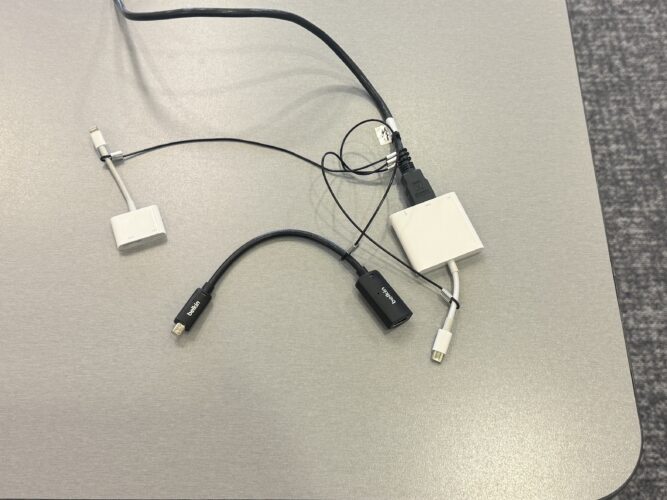
Tip: If there are two laptop cables, you can also plug your phone in to play music or other audio. You will hear it even if it’s not shown on a screen or projector.
Note: To play sound through the room speakers, set your laptop’s audio output to Crestron, then follow the instructions to connect Crestron to your PC or Mac.
Choose Where Your Laptop Shows in the Room
We refer to devices like your laptop as Sources or Inputs, and all projectors, displays, and screens as Destinations. Changing what appears on these displays is called Video Routing. Use the Touch Panel on the Teaching Table to adjust video routing through one of three options: Quick Starts, the Menu Bar, or Easy View.
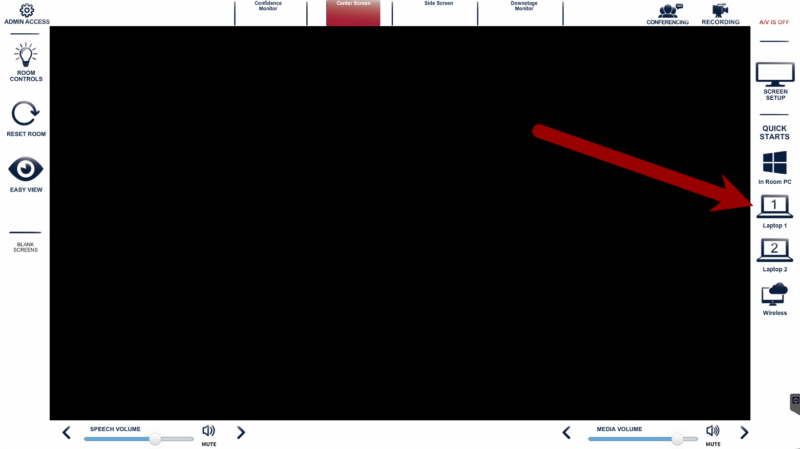
Routing Option 1: Quick Starts
You can use Quick Starts to set up your presentation in one tap. Quick Starts ties many actions into one button press, so you won’t have to tap multiple buttons on the classroom interface.
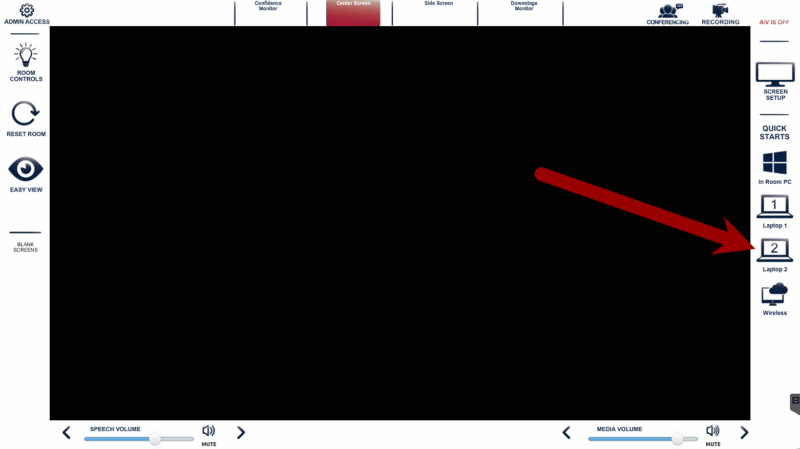
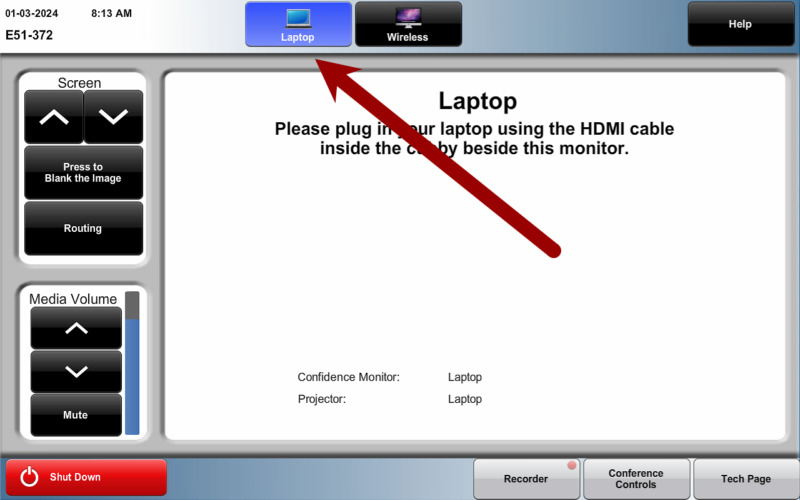
- On the right side of the Touch Panel, there are four Quick Starts.
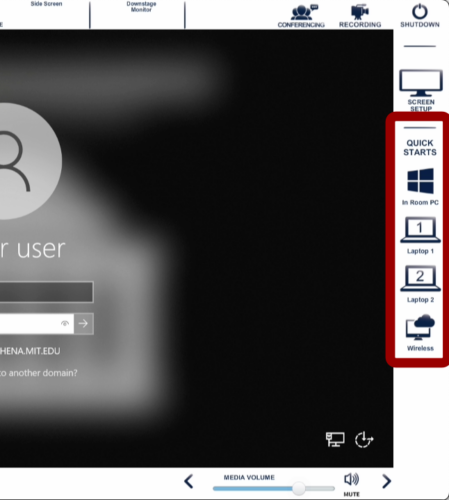
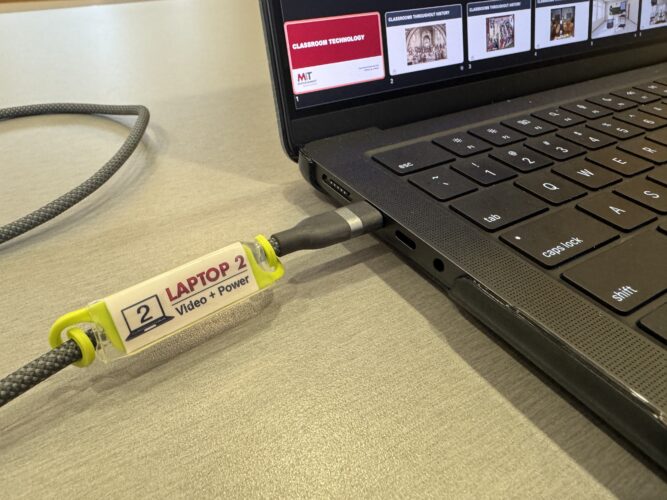
- Select Laptop 1 or Laptop 2 based on which cable you plugged into your laptop.
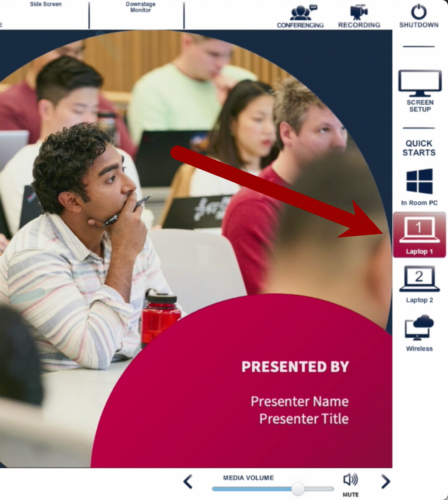
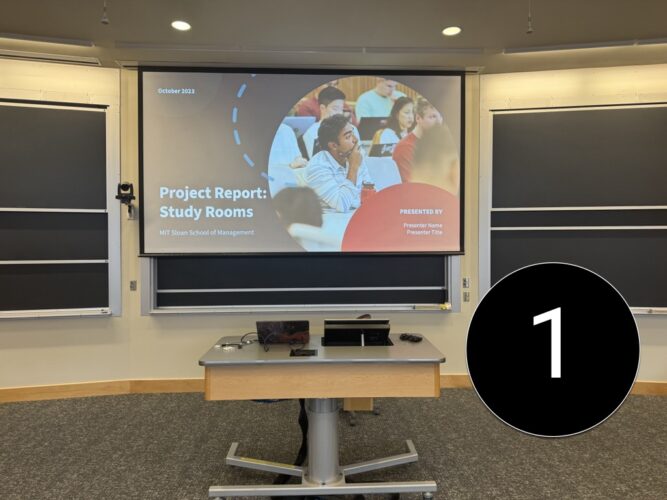
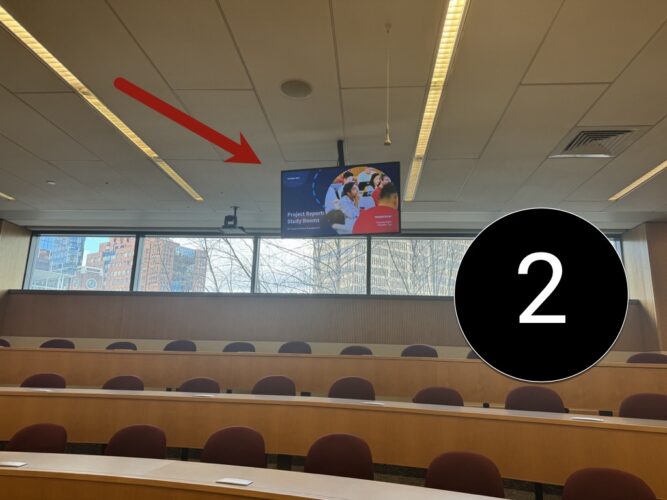
- You will see your laptop on the Main Projector [1] and the Confidence Monitor [2] (the monitor hanging from the ceiling).
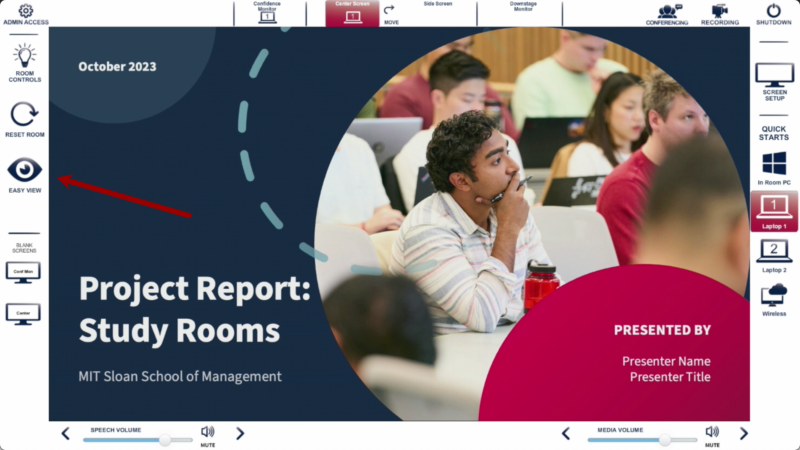
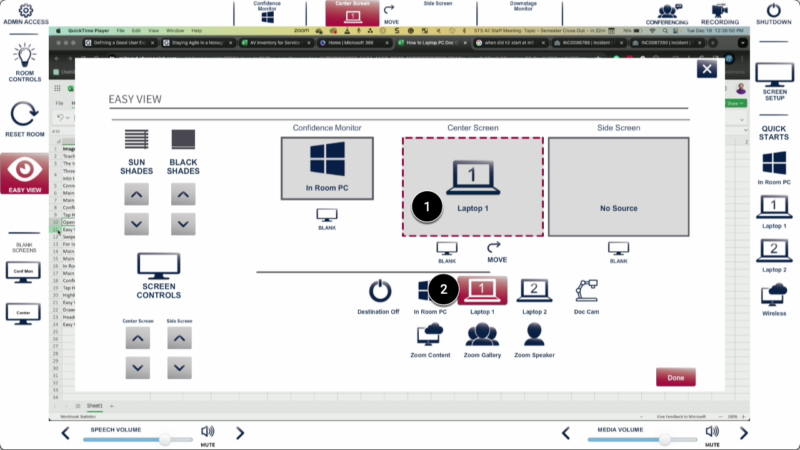
Routing Option 2: Menu Bar
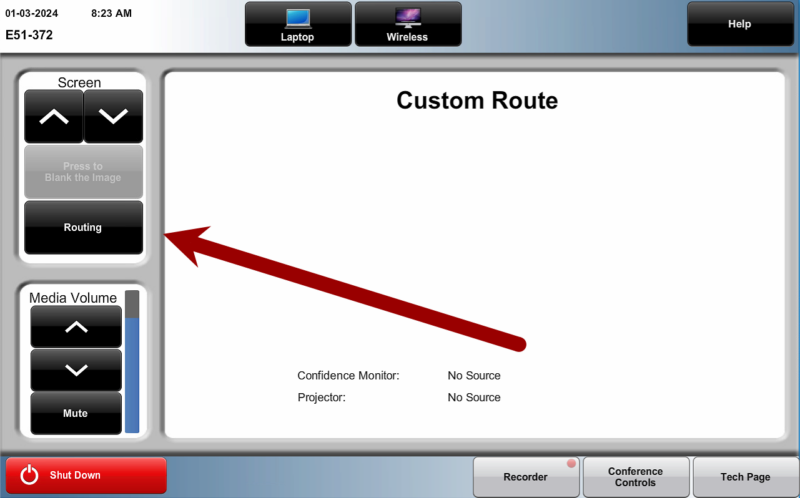
You can change what goes on the screens or monitors using the four buttons in the top center. They represent a screen or display and can be tapped to show the different sources available to you. Use it if you want to route your laptop to individual displays like the Side Screen.
- On the top of the Touch Panel, you will see the available destinations for your laptop.

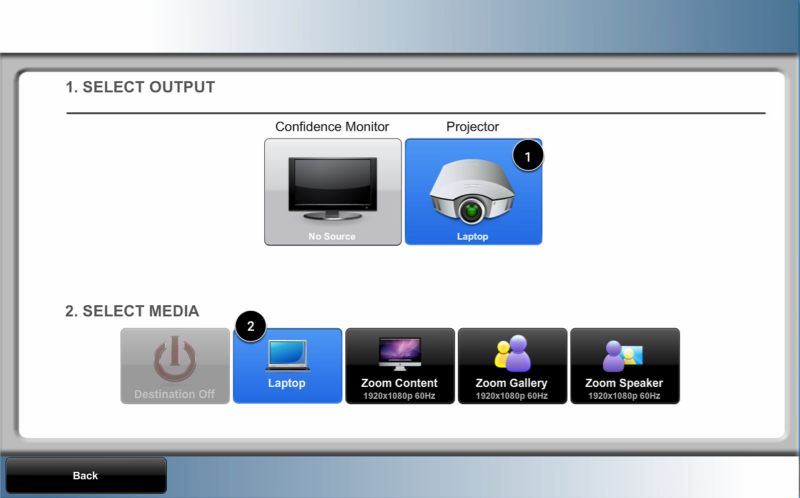
- Tap on the screen or monitor you want to see your laptop on [1] and tap on Laptop 1 or Laptop 2 [2] based on which HDMI laptop cable you plugged in.

- Repeat Steps 1-2 until your laptop screen appears on all desired classroom projectors and monitors.
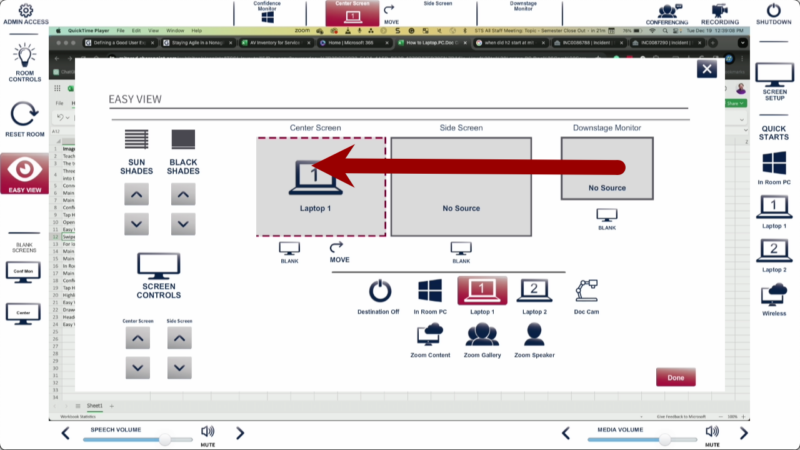
- Optional:
- If you want to use the chalkboard and only one screen is active, tap the Move button at the top center of the Touch Panel. This turns off the Center Screen and displays your laptop screen on the Side Screen. Tap Move again to return your content to the Center Screen.

- If two screens are active, the Swap button exchanges the content between them.
Note: To play sound through the room speakers, set your laptop’s audio output to Crestron, then follow the instructions to connect Crestron to your PC or Mac.