At a Glance
A+ Attendance (also called aPlus+ Attendance) lets you track and manage student attendance directly in your Canvas course. Students can check themselves in using codes you display, or you can manually record attendance.
Before You Start
Before taking attendance for the first time, complete the Basic Setup steps and you’ve completed all checklist items in Verify Your Setup. Getting it right ensures students can quickly check themselves in, teaching teams save time during and after class, and attendance data stays accurate—helping you avoid headaches later.
Ways to Take Attendance
You have a few options for taking attendance in A+:
IMPORTANT: In A+ Attendance, unmarked attendance records do not count. For example, if a student has “Attended – On Time” for two of three class sessions but the third session is unmarked, their attendance record will display as 2/2.
To ensure accuracy, apply an attendance status (e.g., Attended – On Time, Absent – Excused) for each student in every class session.
Student Self Check-in
Choose between static or rolling codes to display during class. Students enter the code on their device to check themselves in.
Static Code
A unique code is generated for each class session. Students enter the code on their devices to check in.
How It Works
You can write the code on the blackboard or post a printed copy on the wall. Students use this code to check in on their phone or laptop, whether they arrive early, on time, or a few minutes late.
How to Share a Static Code
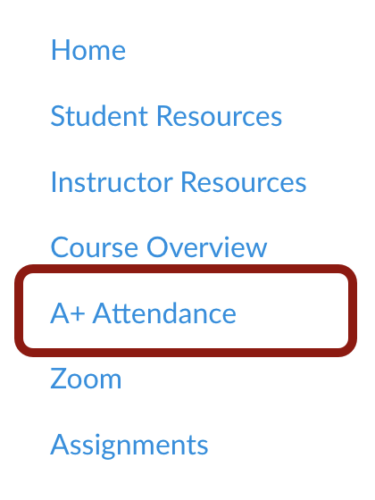
- In your Canvas course, click on A+ Attendance in the Course Navigation Menu.
- IMPORTANT – DO NOT SKIP THIS STEP: In the top menu of A+ Attendance, click on the Section drop-down menu [1], and select the student section you want to take attendance for [2].
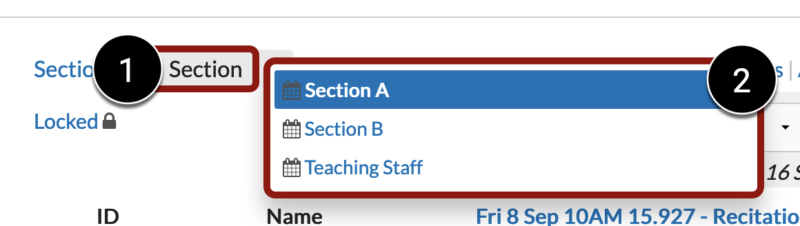
- Why this matters: All MIT Sloan Canvas sites include a Teaching Staff section for faculty, course admins, and TAs, and A+ Attendance may default to it. Always switch to a student section before taking attendance. Skipping this step can prevent students from checking themselves in or cause errors.
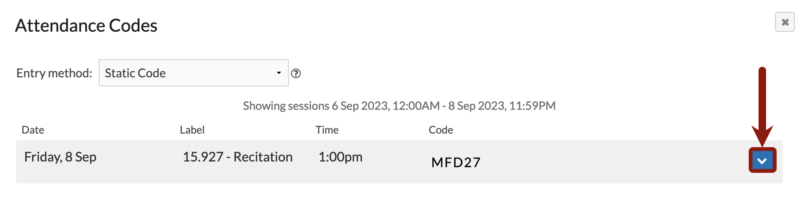
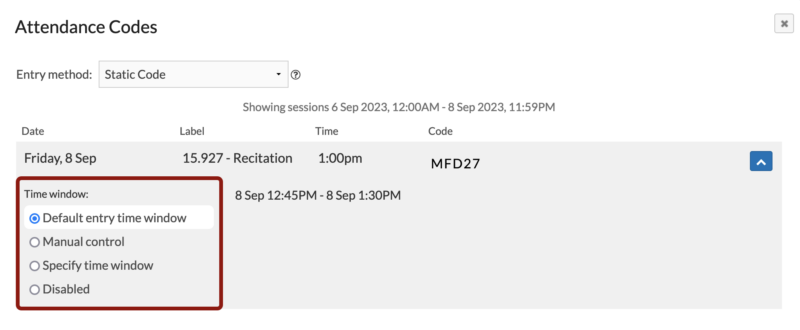
- Before your class session, click Codes in the top menu of A+ Attendance. The window will show your next few classes and the code for each one.

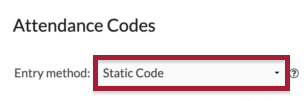
- From the Entry method drop-down menu, select Static Code.
- Click on the Down Arrow icon for a class session.
- Under Time Window, choose one of the following:
- Default entry time window: 30 minutes before and after the start time.
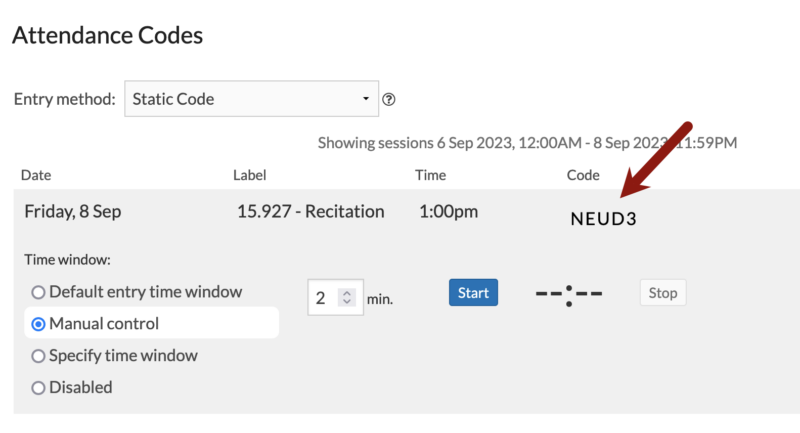
- Manual entry: Open and close the time window yourself.
- Specify time window: Define your own time window in advance.
- Disabled: Turn off code entry for this session.
- Share the code with your students.
- Ask students to check themselves in on their device. Note: Codes aren’t case-sensitive, so students can type them in uppercase or lowercase.
What You’ll See in Canvas
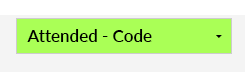
When a student successfully checks in using a unique code, their attendance status will display as “Attended – Code” in A+ Attendance.
Tip: For students who missed check-in (e.g., absent, encountered an error, or arrived too late), manually mark their attendance status after class. See Manual Entry below for steps.
Make sure to mark every student in every class—unmarked students automatically count as excused absences, which may not reflect their actual attendance.
Rolling Code
Use a code that automatically changes at set intervals during class (for example, every 60 seconds). Rolling codes reduce the chance of students sharing the code outside class.
How It Works
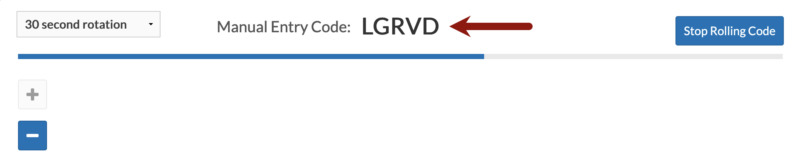
A+ Attendance generates a code that updates automatically during a time window you set (e.g., every 60 seconds). Students see the code currently displayed and check themselves in on their phone or laptop.
Most teaching teams display rolling codes on the classroom screen for the first 5–10 minutes of class before switching to course materials. In classrooms with multiple displays, you can dedicate one screen to the rolling code while using the others for teaching materials.
How to Share a Rolling Code
- In your Canvas course, click on A+ Attendance in the Course Navigation Menu.
- IMPORTANT – DO NOT SKIP THIS STEP: In the top menu of A+ Attendance, click on the Section drop-down menu [1], and select the student section you want to take attendance for [2].
- Why this matters: All MIT Sloan Canvas sites include a Teaching Staff section for faculty, course admins, and TAs, and A+ Attendance may default to it. Always switch to a student section before taking attendance. Skipping this step can prevent students from checking themselves in or cause errors.
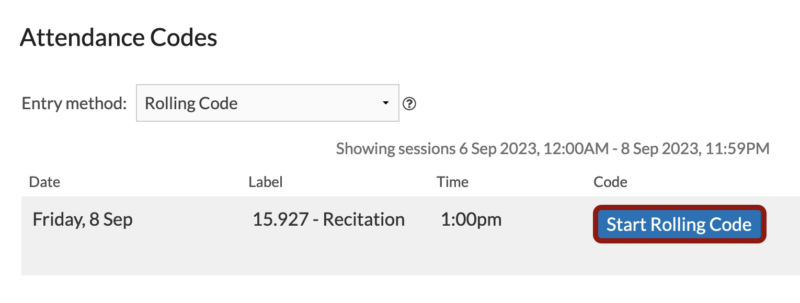
- Before your class session, click Codes in the top menu of A+ Attendance. The window will show your next few classes and the code for each one.
- From the Entry method drop-down menu, select Rolling Code.
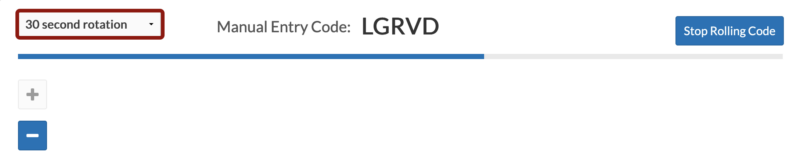
- Click the Start Rolling Code button.
- To change how often the code rotates, click on the Rotation drop-down menu in the top-left corner (e.g., 60 second rotation).
- Share the code with your students by projecting it on the classroom screen.
- IMPORTANT: Start the rolling code before projecting your screen. If you project first, student names and attendance records will be visible to the entire class.
- Ask students to check themselves in on their device. Note: Codes aren’t case-sensitive, so students can type them in uppercase or lowercase.
What You’ll See in Canvas
When a student successfully checks in using a unique code, their attendance status will display as “Attended – Code” in A+ Attendance.
Tip: For students who missed check-in (e.g., absent, encountered an error, or arrived too late), manually mark their attendance status after class. See Manual Entry below for steps.
Make sure to mark every student in every class—unmarked students automatically count as excused absences, which may not reflect their actual attendance.
Manual Entry by the Teaching Team
Use this option to mark or update student attendance yourself in A+ Attendance. This method is ideal for taking attendance in real time or making changes later—for example, updating a status for a student who arrived late or missed a check-in.
In your Canvas course, click on A+ Attendance in the Course Navigation Menu.
- IMPORTANT – DO NOT SKIP THIS STEP: In the top menu of A+ Attendance, click on the Section drop-down menu [1], and select the student section you want to take attendance for [2].
- Why this matters: All MIT Sloan Canvas sites include a Teaching Staff section for faculty, course admins, and TAs, and A+ Attendance may default to it. Always switch to a student section before taking attendance. Skipping this step can prevent students from checking themselves in or cause errors.
- Click Students in the top menu.
- Find the class meeting date where you want to take attendance and click its column header.
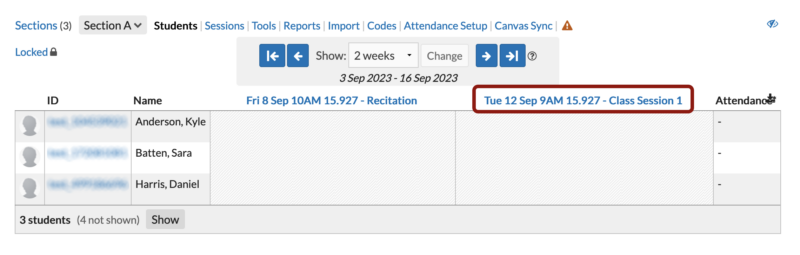
- Your class roster for the selected section will appear.
- OPTIONAL – Apply the same status to multiple students:
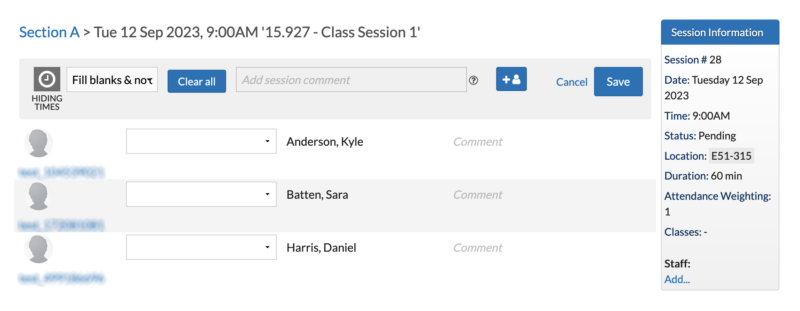
- To give several students the same attendance status, click Fill blanks & note data.
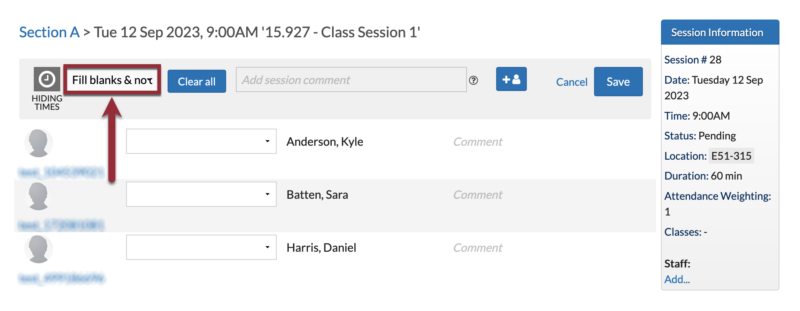
- Select the appropriate attendance status (e.g., Attended-Late, Absent-Excused).
- This only fills empty attendance records and will not overwrite data you’ve already entered, and you can then adjust individual records as needed.
- You can use it multiple times with different statuses if needed.
- Always review your selection carefully before saving to avoid errors.
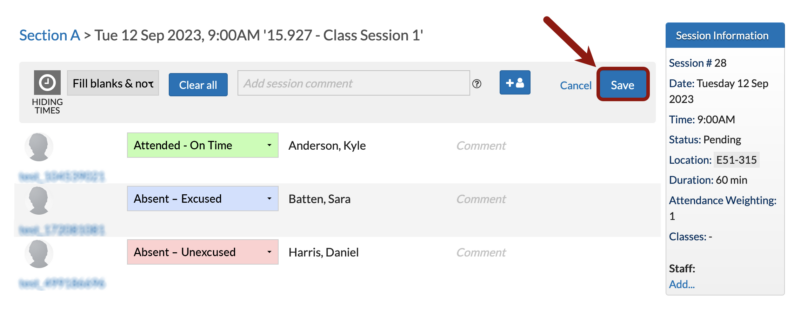
- Update individual records:
- Click on the Attendance Status drop-down menu for a student.

- In the Attendance Status drop-down menu, select the appropriate attendance status (e.g., Attended – On Time, Absent – Excused) for that student.

- OPTIONAL: Add a note in the Comment text box.

- Note: Comments are currently hidden from students. Only the teaching team can view them.
- Repeat these steps until you’ve recorded the attendance of each student in the selected section.
- When you’re done, click the Save button in the top-right corner of the screen..
Verify Attendance is Recorded Correctly
When taking attendance, use this checklist to make sure everything is recorded accurately in A+ Attendance:
- Select the correct student section:
- Confirm you’ve selected a student section (not Teaching Staff) in the Section drop-down menu. Selecting the wrong section will cause system errors or prevent student check-ins from working.
- Mark every student:
- After each class session, ensure every student has an attendance status. Unmarked students automatically count as excused absences, which may not reflect their actual attendance.
How to Get Support
Get in touch with our team by submitting a ticket. We’ll get you to the resources and support you need right away.


