SKIP AHEAD TO
At a Glance
The Group Member Evaluation tool in FeedbackFruits streamlines the way students assess their peers’ collaboration skills. As the instructor, you specify the criteria your students will use to evaluate their peers’ contribution to group work. Groups are automatically synced from the People tool in Canvas to FeedbackFruits.
Additionally, you can require that students add comments to the feedback they have provided to their peers, thereby combining quantitative and qualitative feedback.
In this guide, you’ll learn how to create a peer review assignment using FeedbackFruits in your Canvas course.
Create Groups
If you’d like students to provide peer feedback to some or all of their group members, first you need to create your groups in your Canvas course:
- In your Canvas course, create your student groups (if you haven’t already done so):
Create a Peer Review Assignment
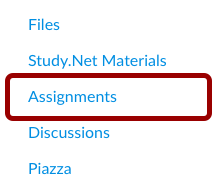
- In your Canvas course, click on Assignments in the Course Navigation Menu.
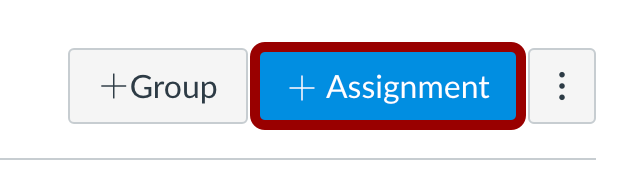
- Click the +Assignment button.
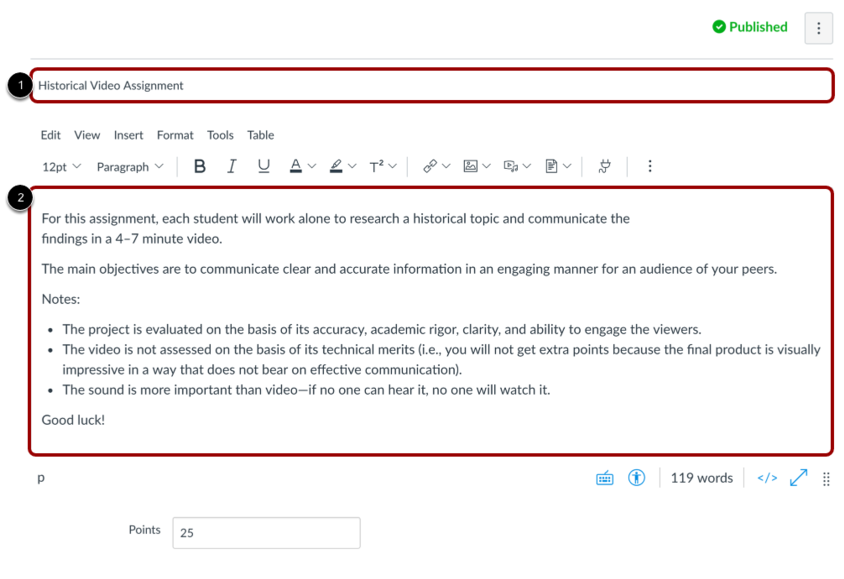
- Enter the assignment title and details:
- Type the assignment title in the Assignment Name field [1]. If you created your assignment as an assignment shell, this field will be populated for you, but you can change it if necessary.
- Use the Rich Content Editor to add images, text, links, equations, or insert media [2].
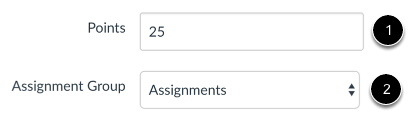
- Enter the points for your assignment in the Points field [1]. Select the Assignment Group for the assignment in the Assignment Group drop-down menu [2].
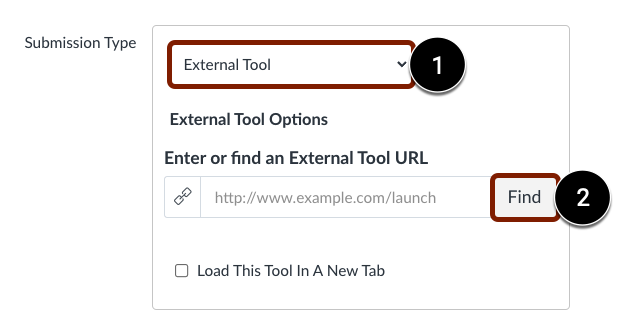
- Under Submission Type, select External Tool [1] and click the Find button [2].
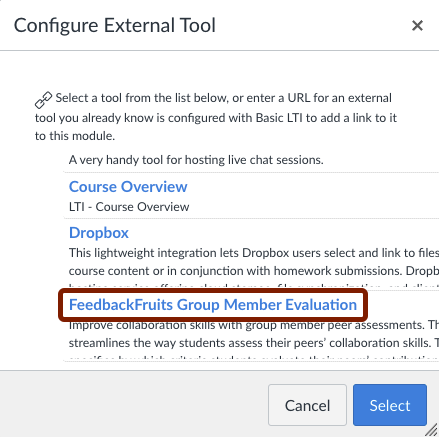
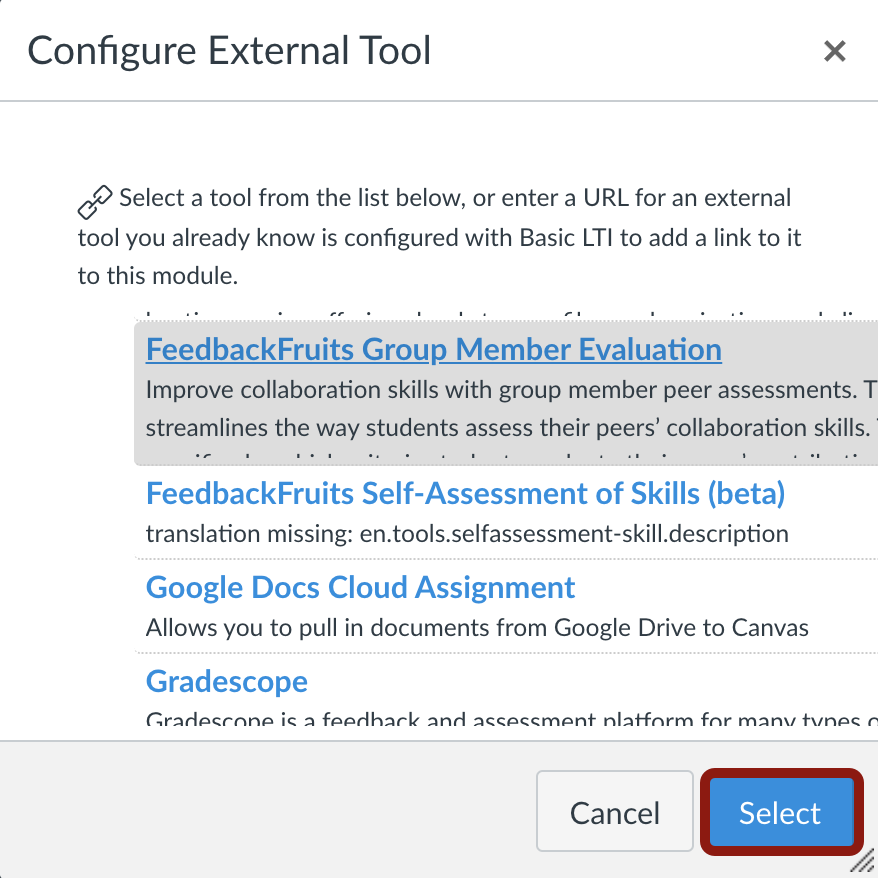
- In the Configure External Tool window, select FeedbackFruits – Group Member Evaluation.
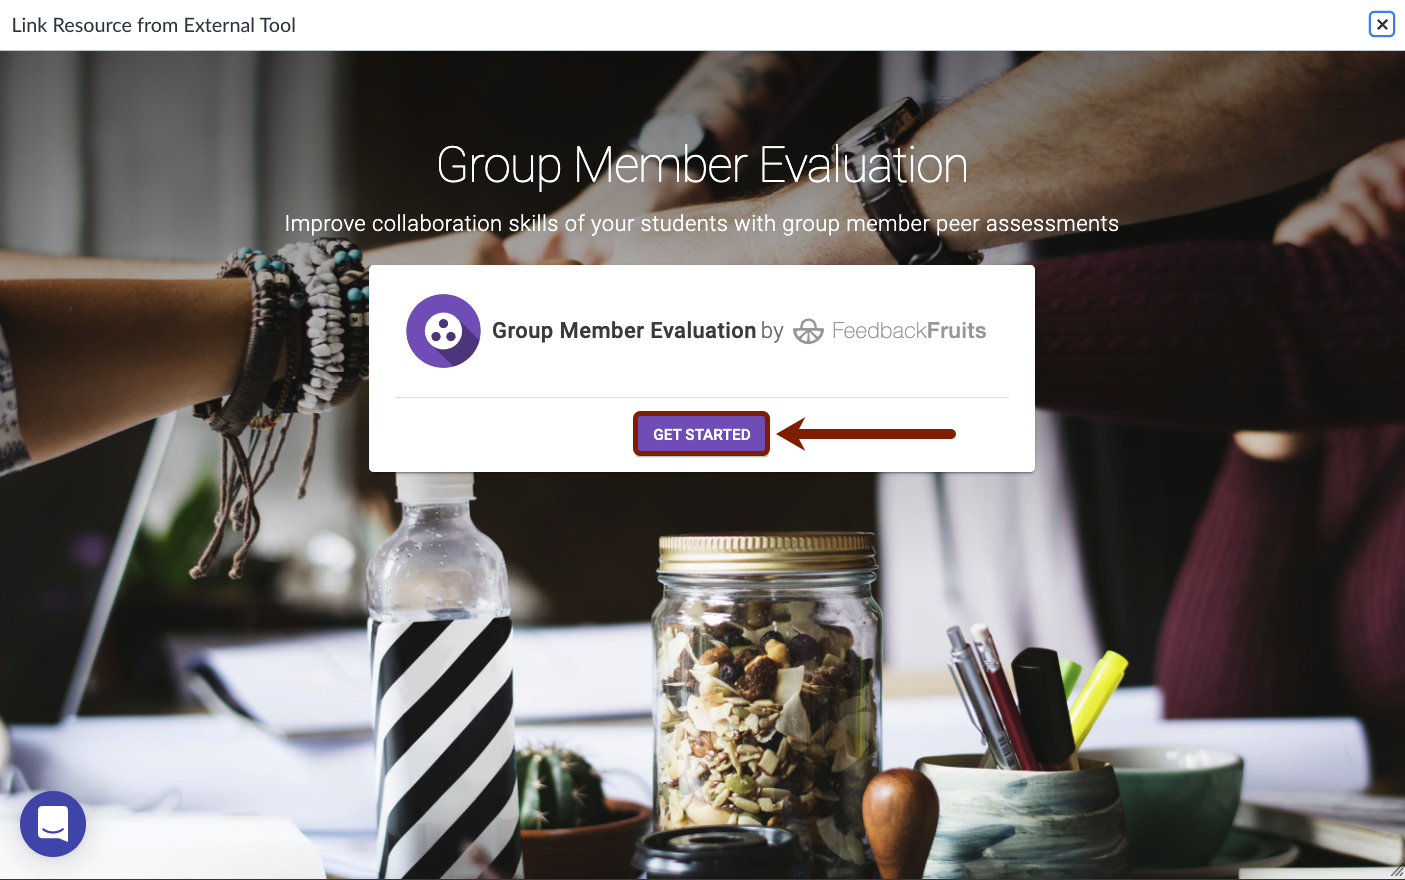
- On the Link Resource from External Tool window, click on the Get Started button.
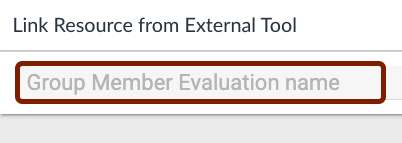
- In the Group Member Evaluation Name field, enter title for your group evaluation.
- Under Instructions:
- Fill in your overall instructions for the assignment [1].
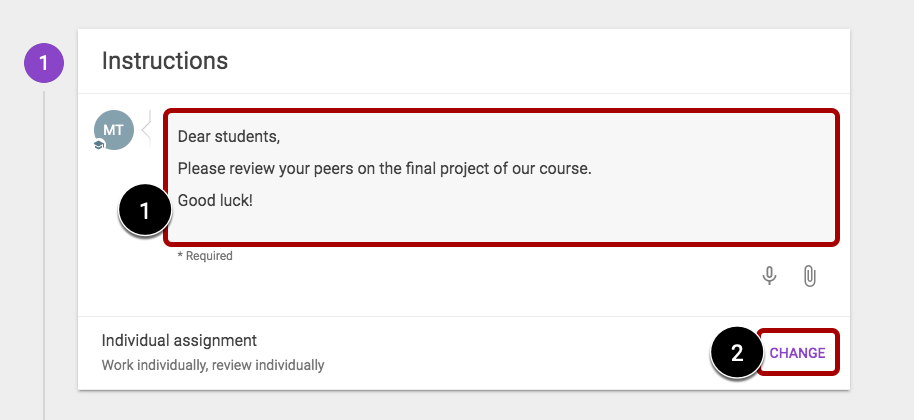
- Note: If you leave this field blank, you will not be able to publish/save the assignment. You can add a voice note or an attachment to the instruction if needed.
- Click the Change button [2 – above] to select collaboration options:
- The assignment can be an individual- or a group assignment. Choose between the following options:
- Under Students work, select one of the following:
- Individually
- As a group
- Under Review, select one of the following:
- Individually: Students will individually get assigned to anyone.
- Within groups: Students individually get assigned someone within their group.
- Note: This option is disabled if ‘as a group’ is chosen.
- Outside of their group: Students individually get assigned to someone, not in their group.
- Note: This option is disabled if ‘as a group’ is chosen.
- As a group: All members of a group get assigned the same work.
- Note: This option is disabled if ‘individually’ is chosen.
- Depending on the options you selected, click Done or Next.

- Under Students work, select one of the following:
- The assignment can be an individual- or a group assignment. Choose between the following options:
- Groups selected to participate (select the Group Set you’ve already created).
- Fill in your overall instructions for the assignment [1].
- Under Given Reviews, enter the following peer review assignment details:
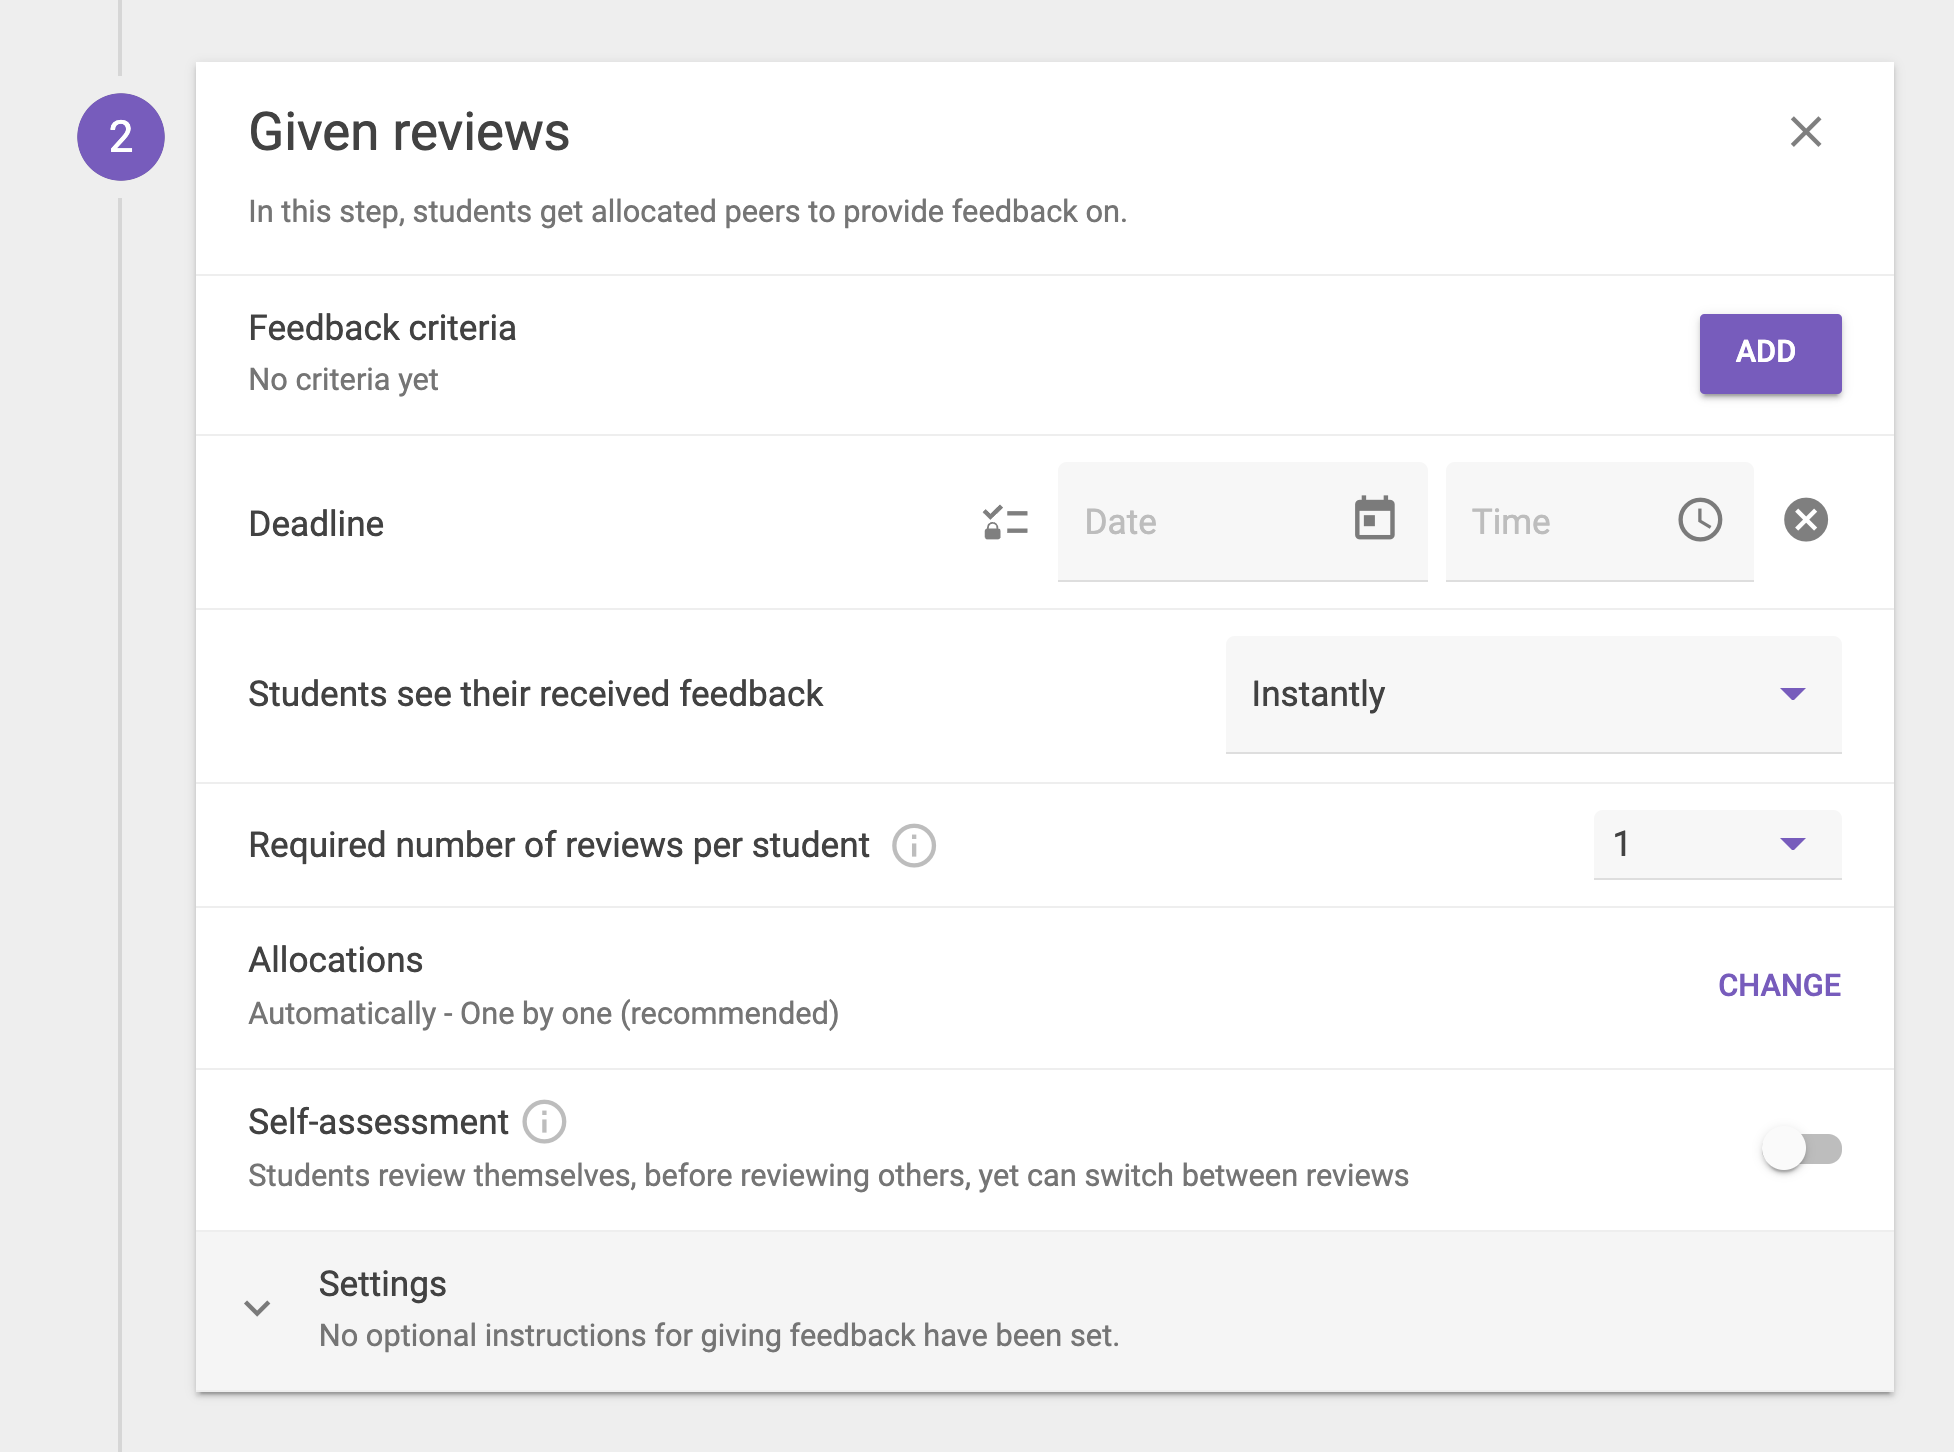
- Under Feedback criteria, click the Add button.

- To learn how to set up criteria, refer to Setting up feedback criteria (rubrics, scale ratings and comment criteria).
- Optional – Deadline: Under Deadline, set the deadline for giving feedback.

- Reviewers will not be able to view or edit their reviews after this deadline passes.
- Leave the deadline blank to allow reviewers to view and/or edit their feedback indefinitely.
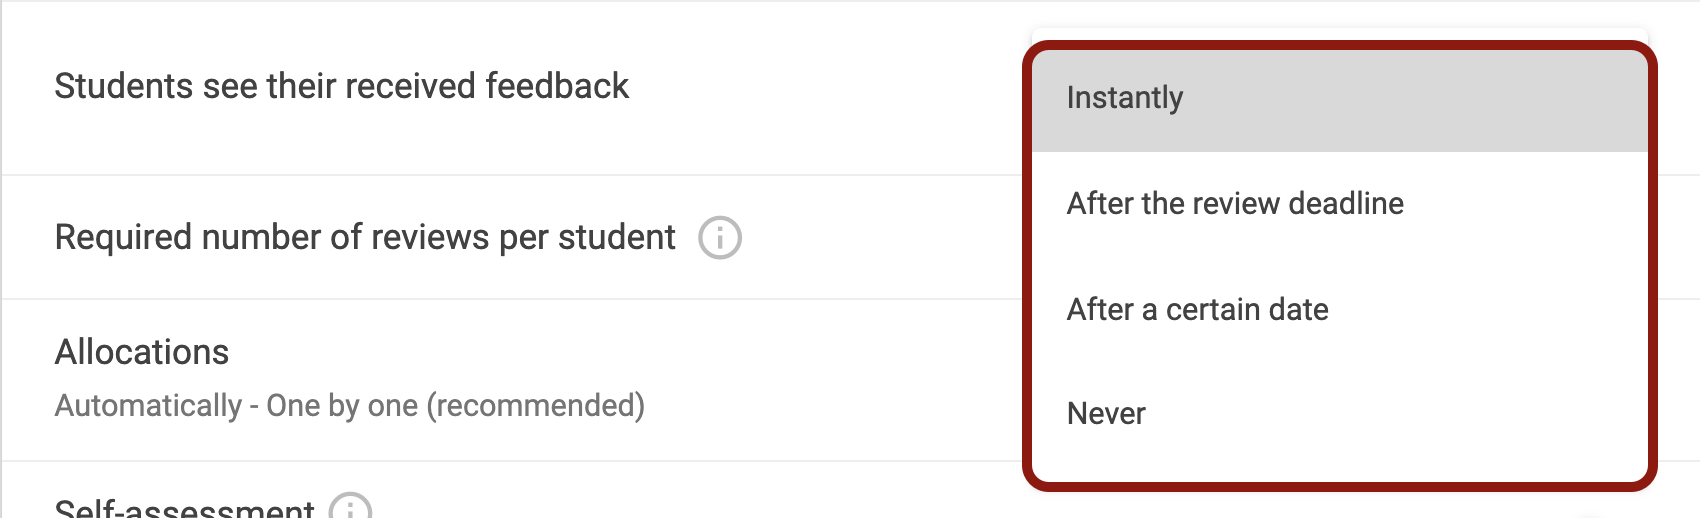
- Under Students see their received feedback, select when the students can see their feedback. You can set this to instantly, after release date, a certain date or never.
- Under Required number of reviews per student, select how many peers/group members/groups each student will review.
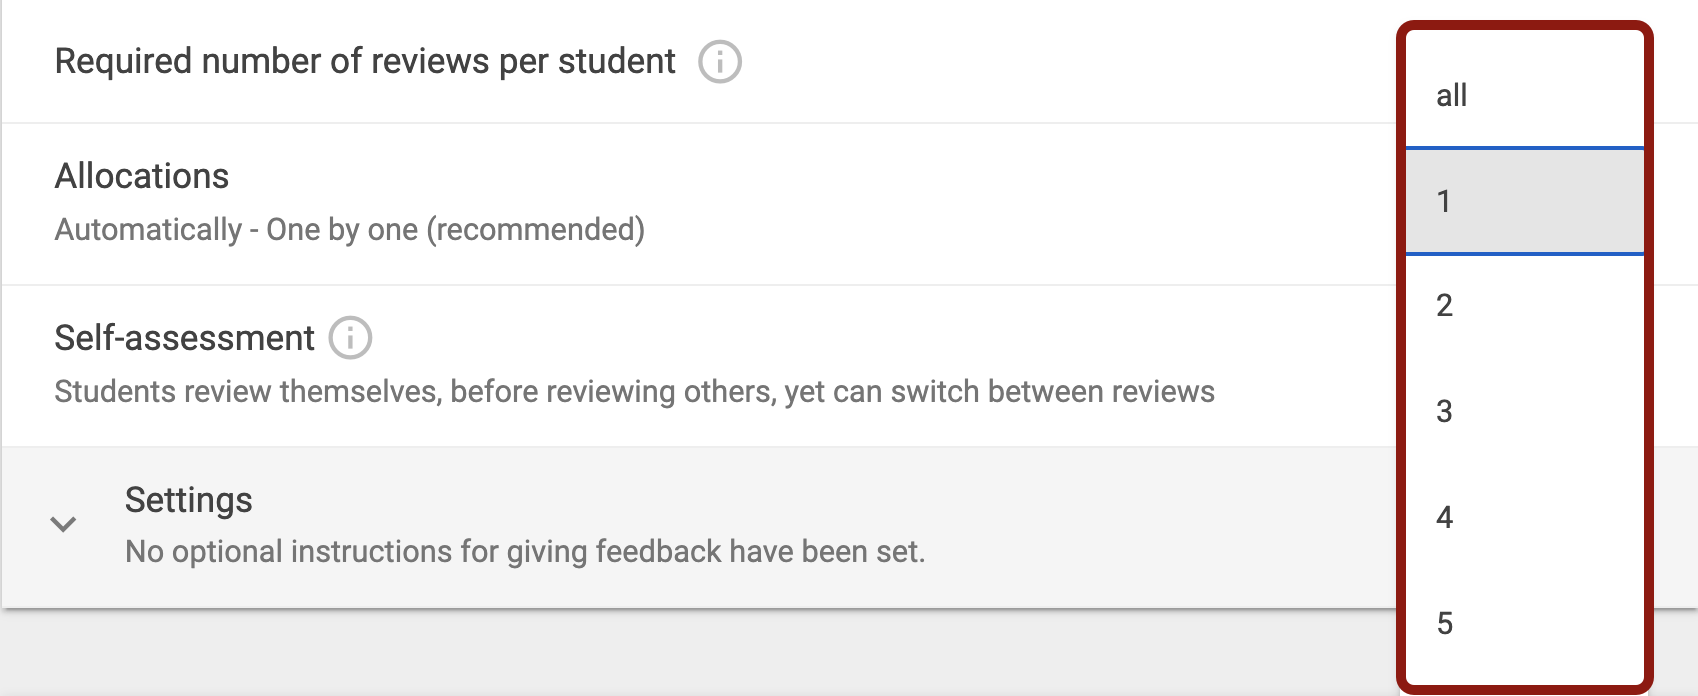
- If you want students to review all their group members, we recommend selecting All.
- Under Allocations, the One-by-one option is the default and recommended method of allocation.

- Optional – Self-Assessment: Under Self-assessment, select whether you want students to review their own work before reviewing their peers. This option is toggled off by default.

- Optional – Additional Settings: Expand Settings and select additional settings as desired settings (e.g., Reviewer anonymity).
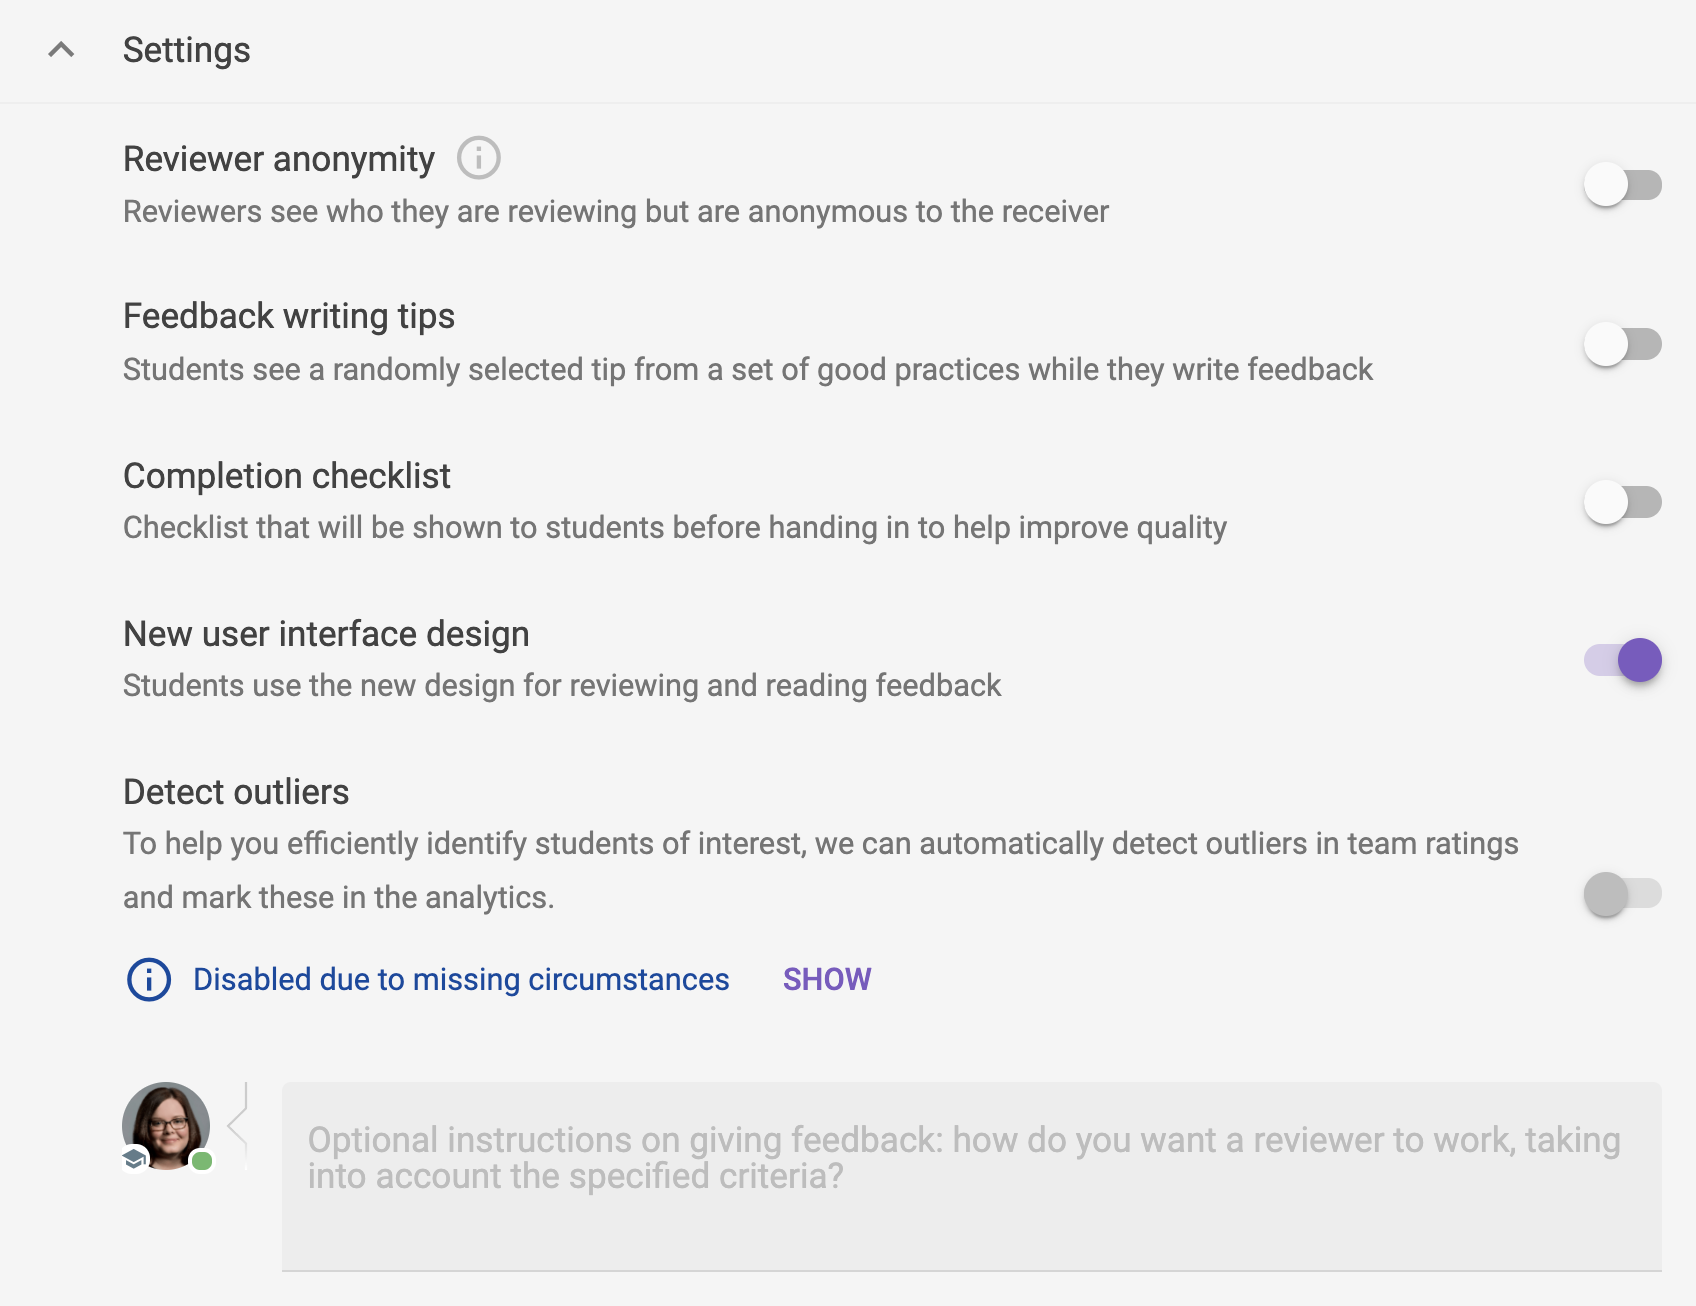
- Reviewer anonymity: Enabling this option will make reviewers anonymous. Reviewers will still see the name of the peer they are reviewing. Instructors can also see the name of the reviewer.
- New user interface design: Students use the new design for reviewing and reading feedback. This option is enabled by default and is recommended.
- Under Feedback criteria, click the Add button.
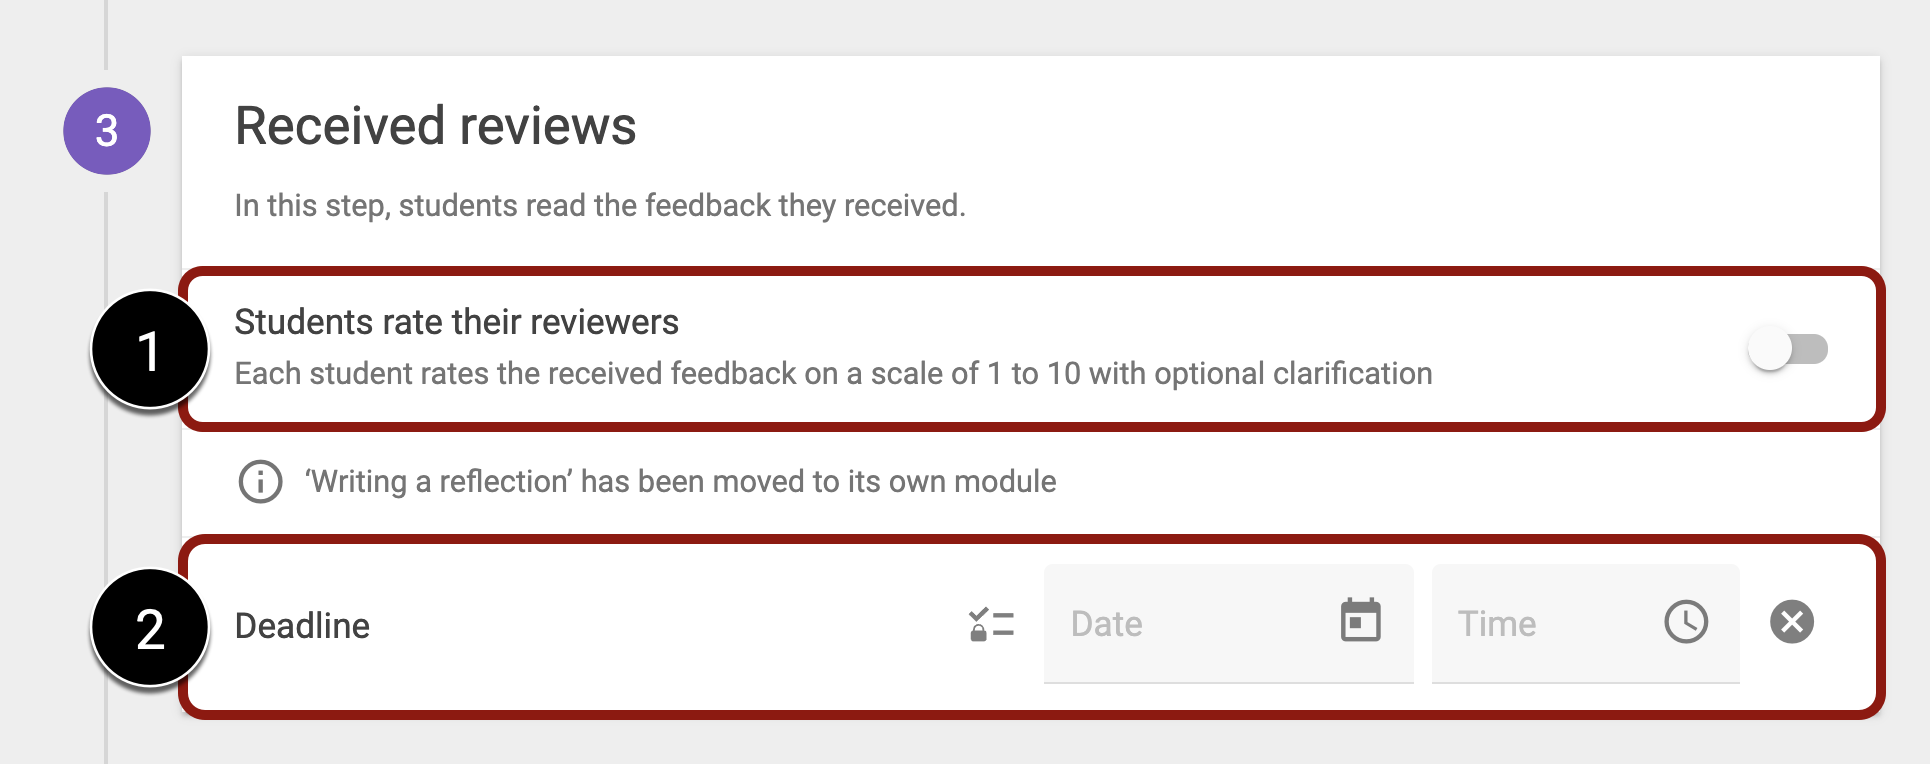
- Under Received Reviews, students read the feedback they received.
- Optional – Rate Reviewers: You can choose if you’d like students to rate their reviewers or reflect on it [1].
- Optional – Deadline: Set deadline for students to read their received feedback [2].
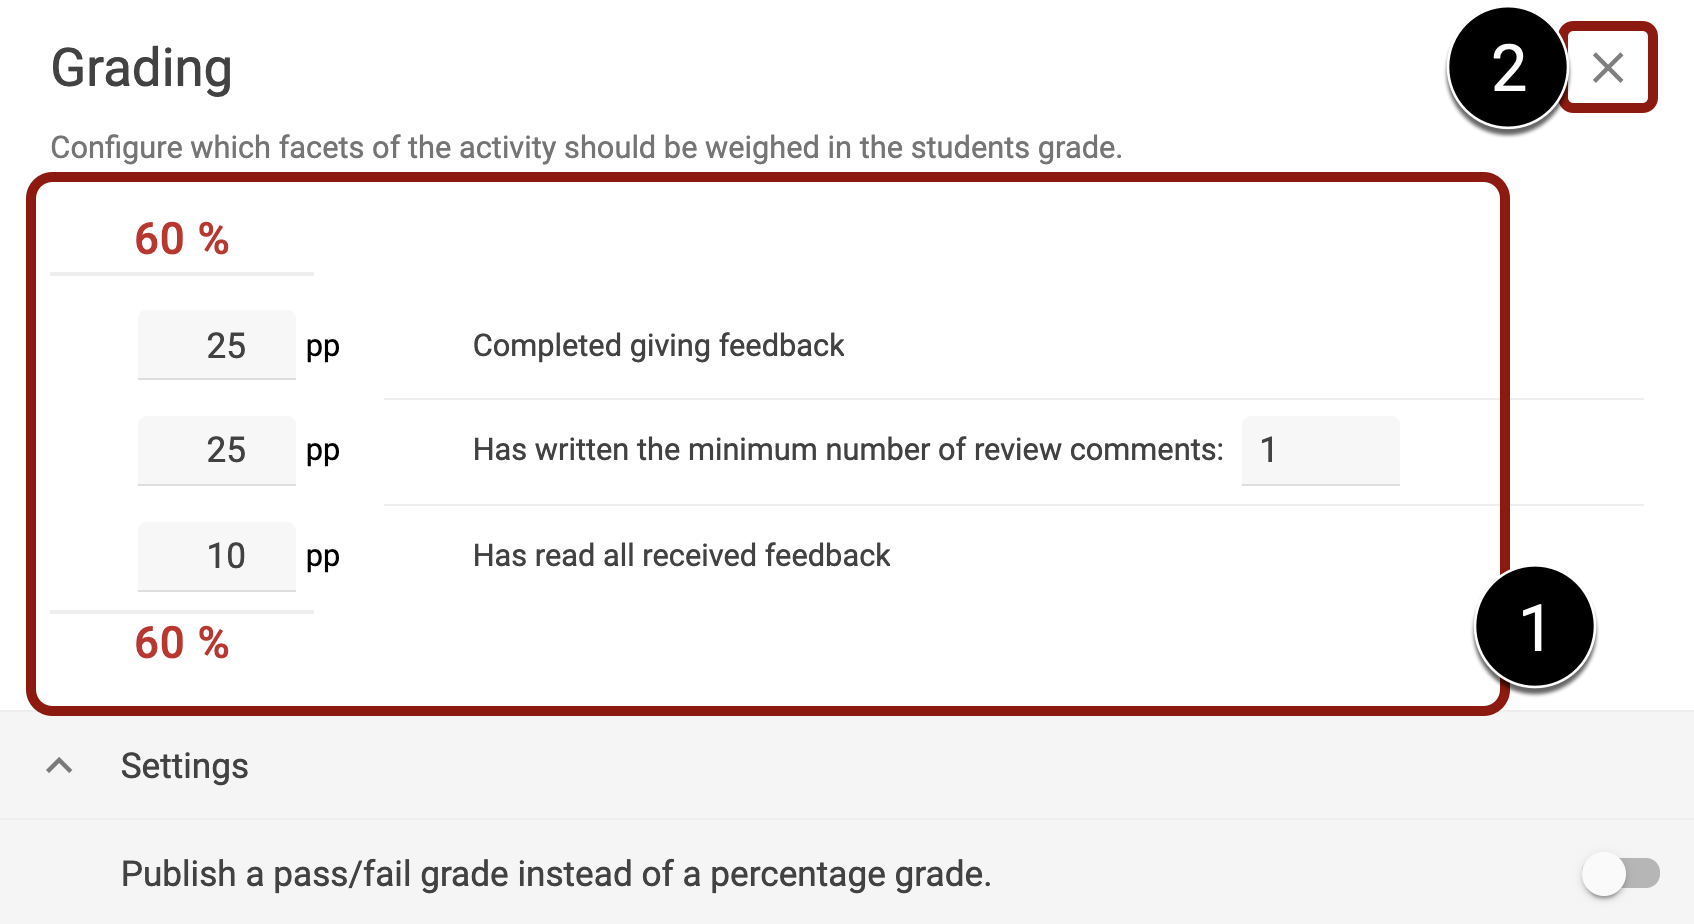
- Under Grading, you can specify how each item (e.g., Completed giving feedback) should be weighted [1].
- Note: If you don’t want the assignment to be graded, click on the X [2].
- Note: If you don’t want the assignment to be graded, click on the X [2].
- Click Save in the top-right corner.

- On the Configure External Tool window, click Select.
- Click Save and Publish.


