SKIP AHEAD TO
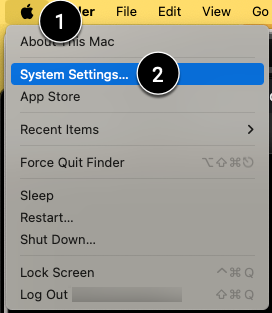
At a Glance
This guide will help you connect your Apple laptop to a display or projector. MacOS 15.2 added new features and changed the connection workflow.
Connect to the Display or Projector
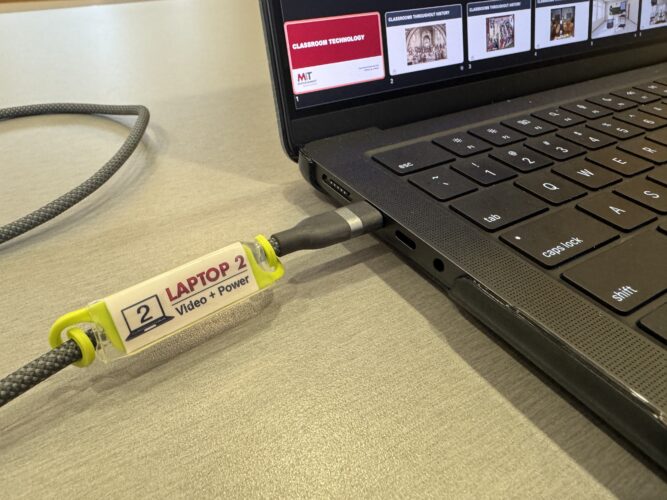
- Plug the USB-C cable into your laptop. Note: This cable will charge your laptop as well as send video to the projector
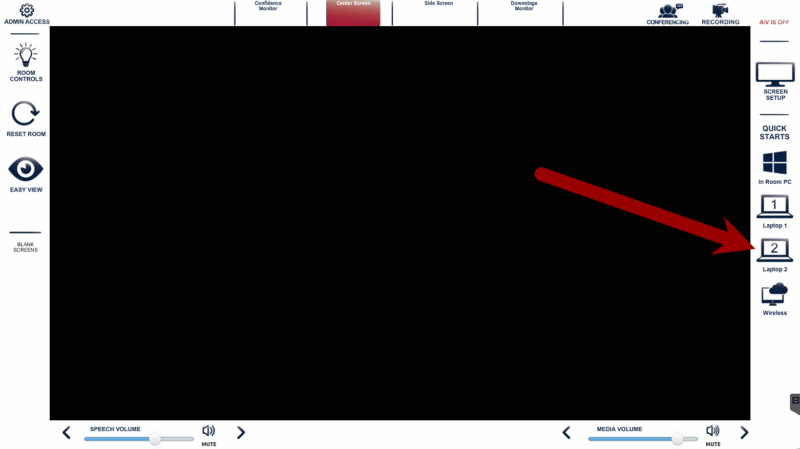
- On the Teaching Table interface, tap on Laptop 2.
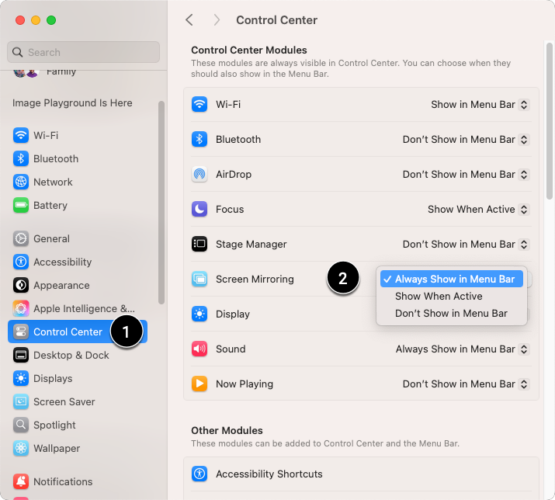
- First time in this classroom? You may see a Screen Mirroring window appear, asking how you’d like to share your screen:
- Mirror Entire Screen [1]
- Mirror a Specific Window or App [2]
- Use as an Extended Display [3]

- Select the option that best fits your presentation, then click Start Mirroring.
- If you selected Window or App, do the following:
- Hover over the window or app you want to share, and click Mirror This Window.

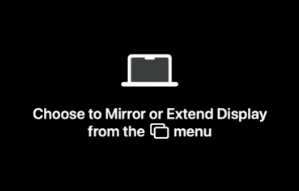
- The display or projector might show a “Choose to Mirror or Extend Display from menu” message until you start mirroring:
- Hover over the window or app you want to share, and click Mirror This Window.