At a Glance
Canvas calendar events are NOT automatically created. Teaching teams must create and manage these events using the instructions below.
You can create:
- One-time events (recitations, office hours, review session, final exam)
- Recurring events (all your class sessions across the term)
In this guide for teaching teams, you’ll learn how to add and manage calendar events in your course in Canvas.
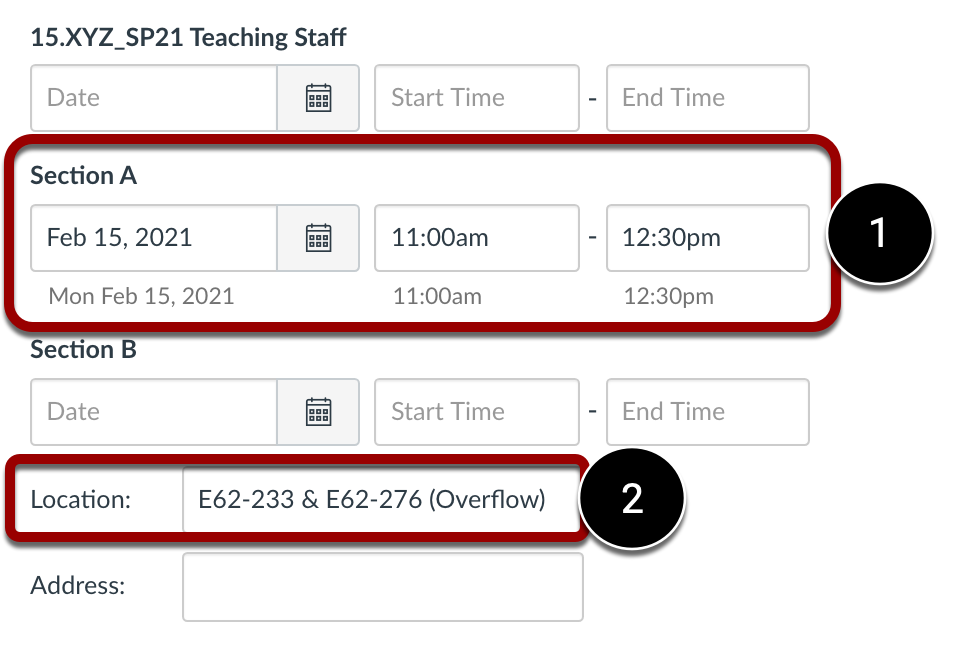
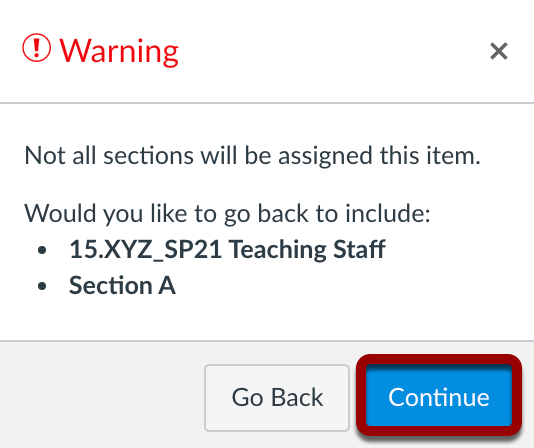
IMPORTANT: Always select Use a different date for each section when creating course calendar events in Canvas. Even if your course has only one student section, Sloan Canvas sites also include a Teaching Staff section.
This setting ensures that students only see the calendar events for their own section, and you avoid issues later when importing sessions into A+ Attendance.
Why Calendar Events Matter
Students rely on the Canvas calendar to know when and where their classes meet, so it’s important to keep your course calendar accurate.
When you add events to your course calendar:
Before Creating Calendar Events for Your Class Sessions
Step 1: Check How Many Sections Are in Your Canvas Site
- In your Canvas site, click on Membership in the Course Navigation Menu.
- Look at the Sections column and note how many sections are listed (for example, Section A, Section B).
The number of student sections in your Canvas site determines how many recurring events you’ll need to create in Step 2.
Note: Every Sloan Canvas site includes at least one student section plus a Teaching Staff section for instructors, course admins, and TAs.
Step 2: Plan Your Recurring Events
You’ll need to create one recurring calendar event for each section on each day the class meets. This means:
- If your Canvas site has multiple sections: Create a separate recurring event for each section.
- If a section meets on multiple days each week: Create a separate recurring event for each day.
Examples
- One section, meets once per week
- Example: Section A meets Tuesdays from 1:00–3:30 PM
- Create: 1 recurring event
- One section, meets twice per week
- Example: Section A meets Mondays and Wednesdays from 8:30–10:00 AM
- Create: 2 recurring events (one for Monday, one for Wednesday)
- Two sections, each meets twice per week
- Example:
- Section A meets Mondays and Wednesdays from 8:30–10:00 AM
- Section B meets Tuesdays and Thursdays from 8:30–10:00 AM
- Create: 4 recurring events:
- One for Section A on Monday
- One for Section A on Wednesday
- One for Section B on Tuesday
- One for Section B on Thursday
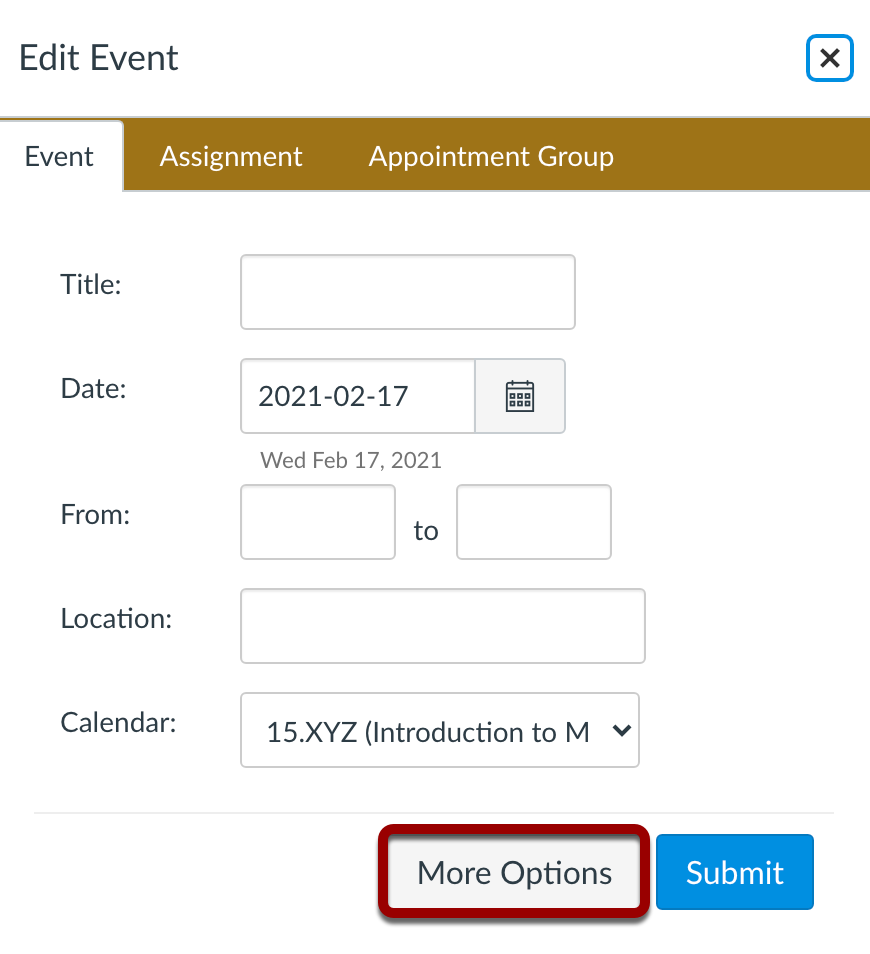
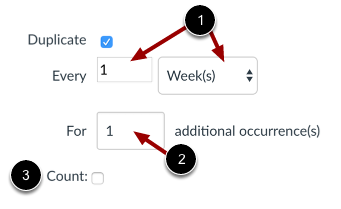
Tip: When creating recurring calendar events for your class sessions, remember to select the: (1) Use a different date for each section checkbox; and (2) the Duplicate event checkbox to add the remaining class dates for the term.
Step 3: Review the Recommended Naming Format
Recommended Format
Course number – Event type – Term and year
Examples
- 15.927 – Class Session – Spring 2026
- 15.927 – Recitation – Spring 2026
- 15.927 – Office Hours – Spring 2026
- 15.927 – Final Exam – Spring 2026
Why use this format?
- Course Number: Helps students quickly identify which course the event belongs to, especially if they are enrolled in multiple courses. This also aligns with MIT Sloan Gold Standards.
- Term and Year: Makes it easy to filter out old calendar events in A+ Attendance if they’re accidentally copied to a future Canvas site.
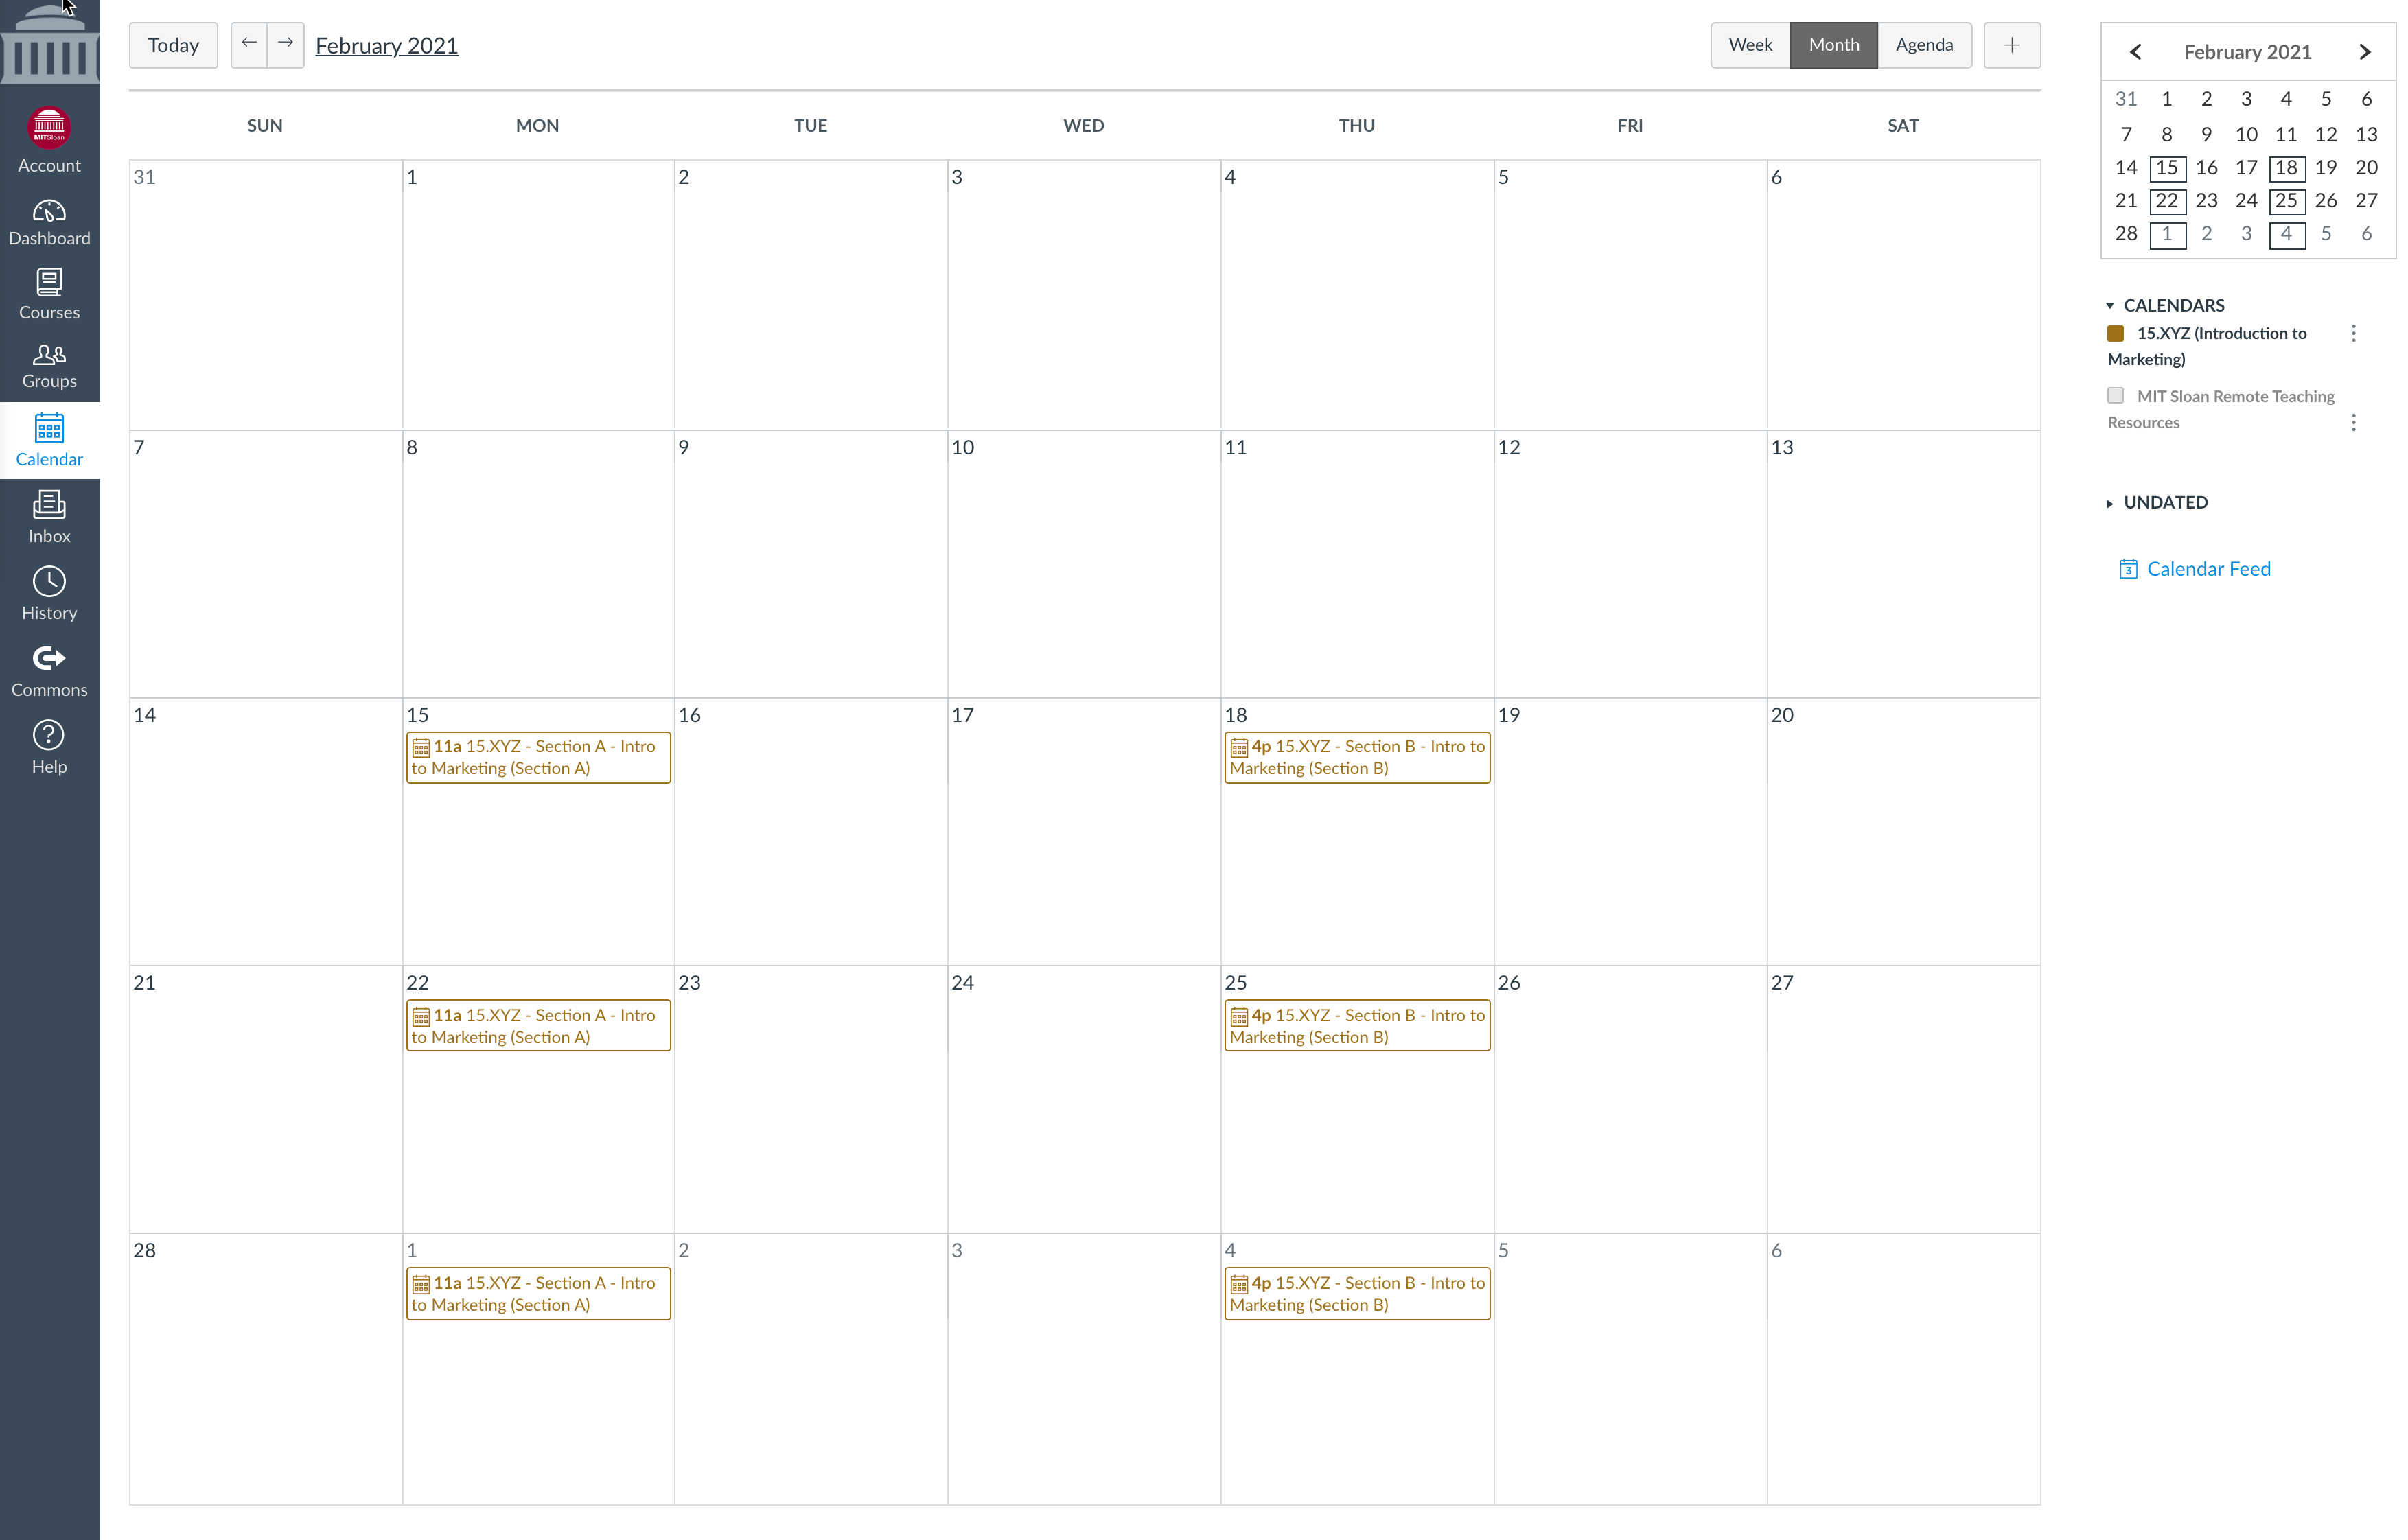
IMPORTANT: Do NOT add section information to the calendar event title. When you select Use a different date for each section, Canvas automatically adds the section name at the end of each calendar event. For example: 15.927 – Class Session – Spring 2026 (Section A)
Tip: If calendar events are created incorrectly, you’ll need to manually delete them and recreate them. Taking a few minutes to set up your calendar correctly will save time later.
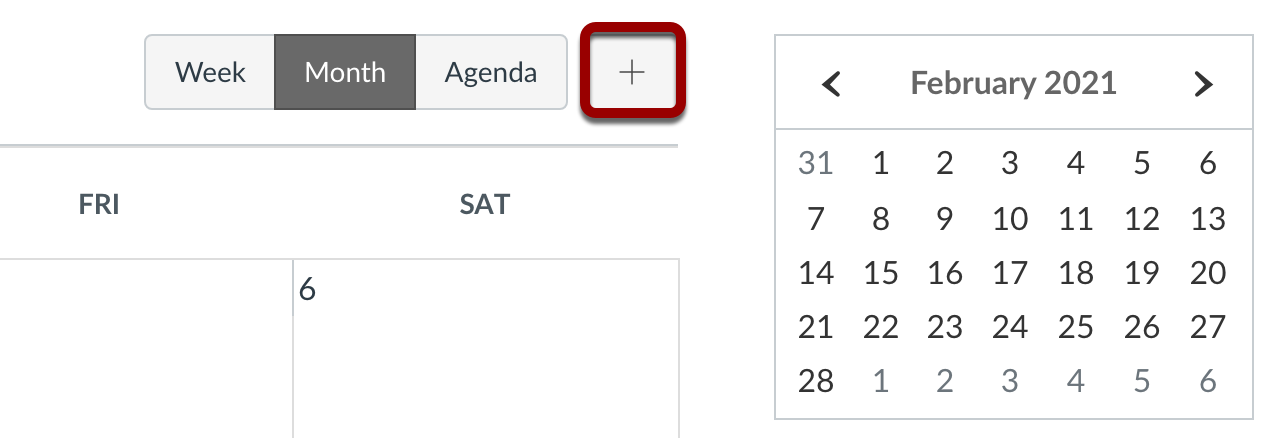
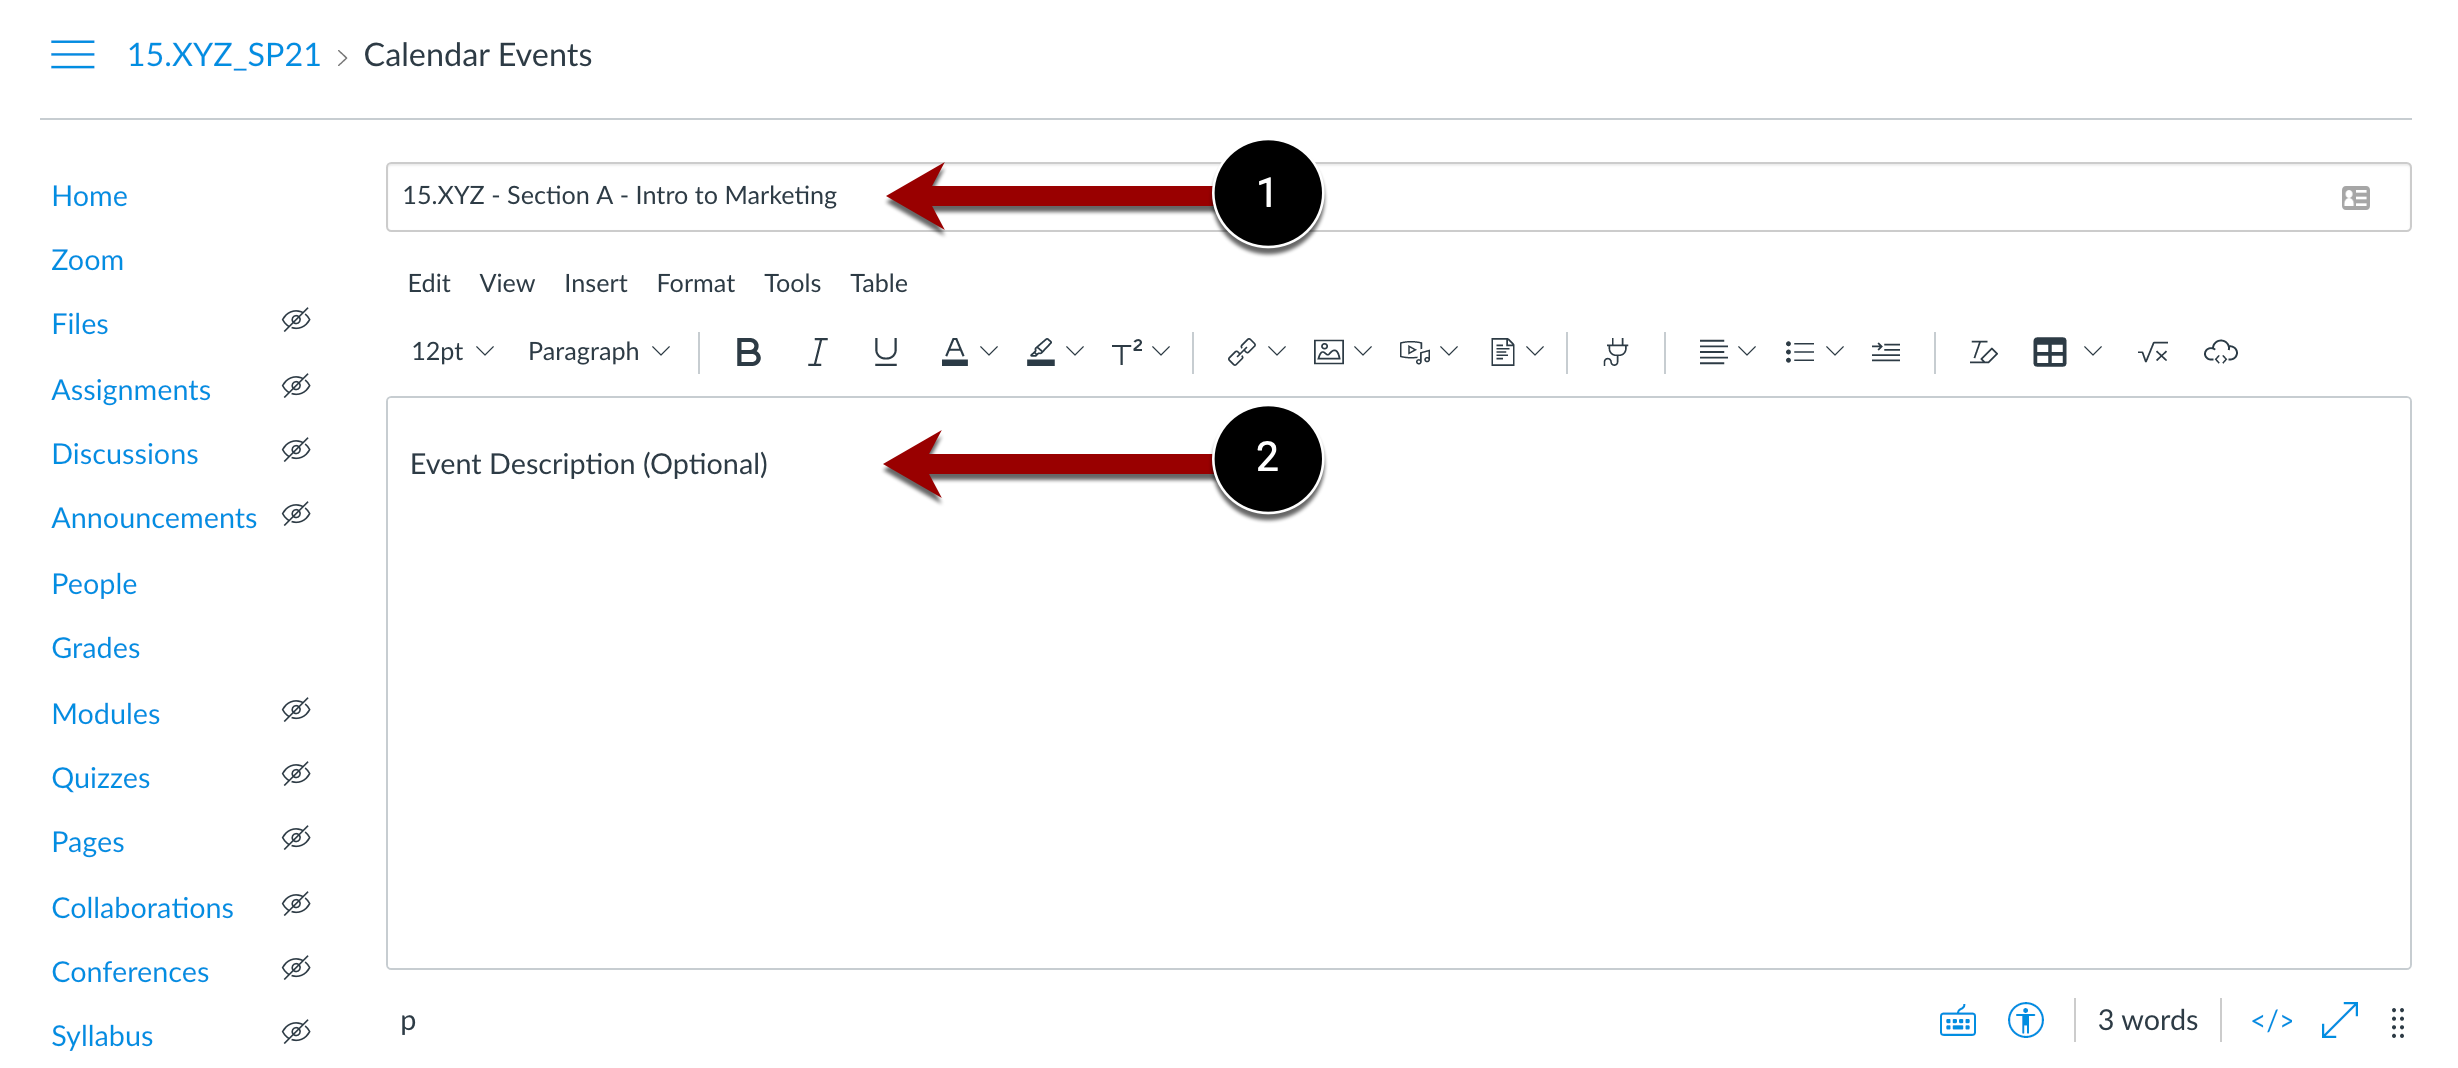
How to Add Calendar Events
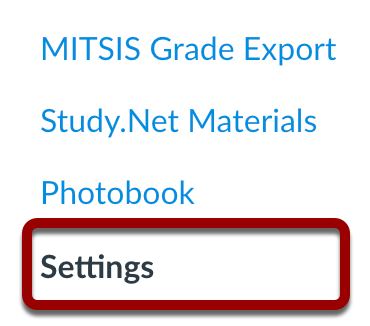
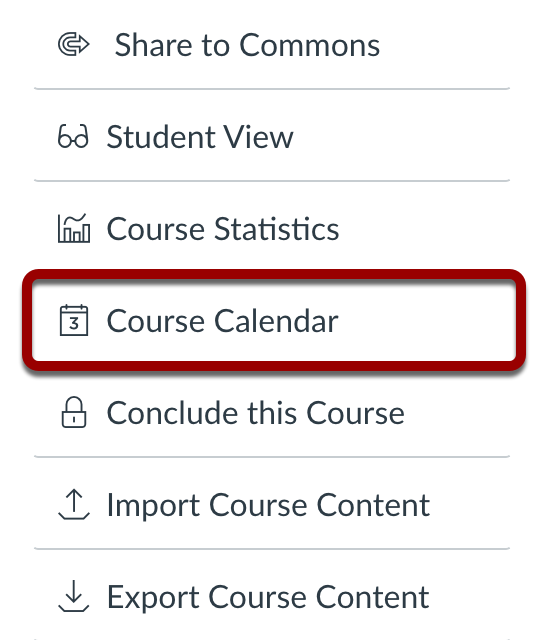
To ensure you are creating events from within the Canvas site you are scheduling for, we strongly recommend clicking on Settings > Course Calendar as outlined below.
Tip: Always select Use a different date for each section when creating calendar events in your Canvas site.